You are using an out of date browser. It may not display this or other websites correctly.
You should upgrade or use an alternative browser.
You should upgrade or use an alternative browser.
A Golden Reef Tank
- Thread starter halmus
- Start date

Help Support Reef Aquarium & Tank Building Forum:
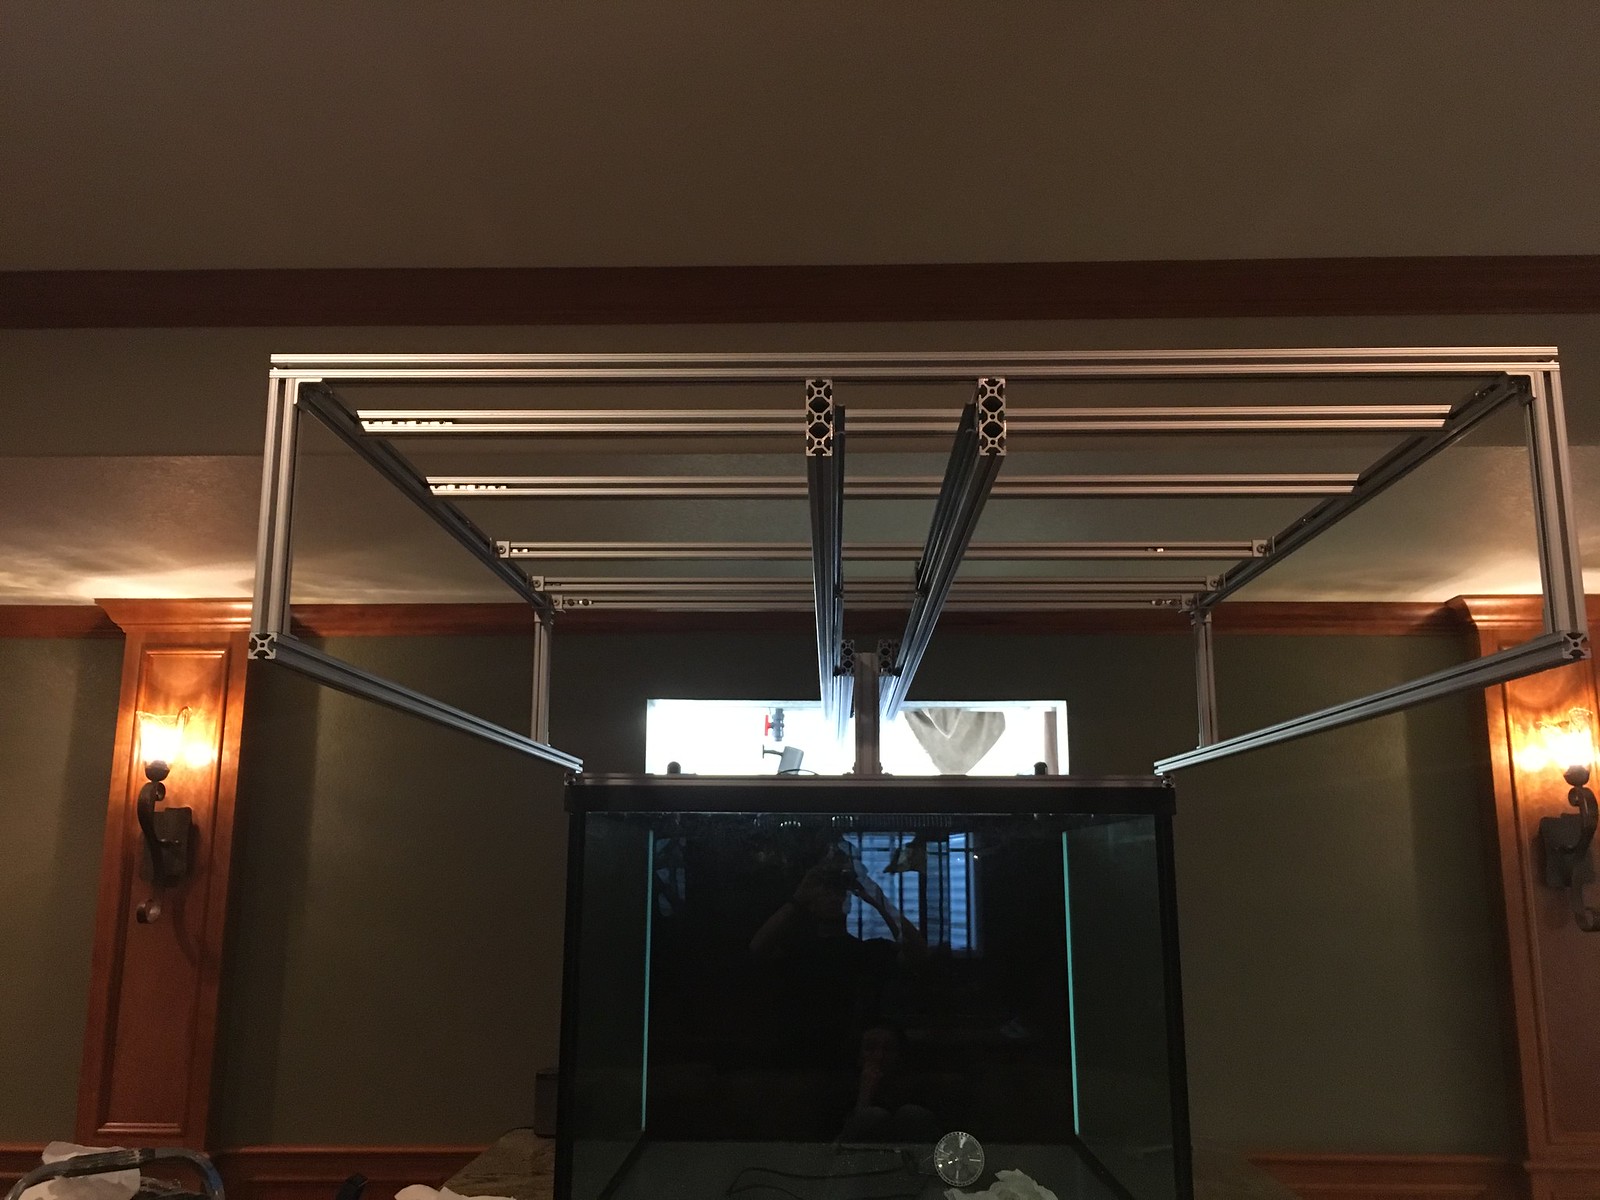
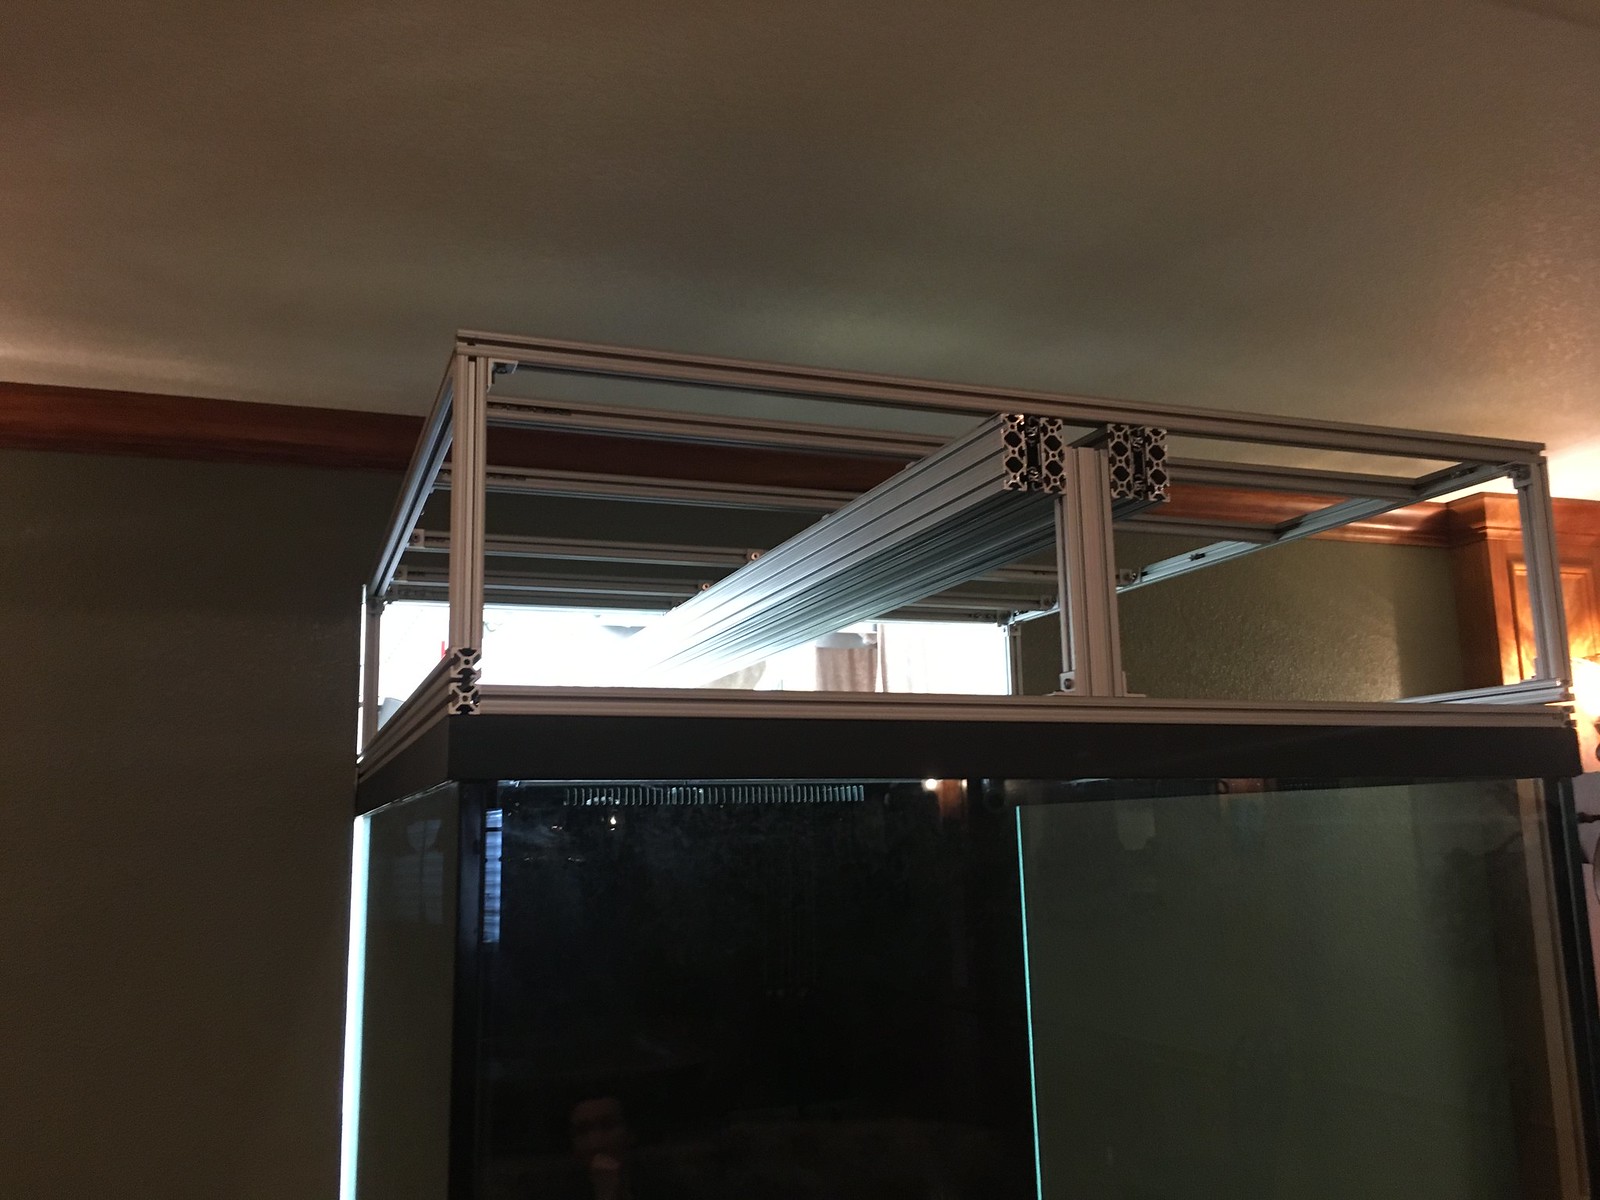
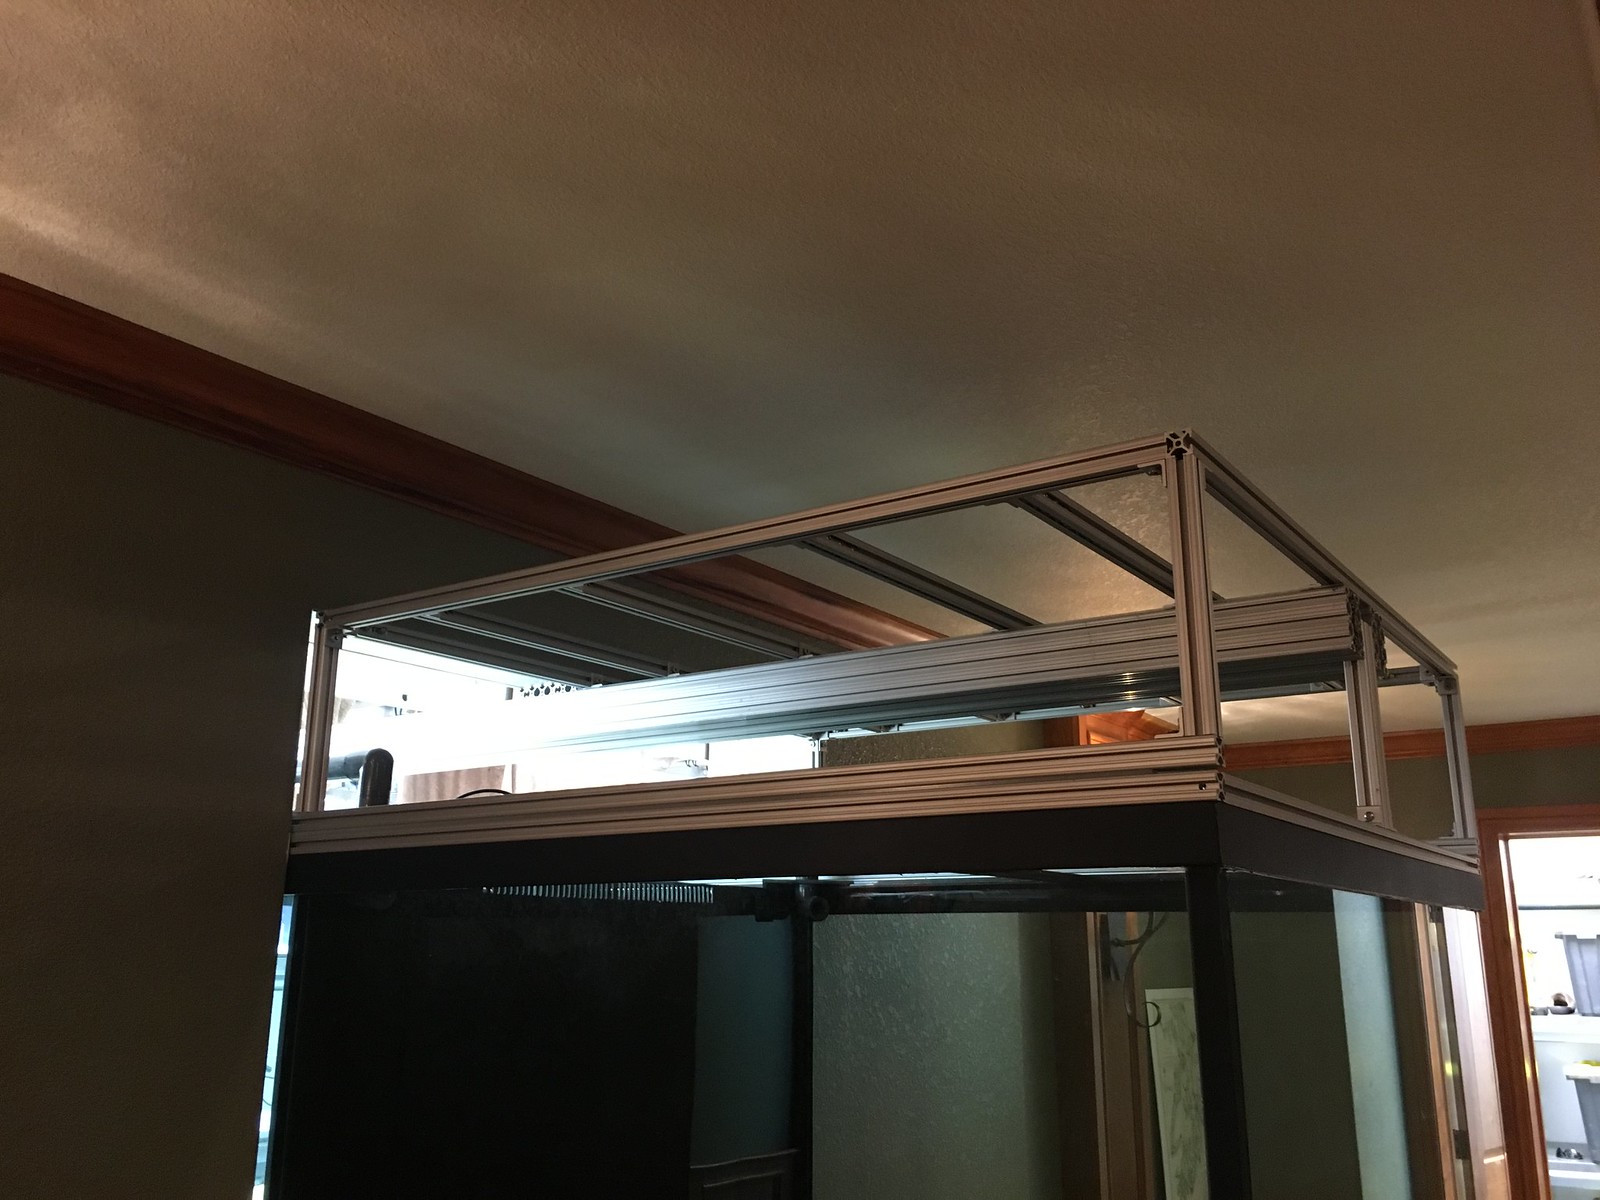
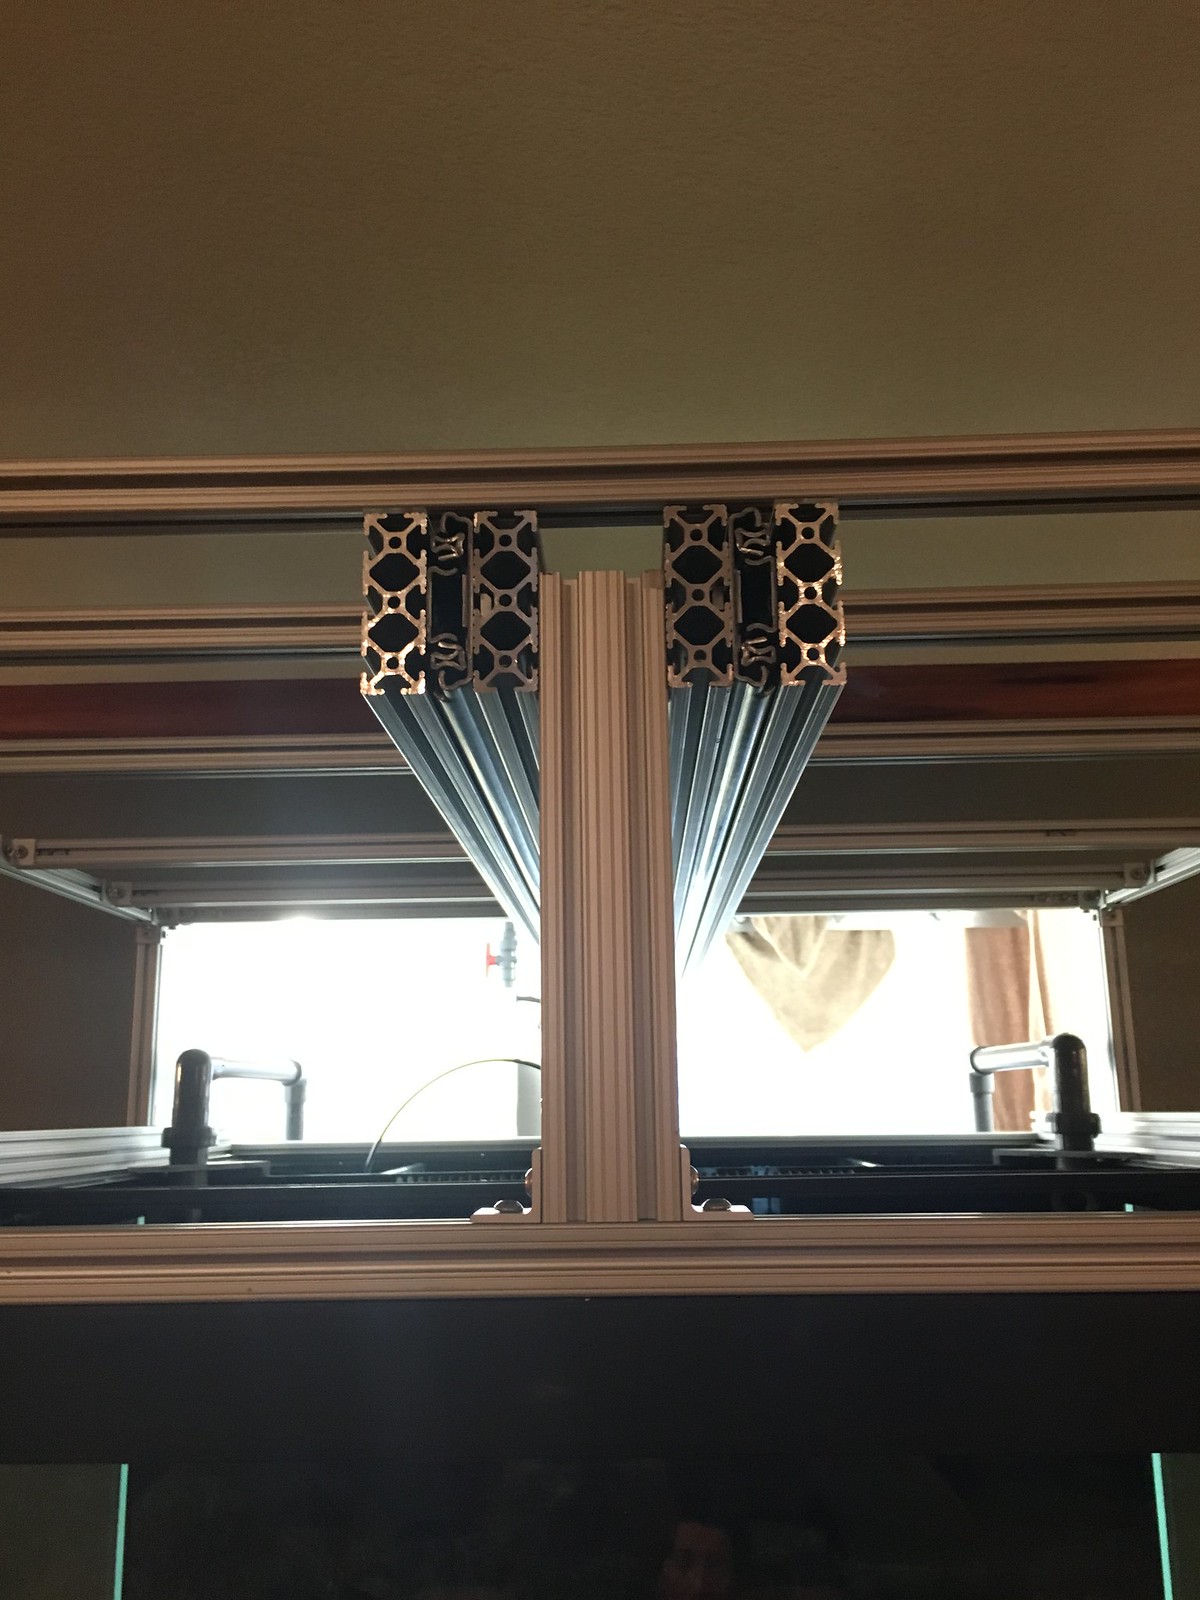
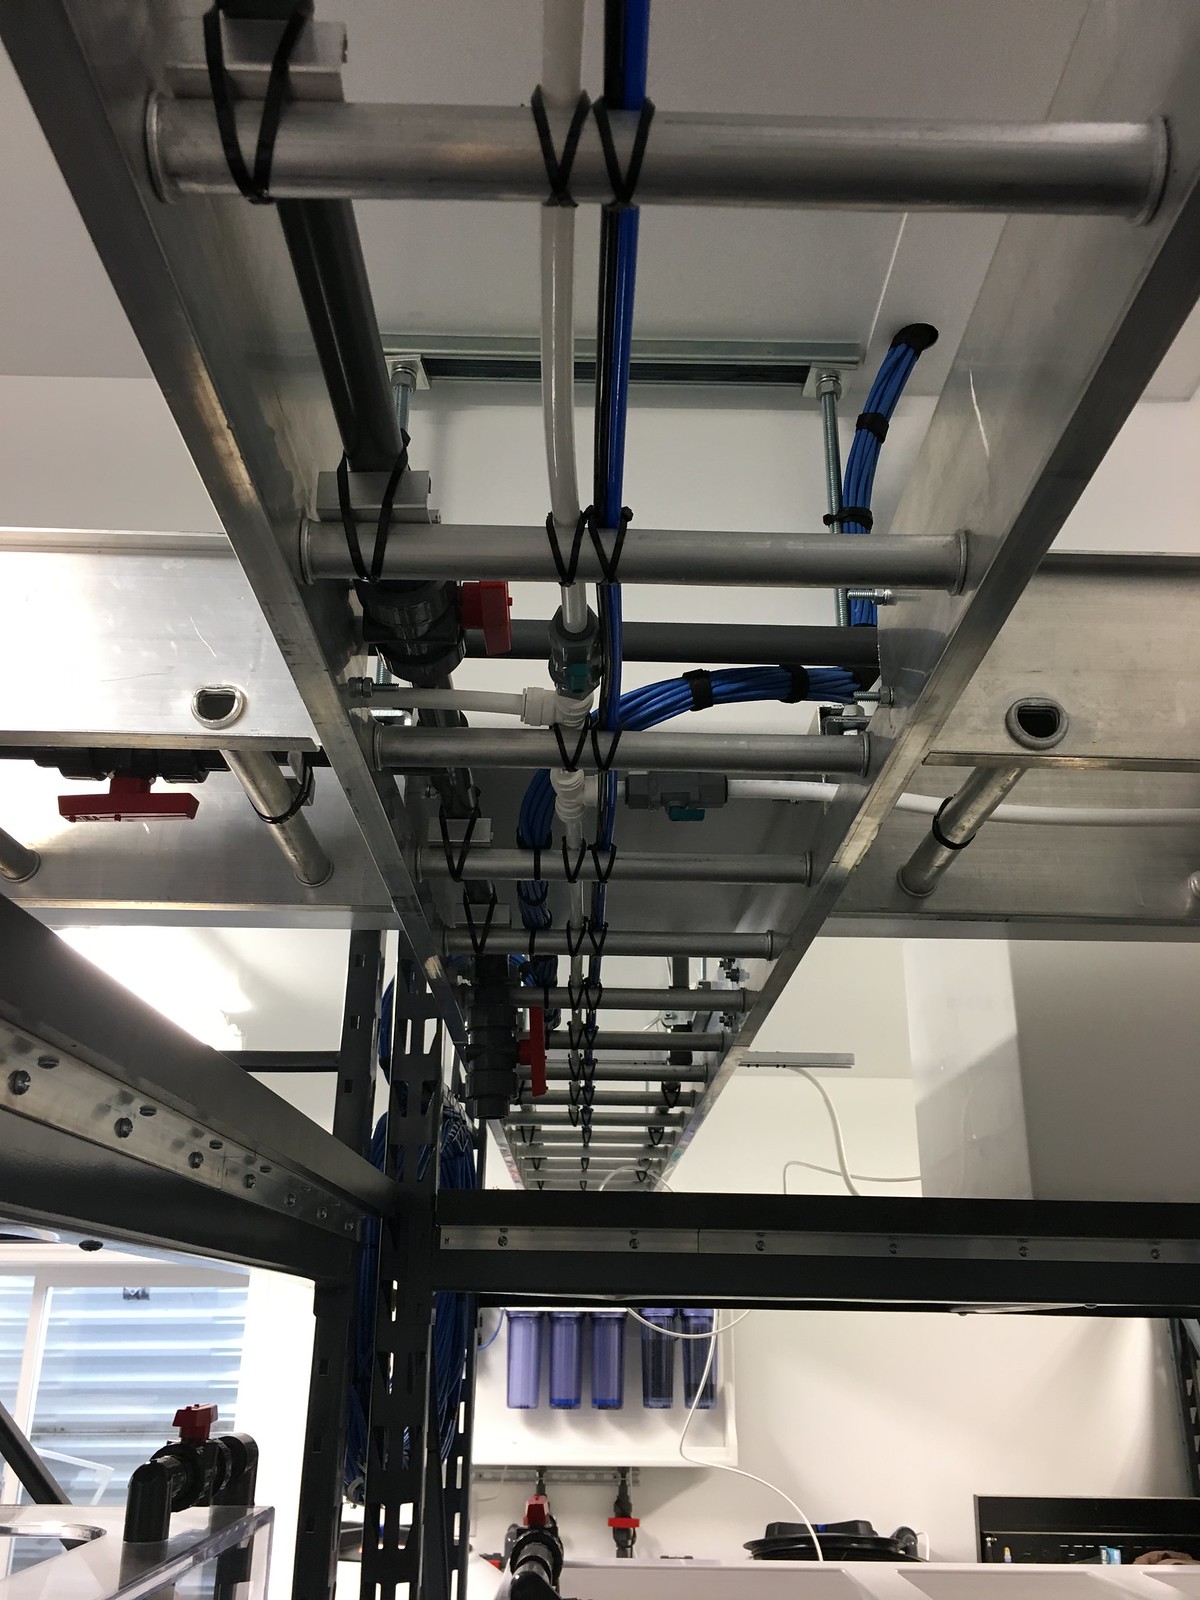
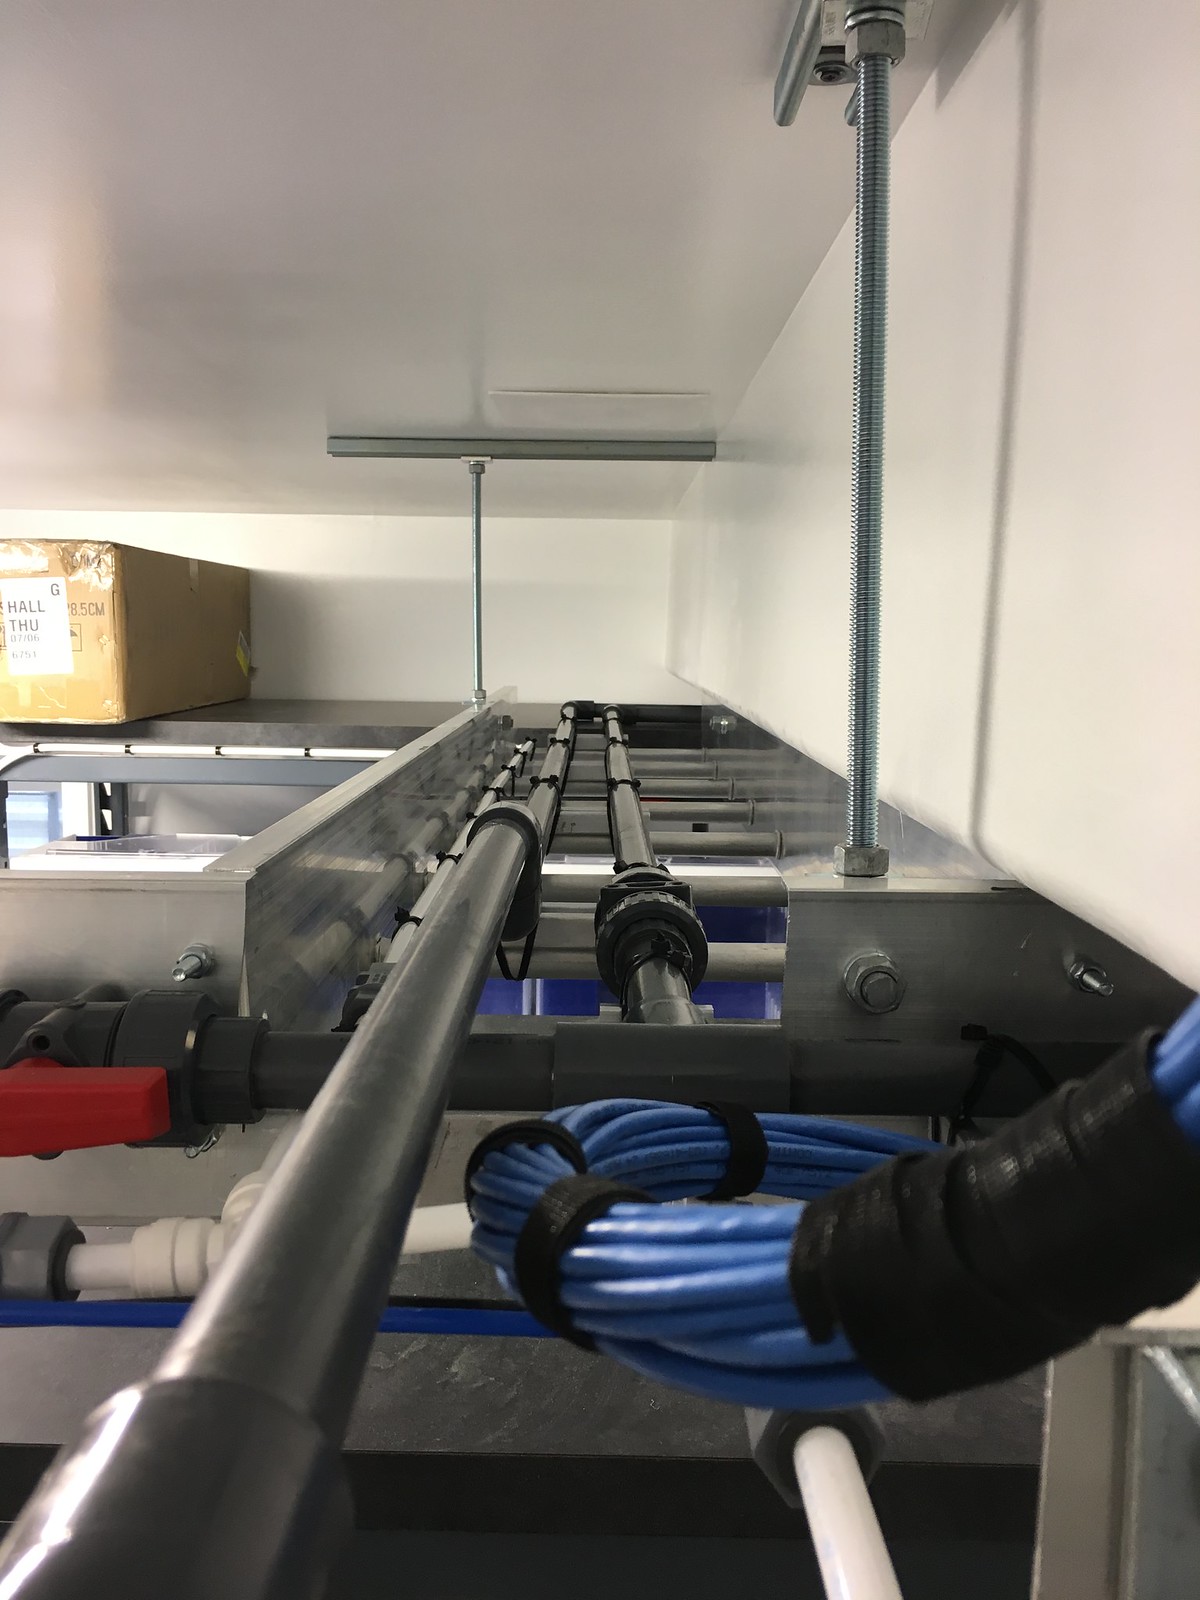
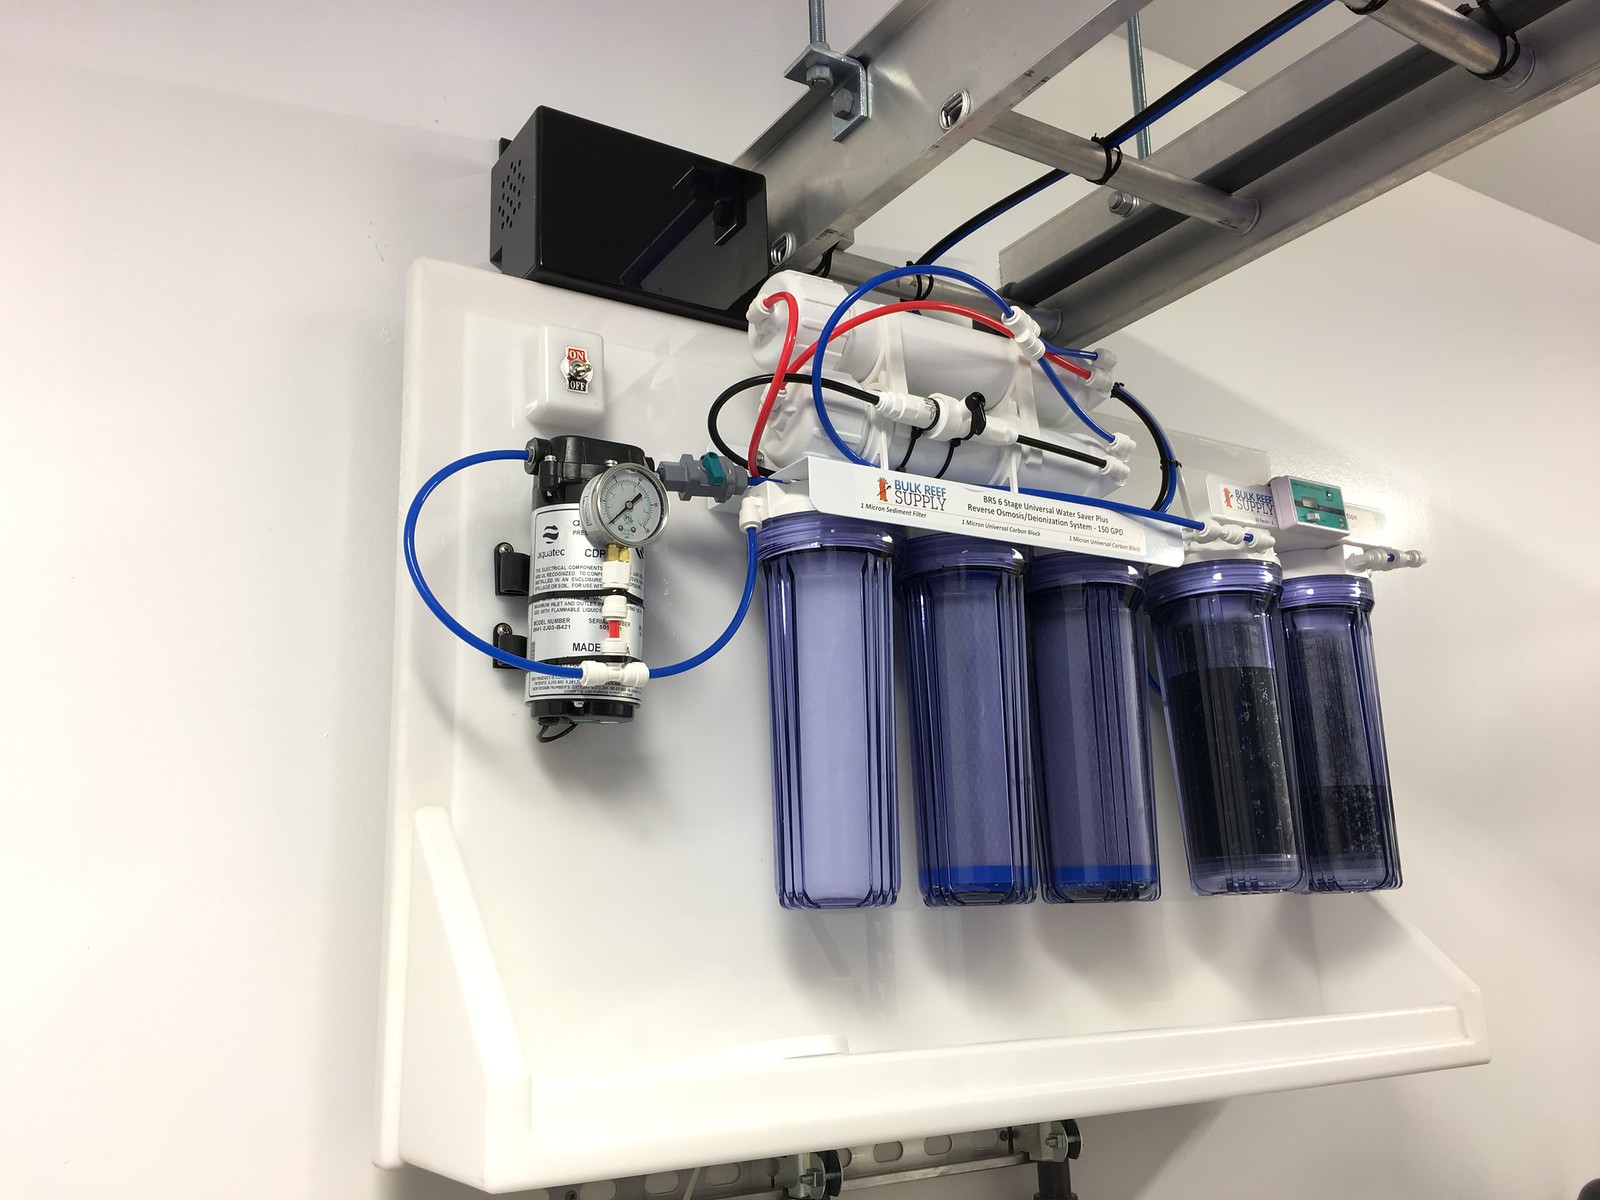
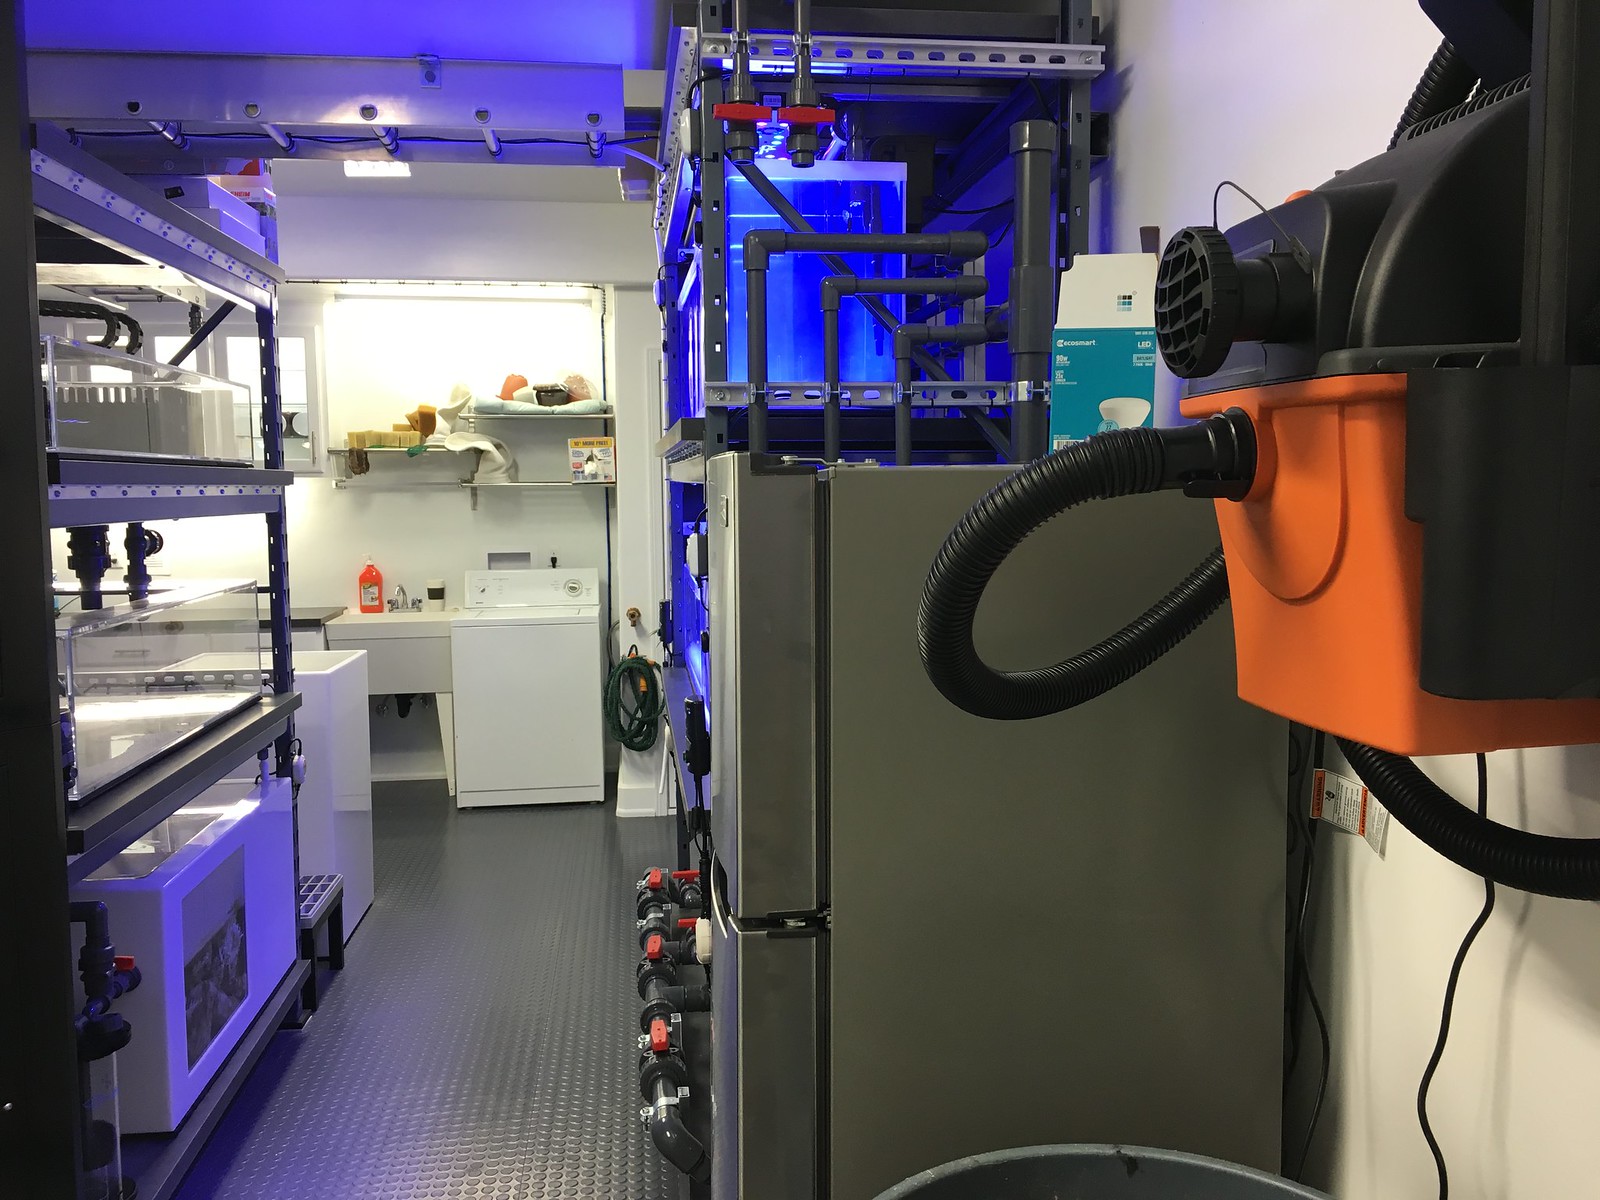
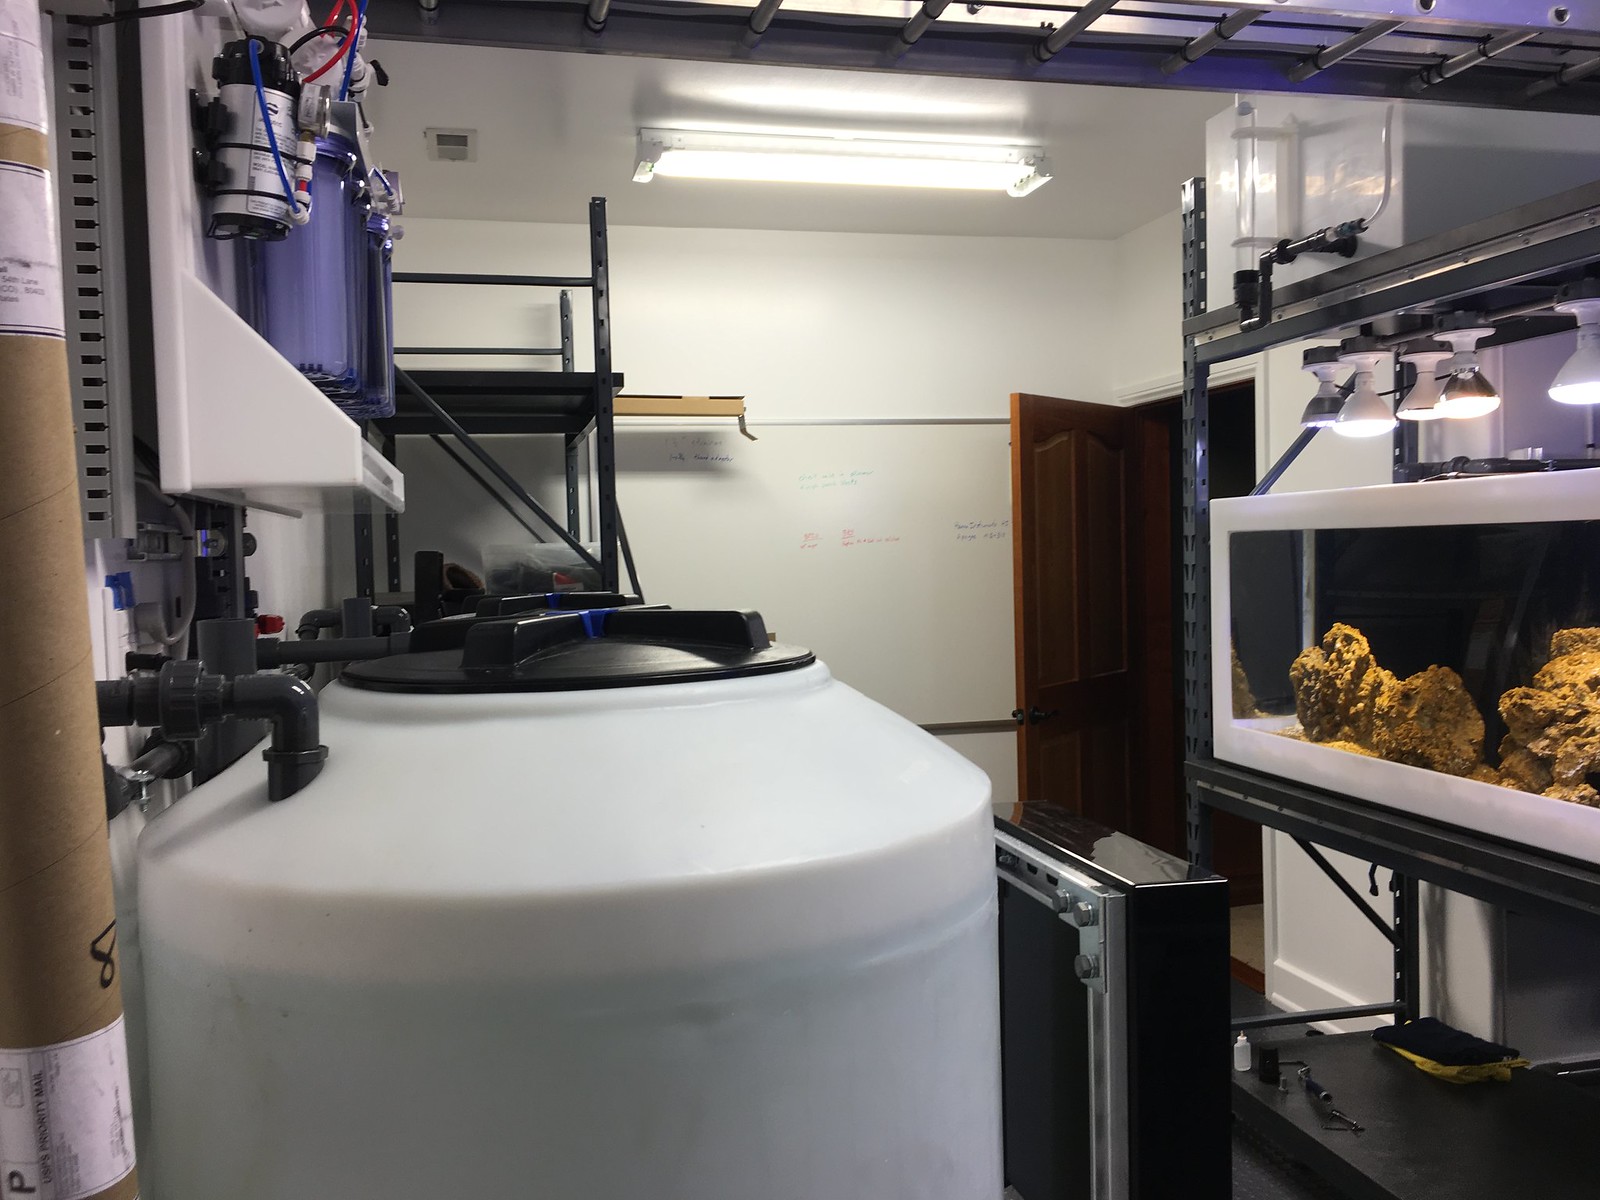
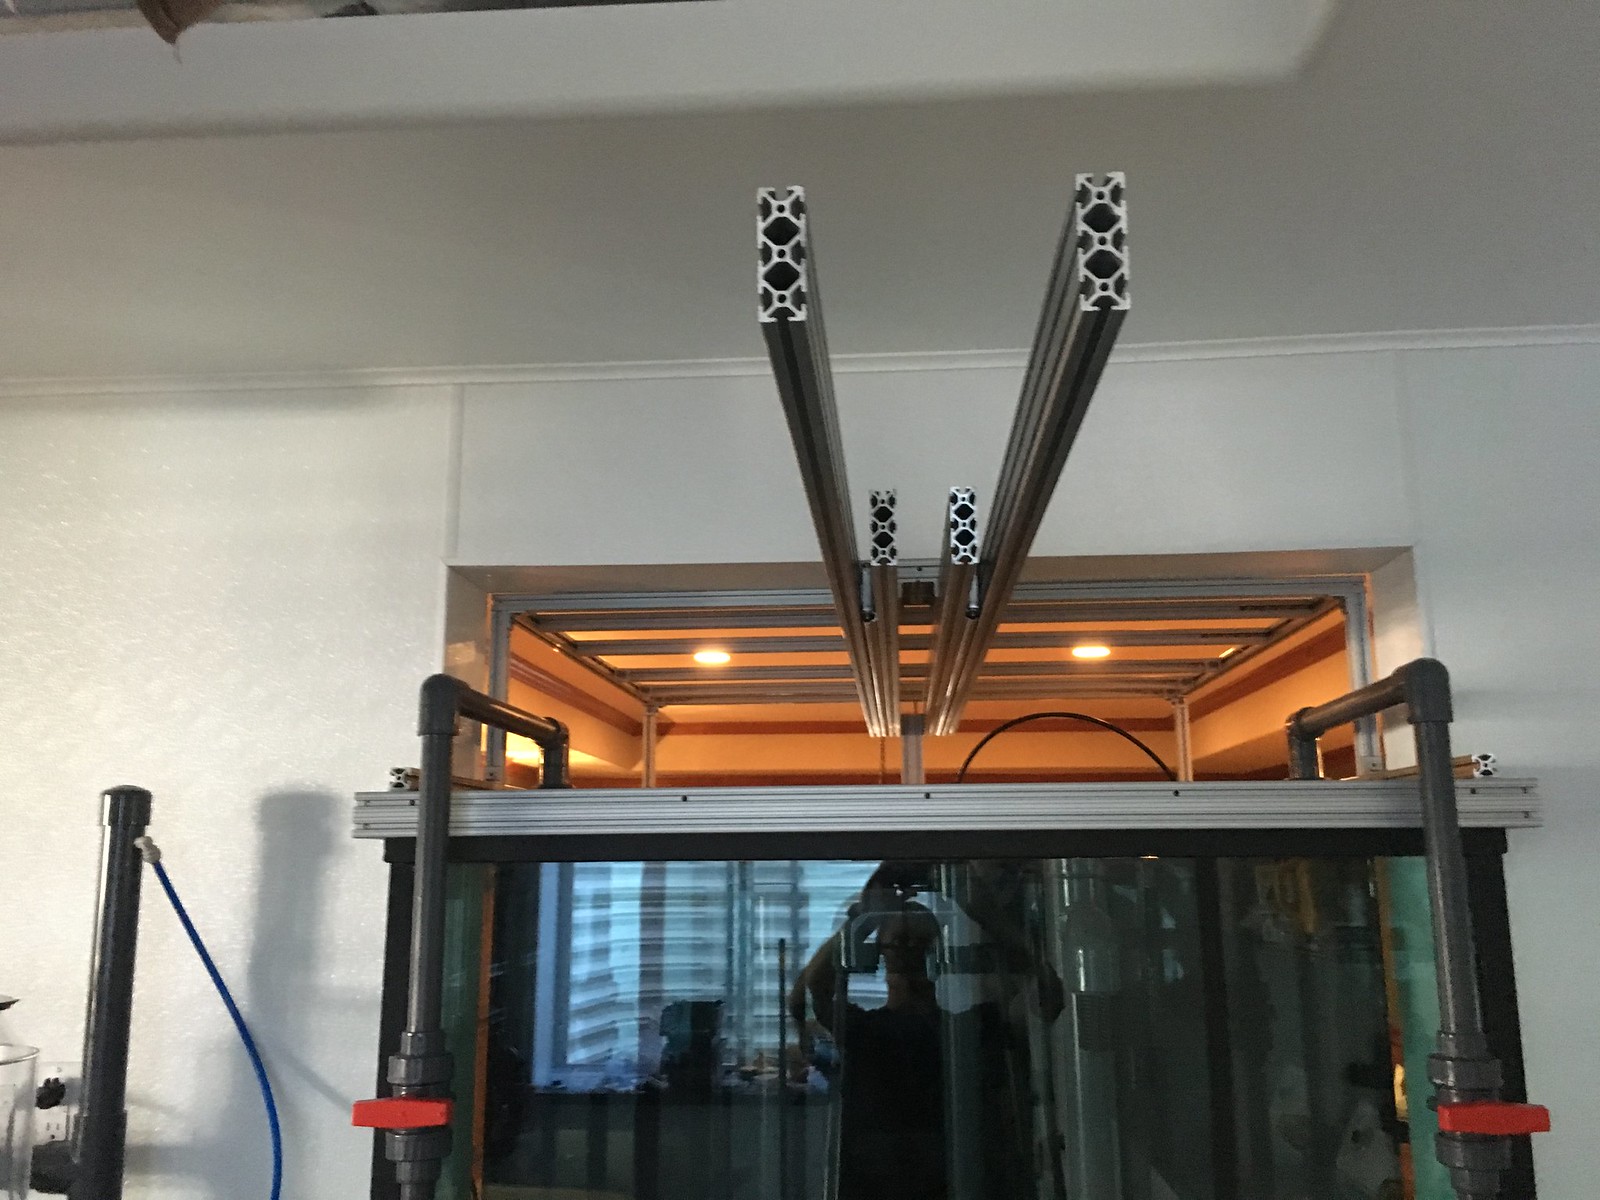
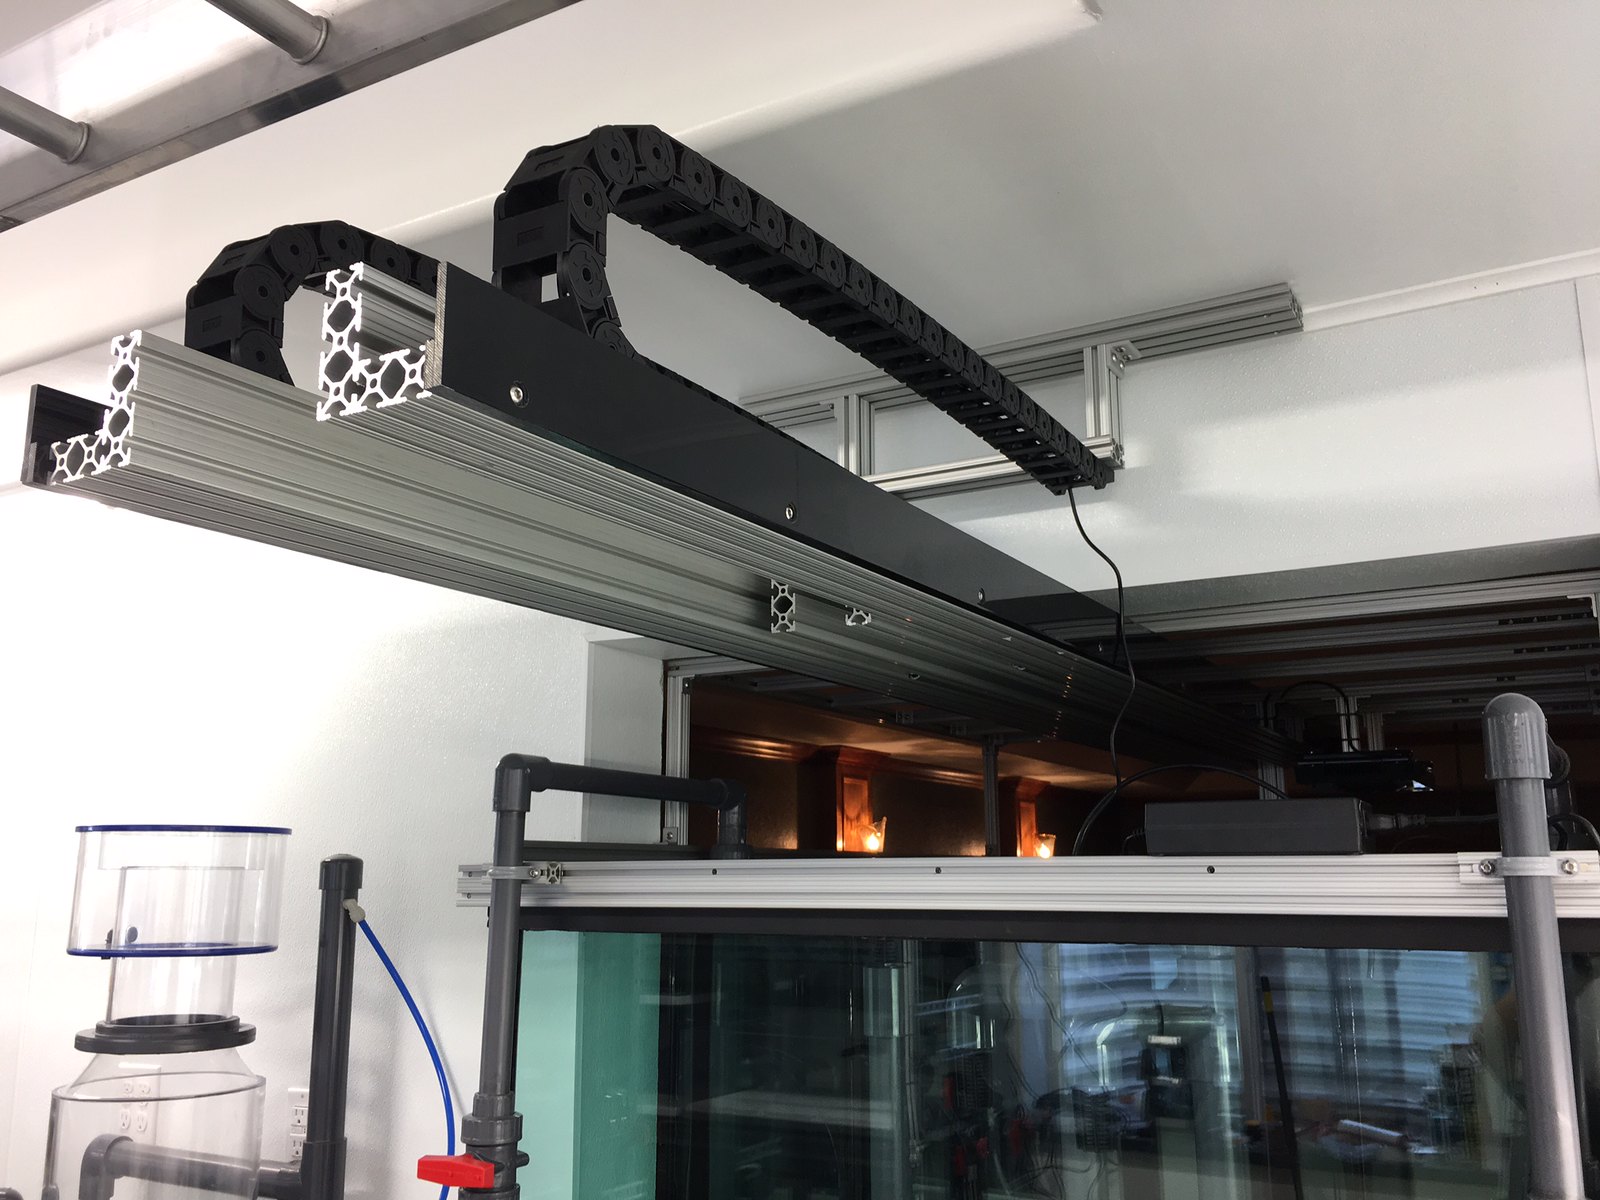
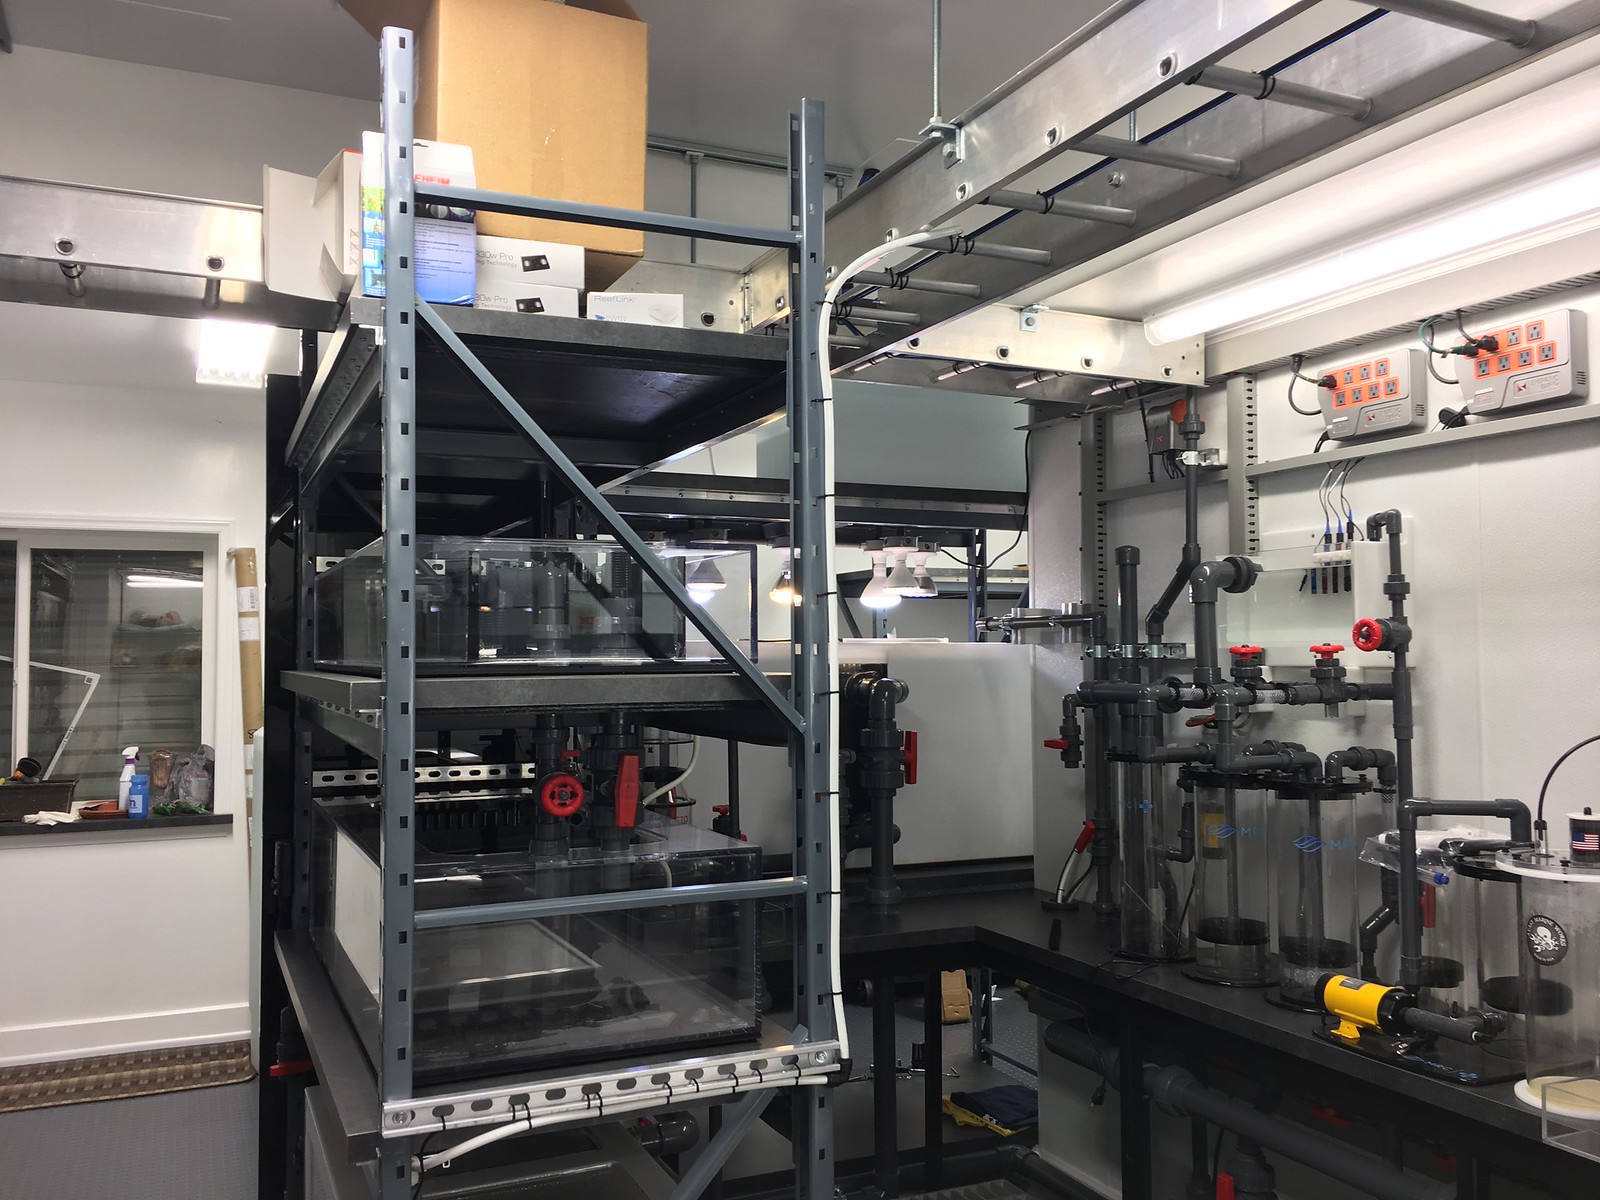
The back side in the filtration room. I will be using a cable chain guide on the electric cables so that everything is well managed and protected as the rack rolls out and in. I am on hold with the rest of this rack while I wait for more fasteners.
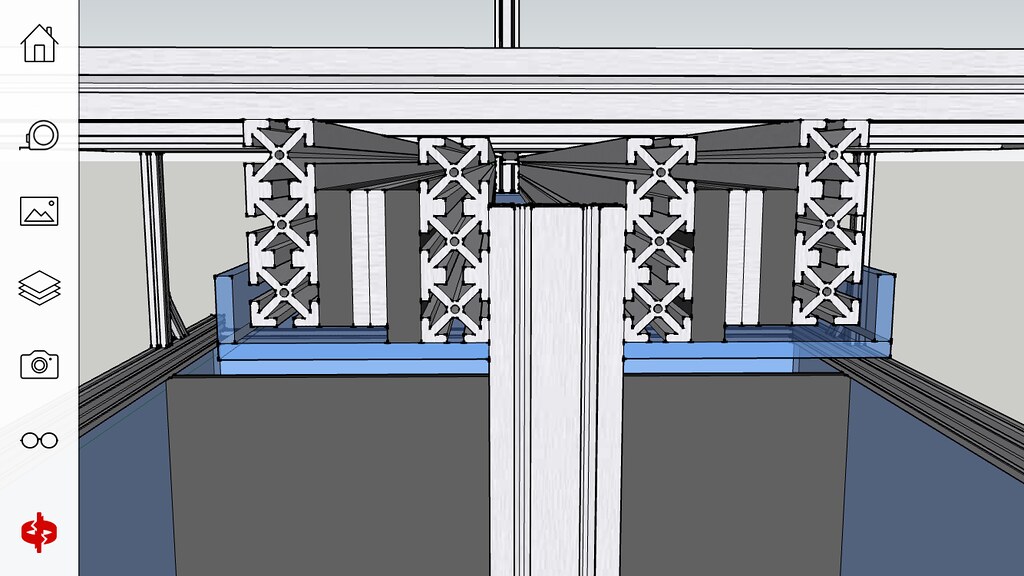
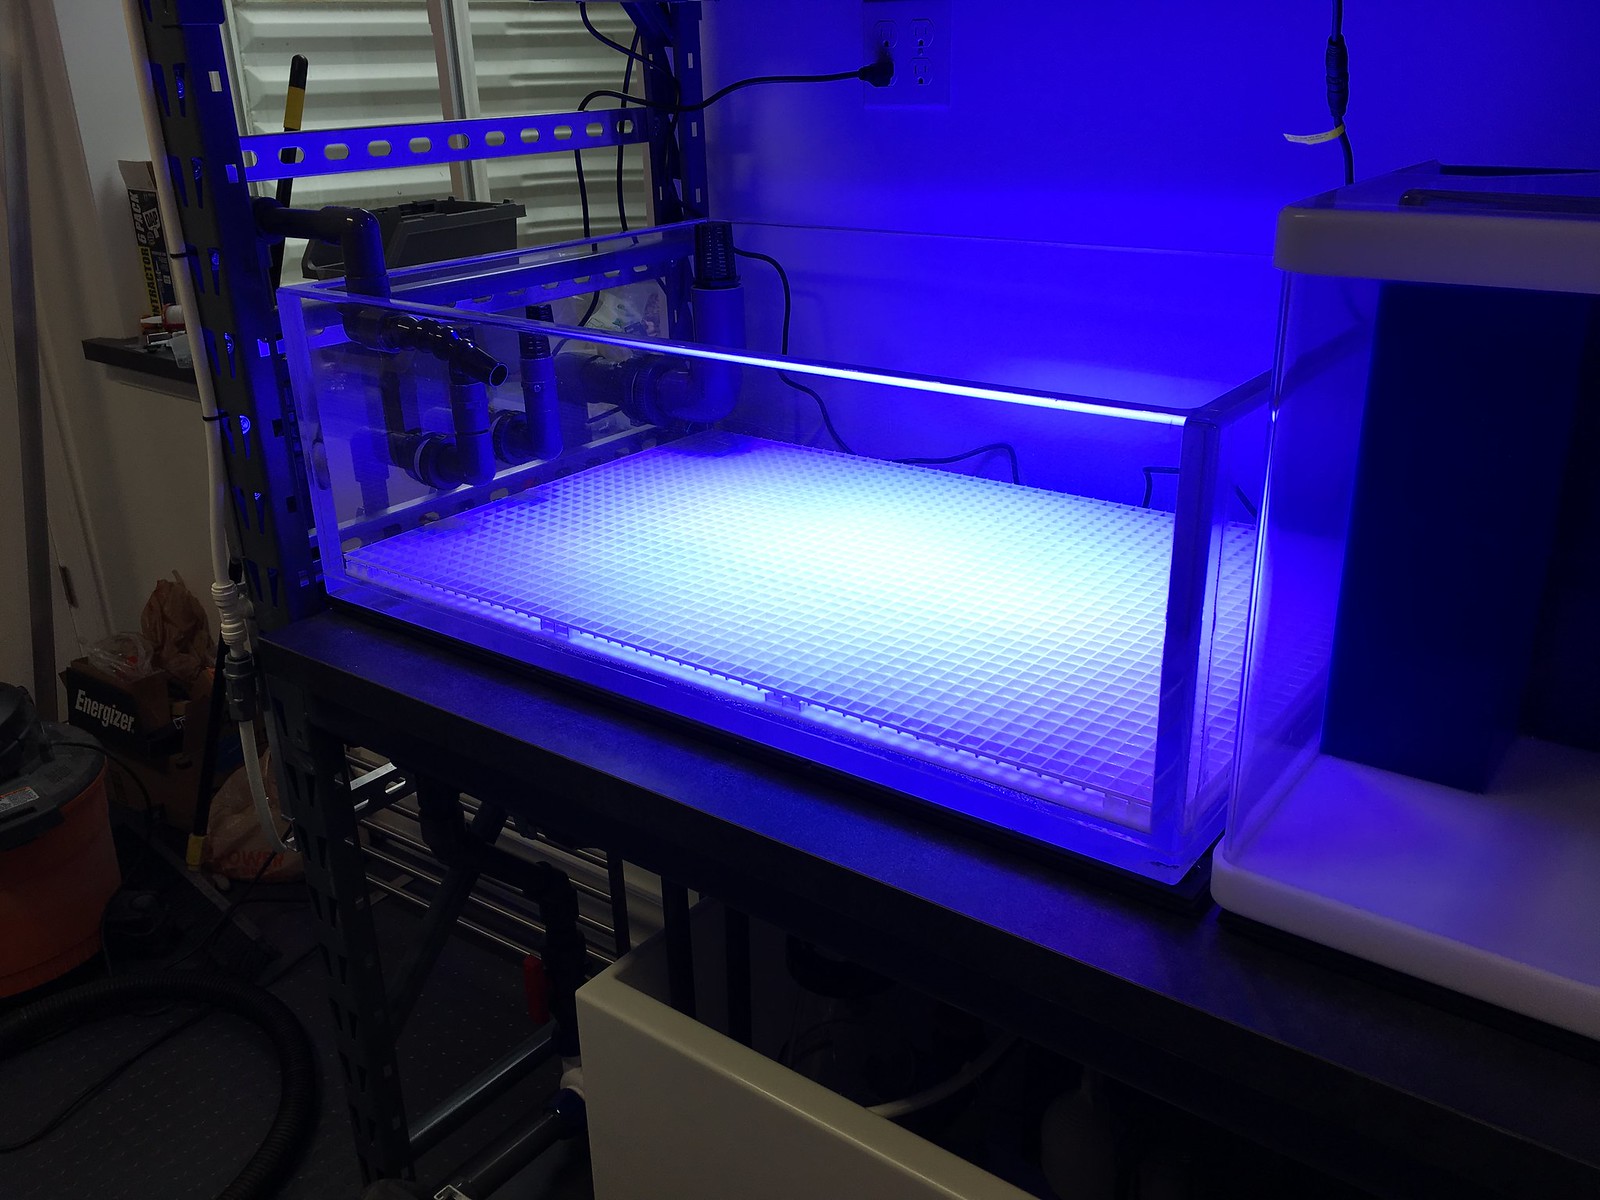
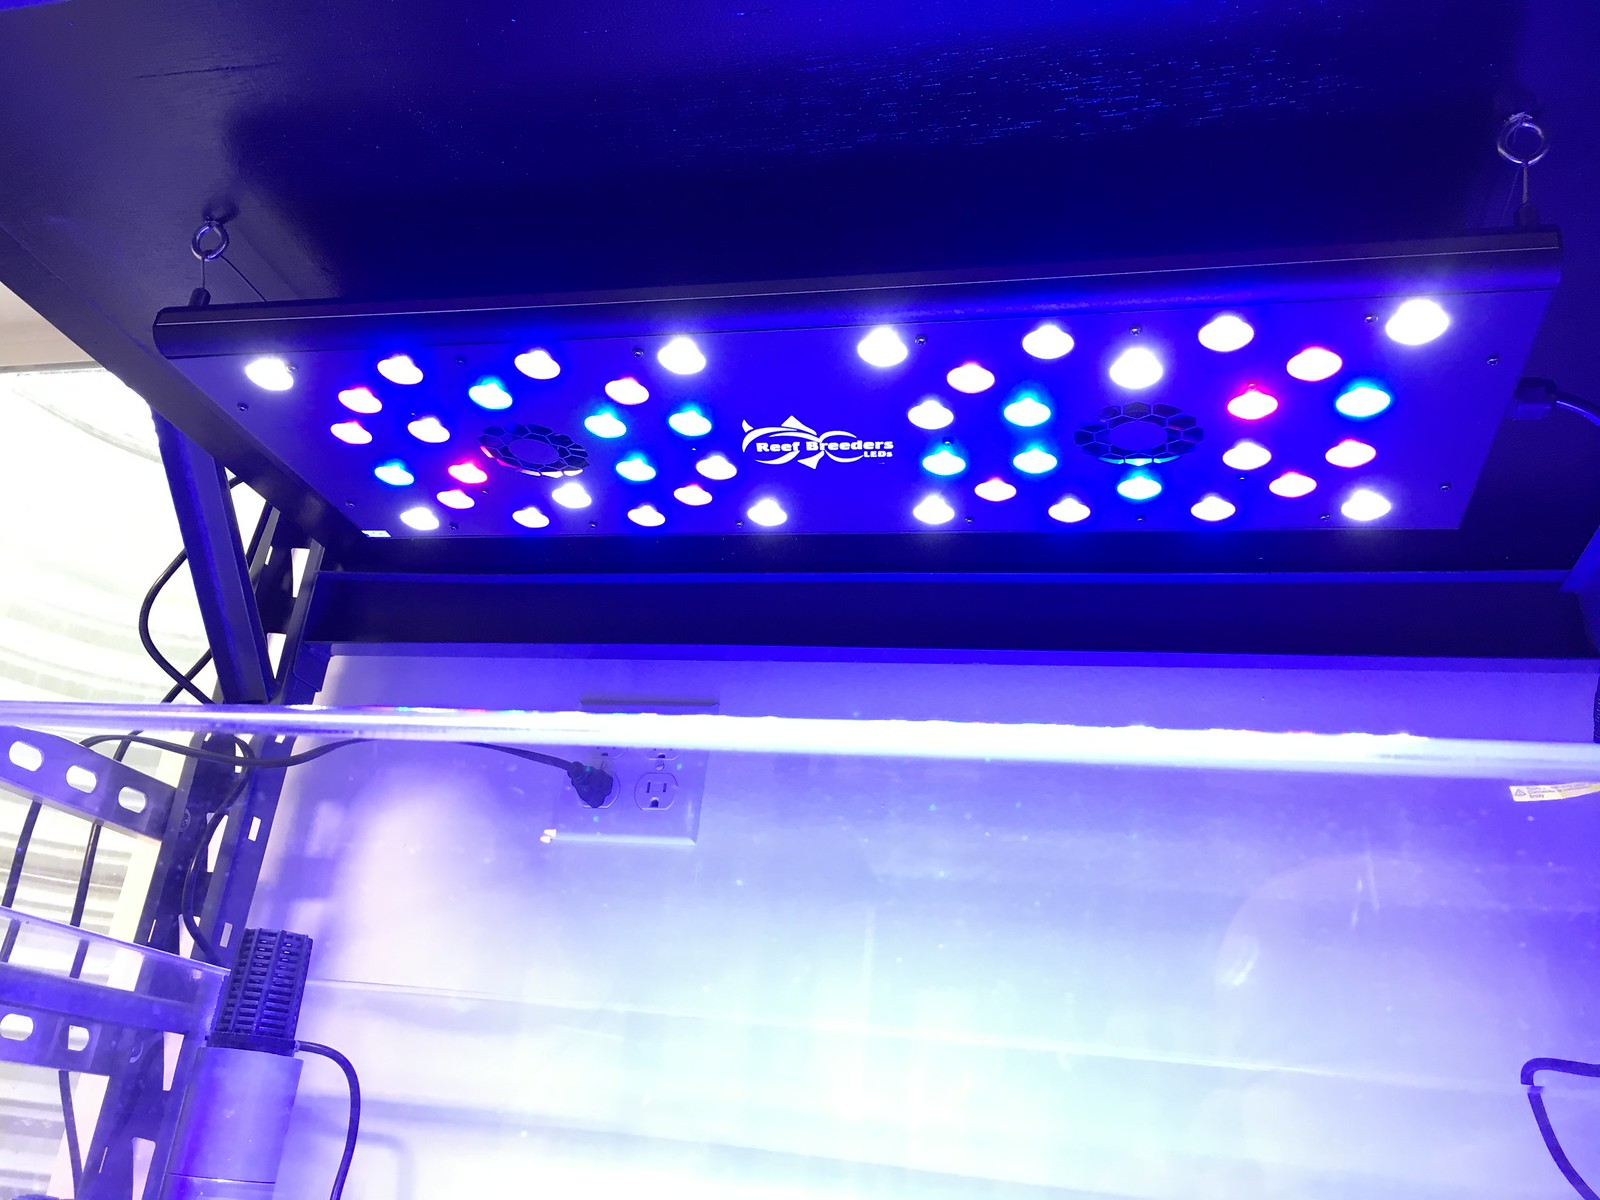
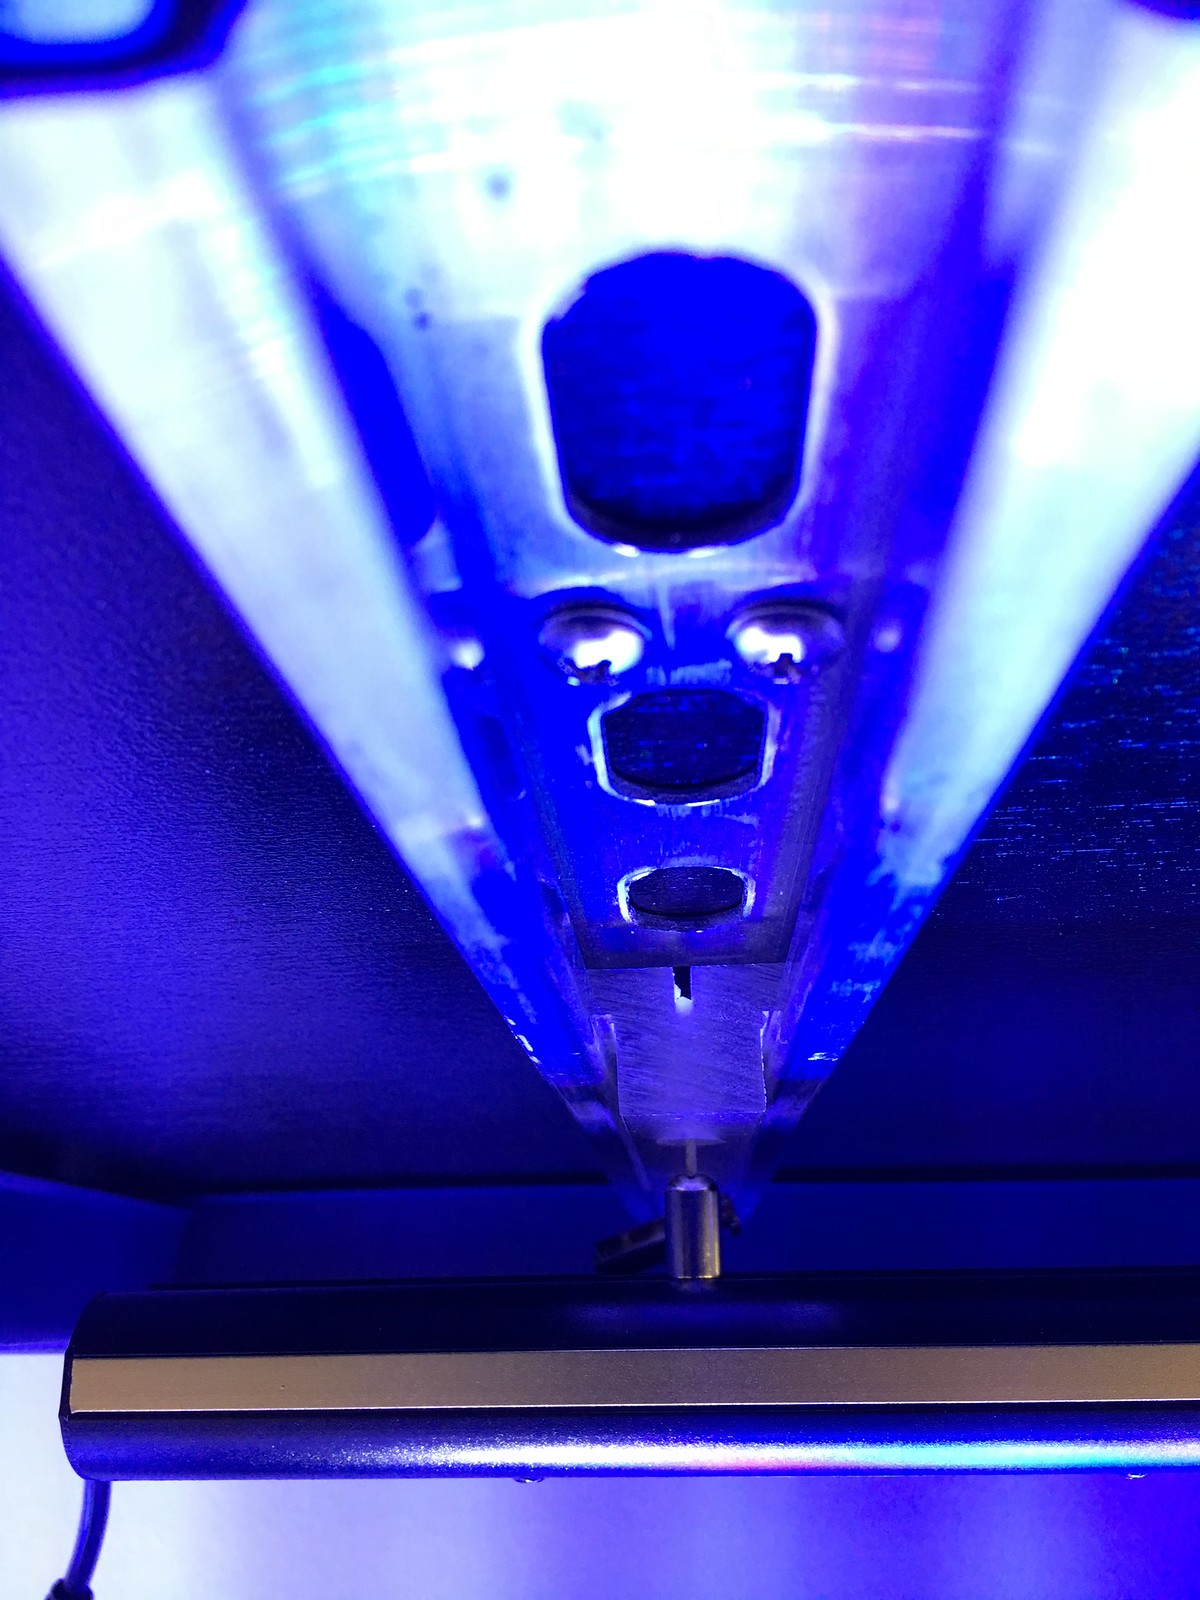
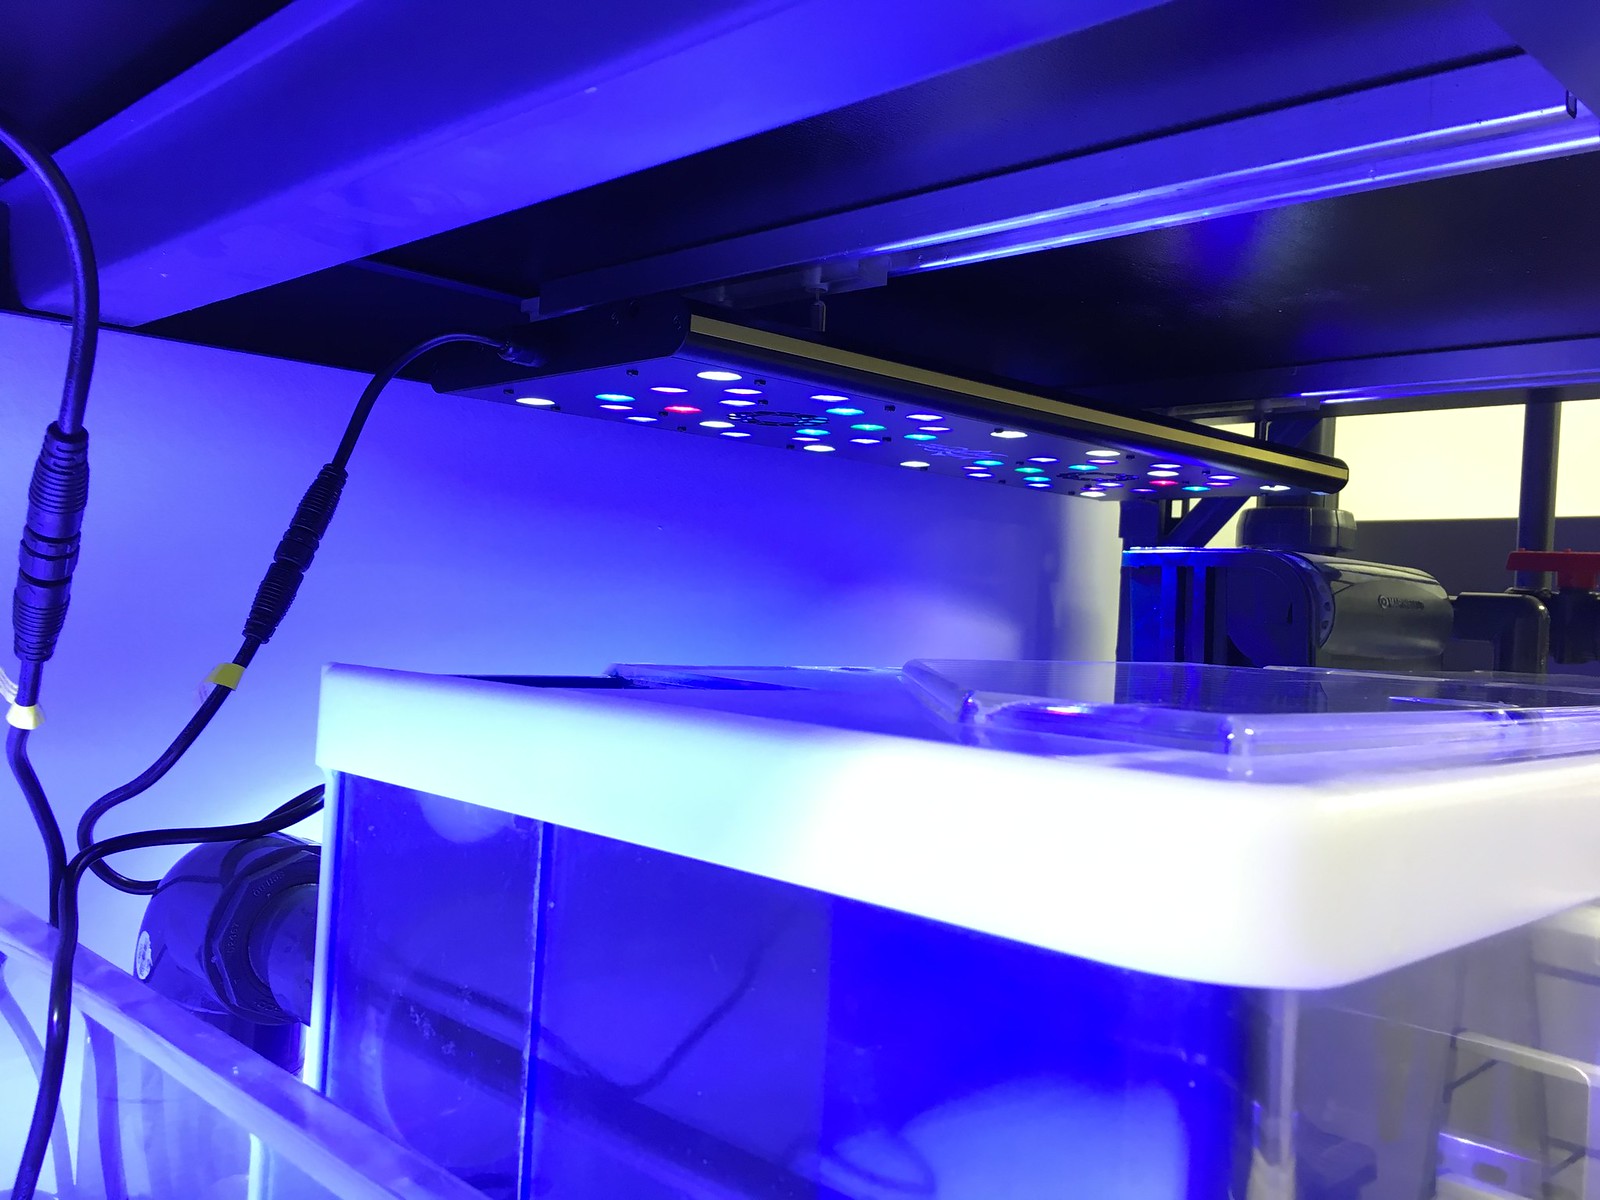
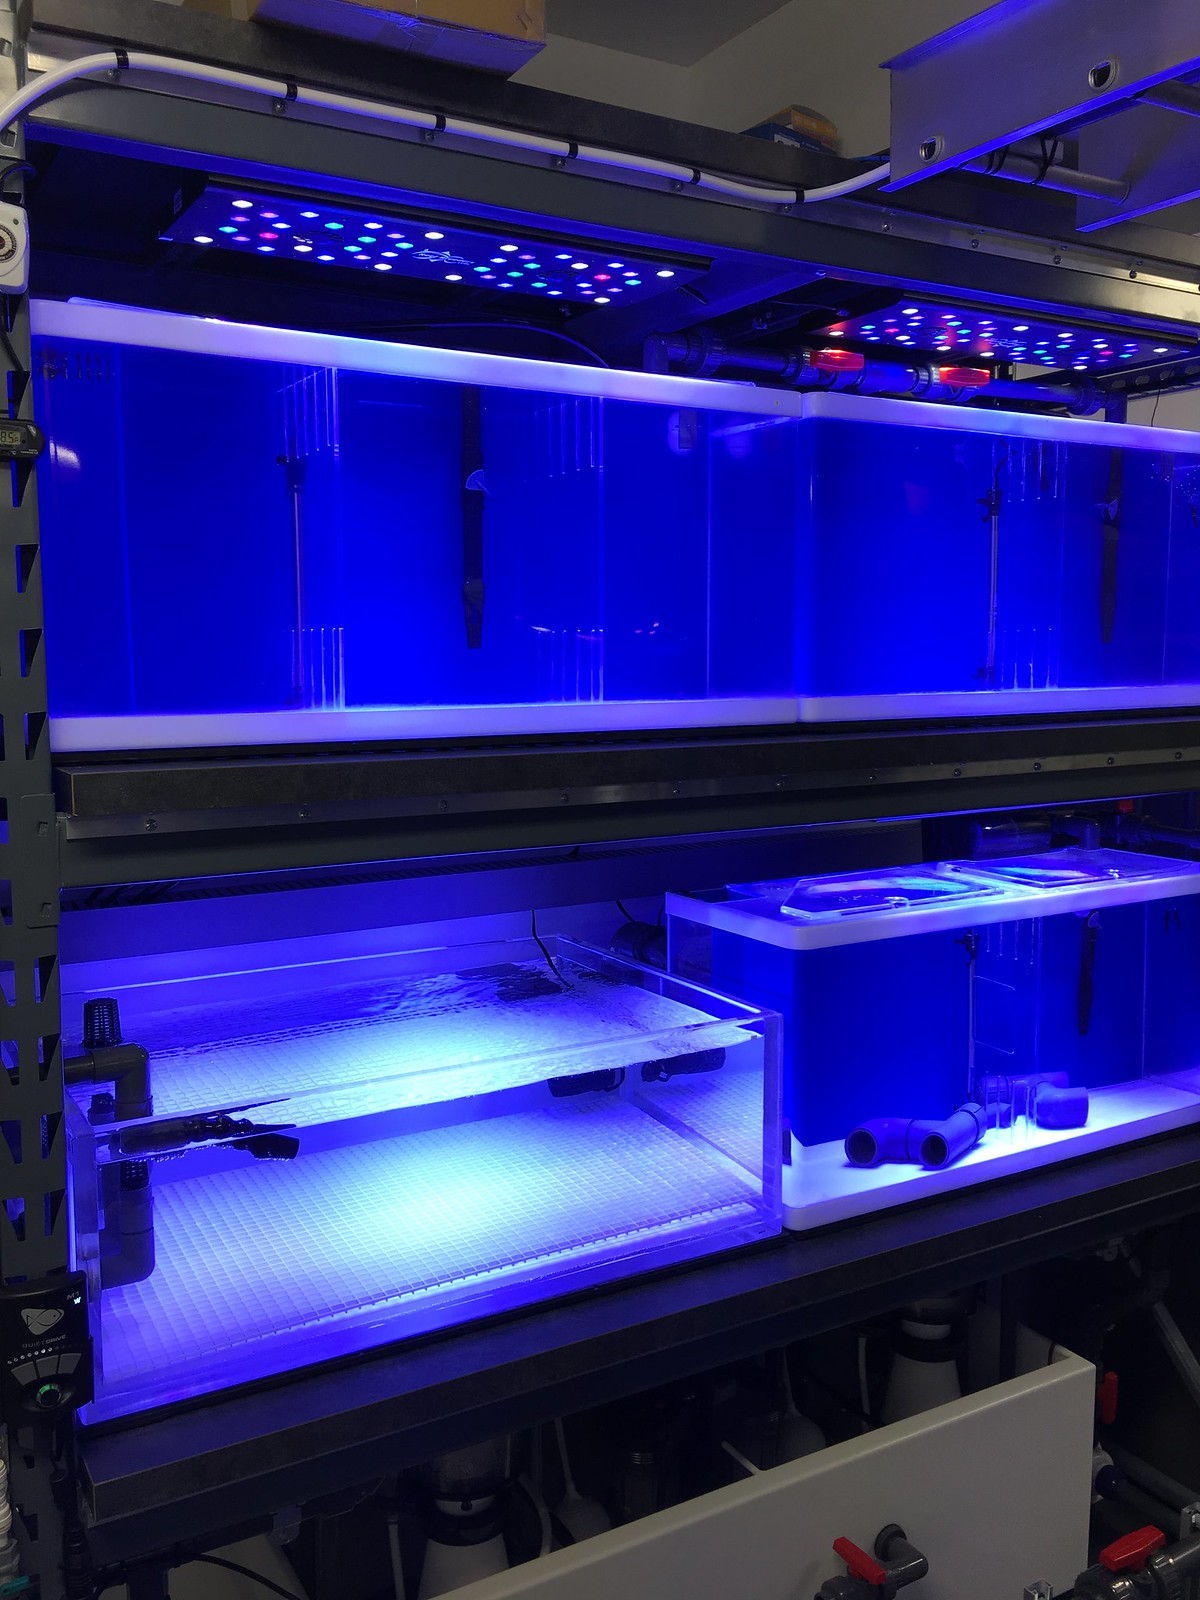
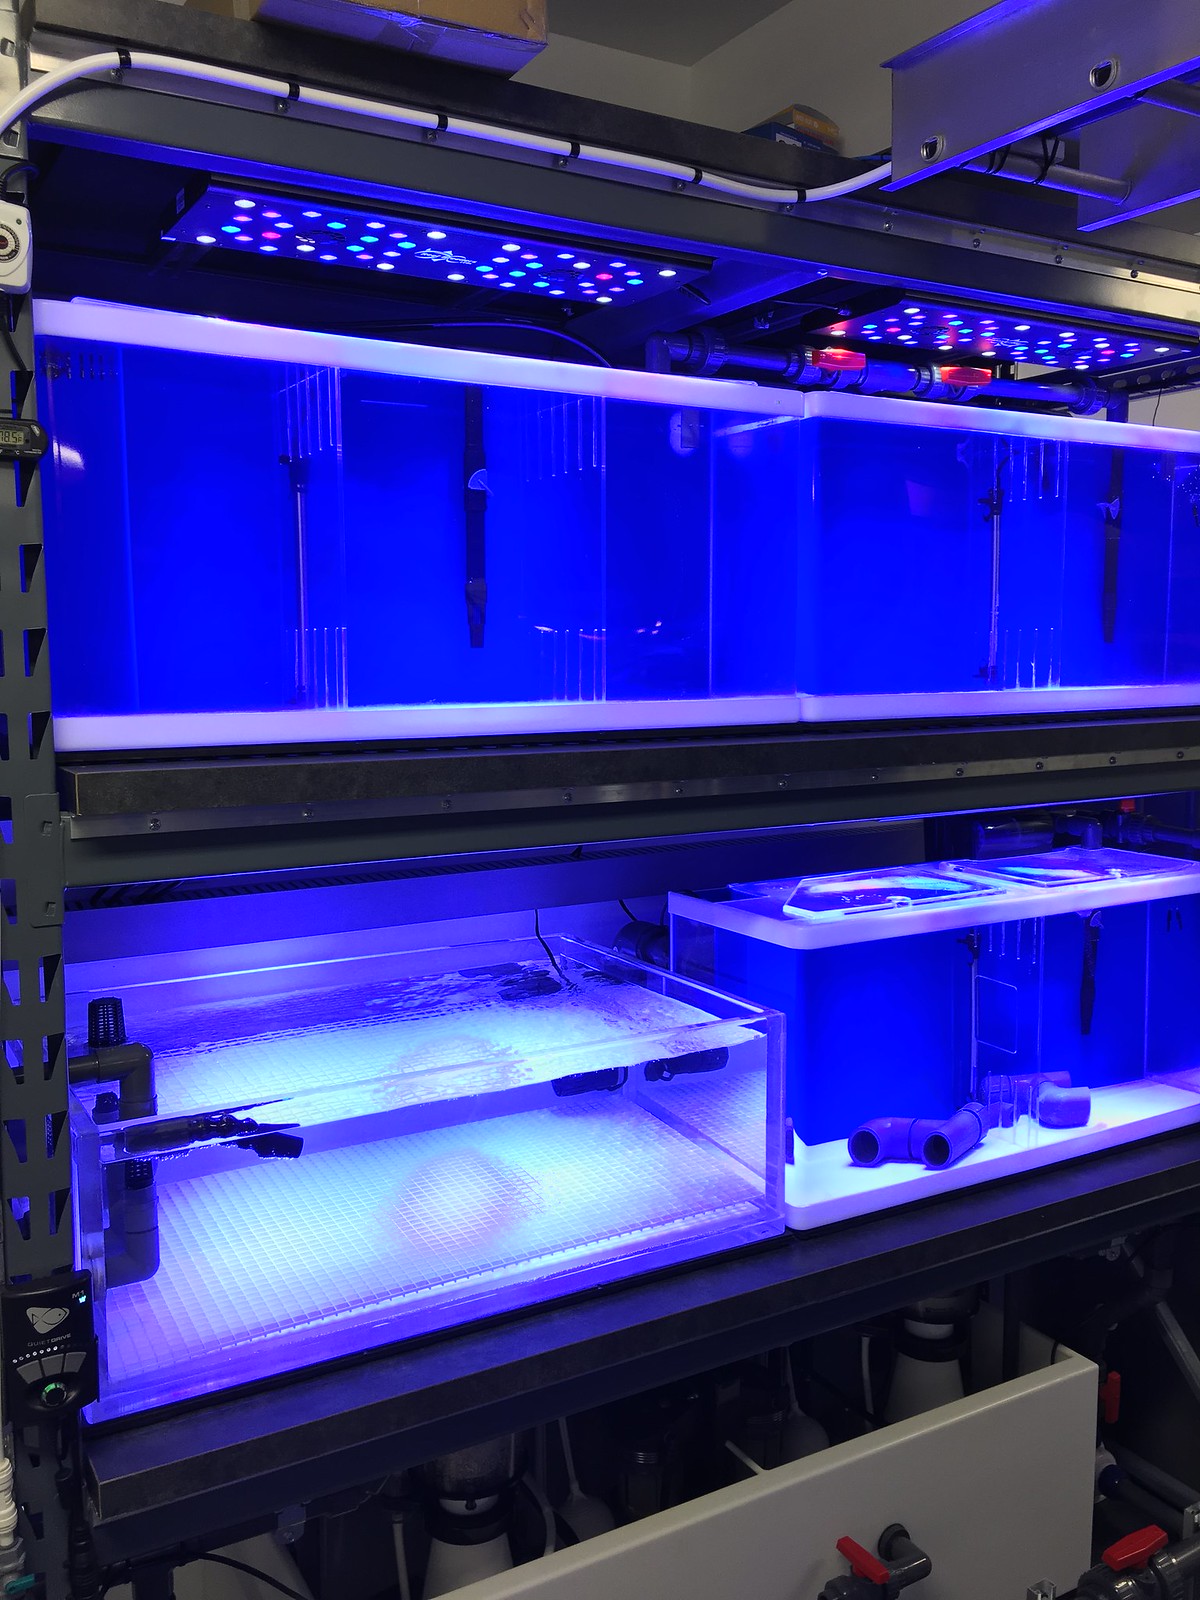
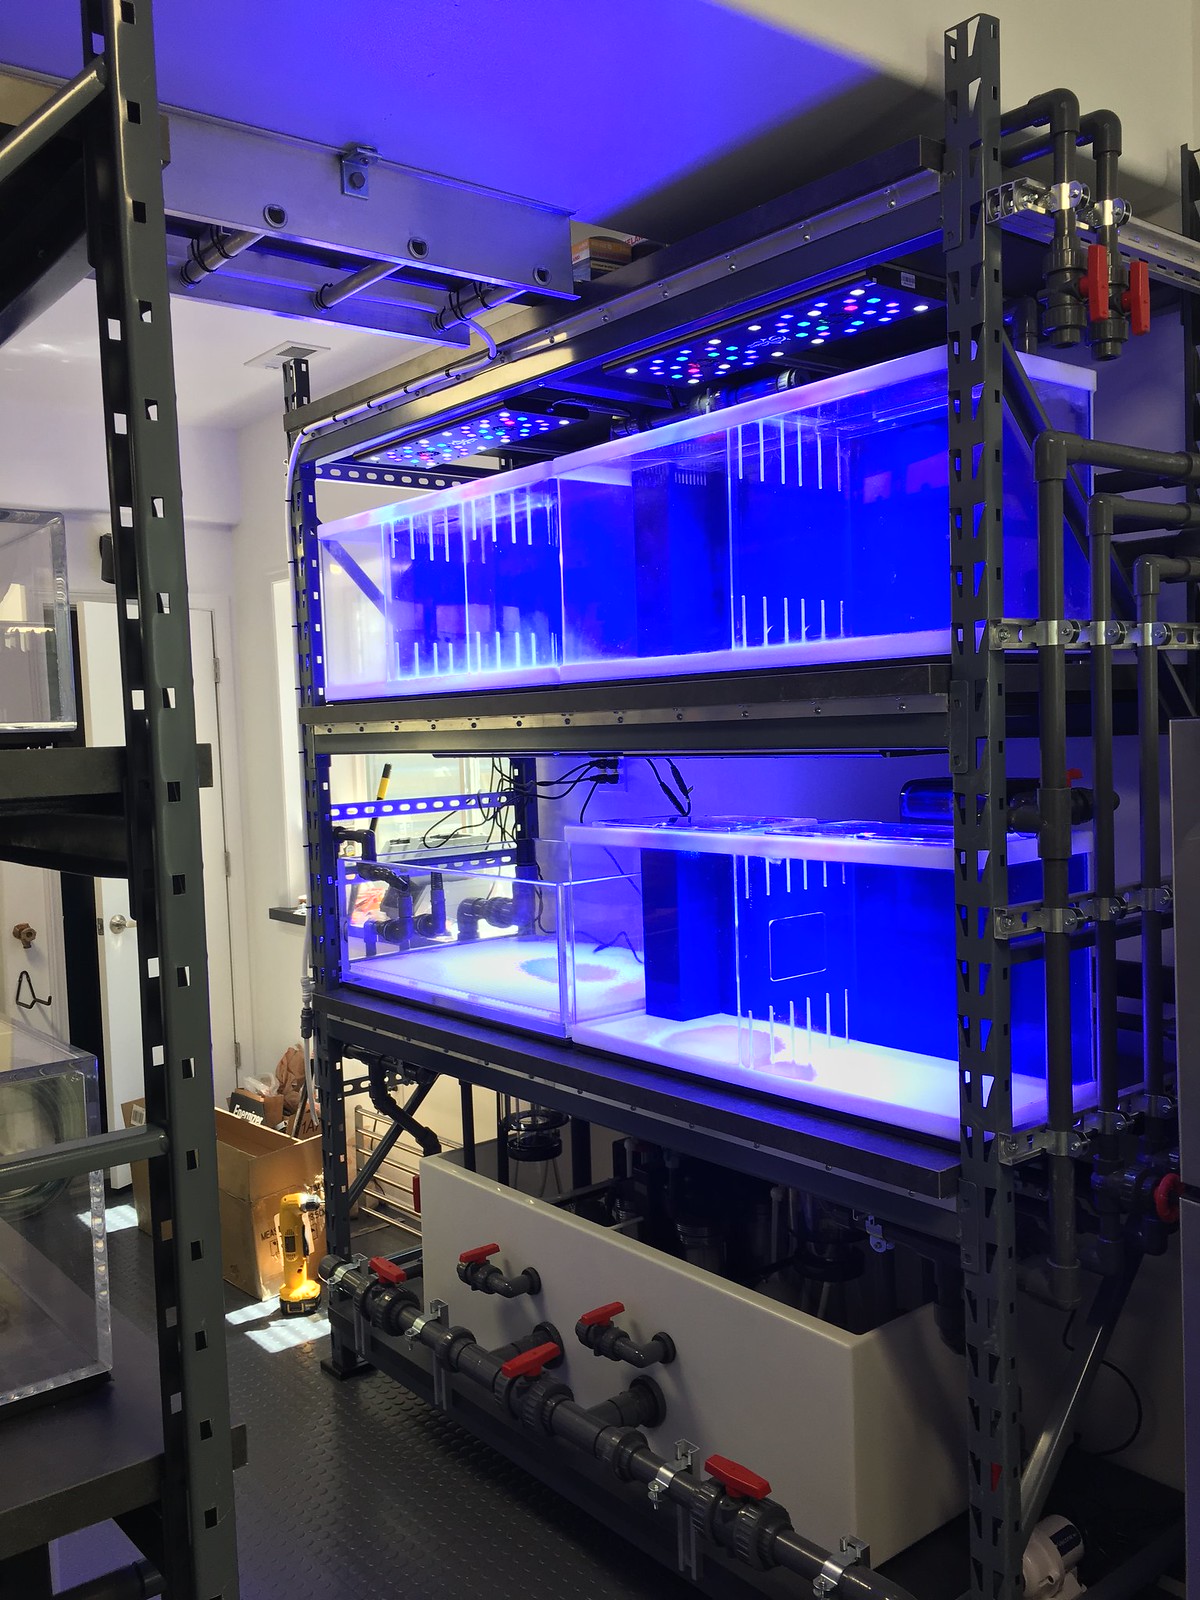
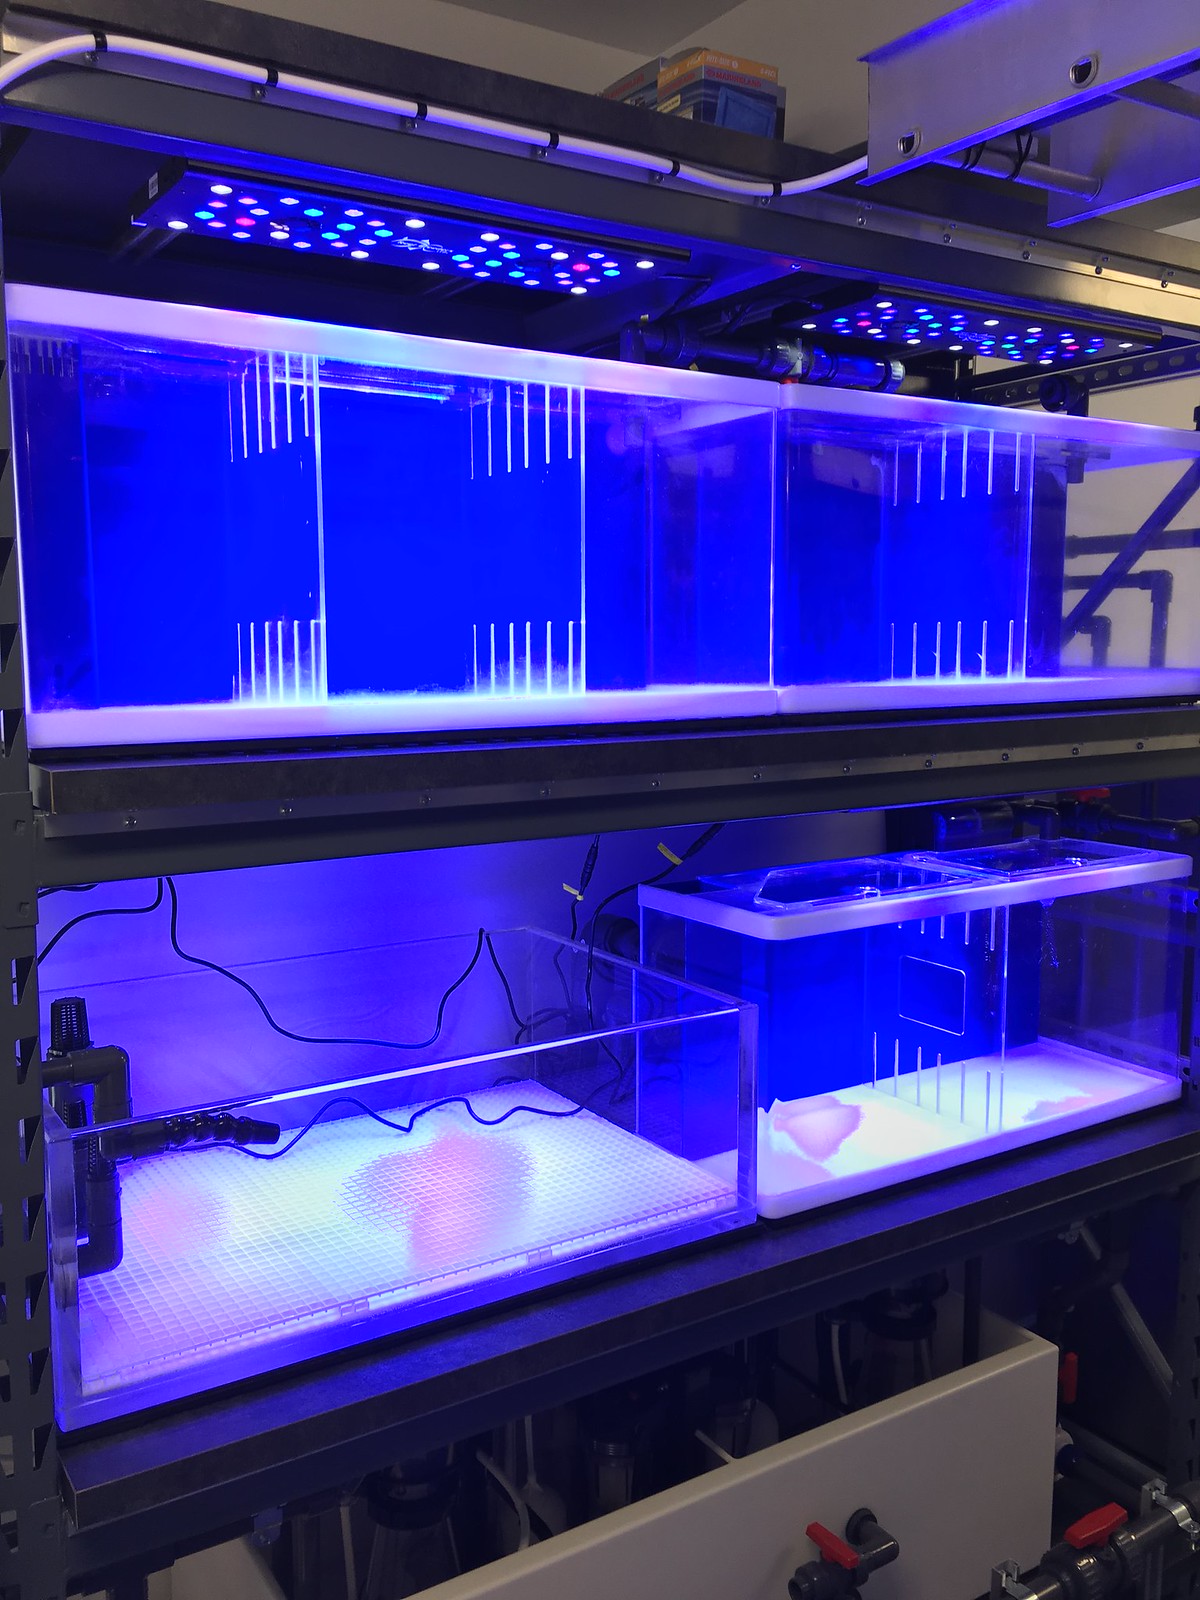
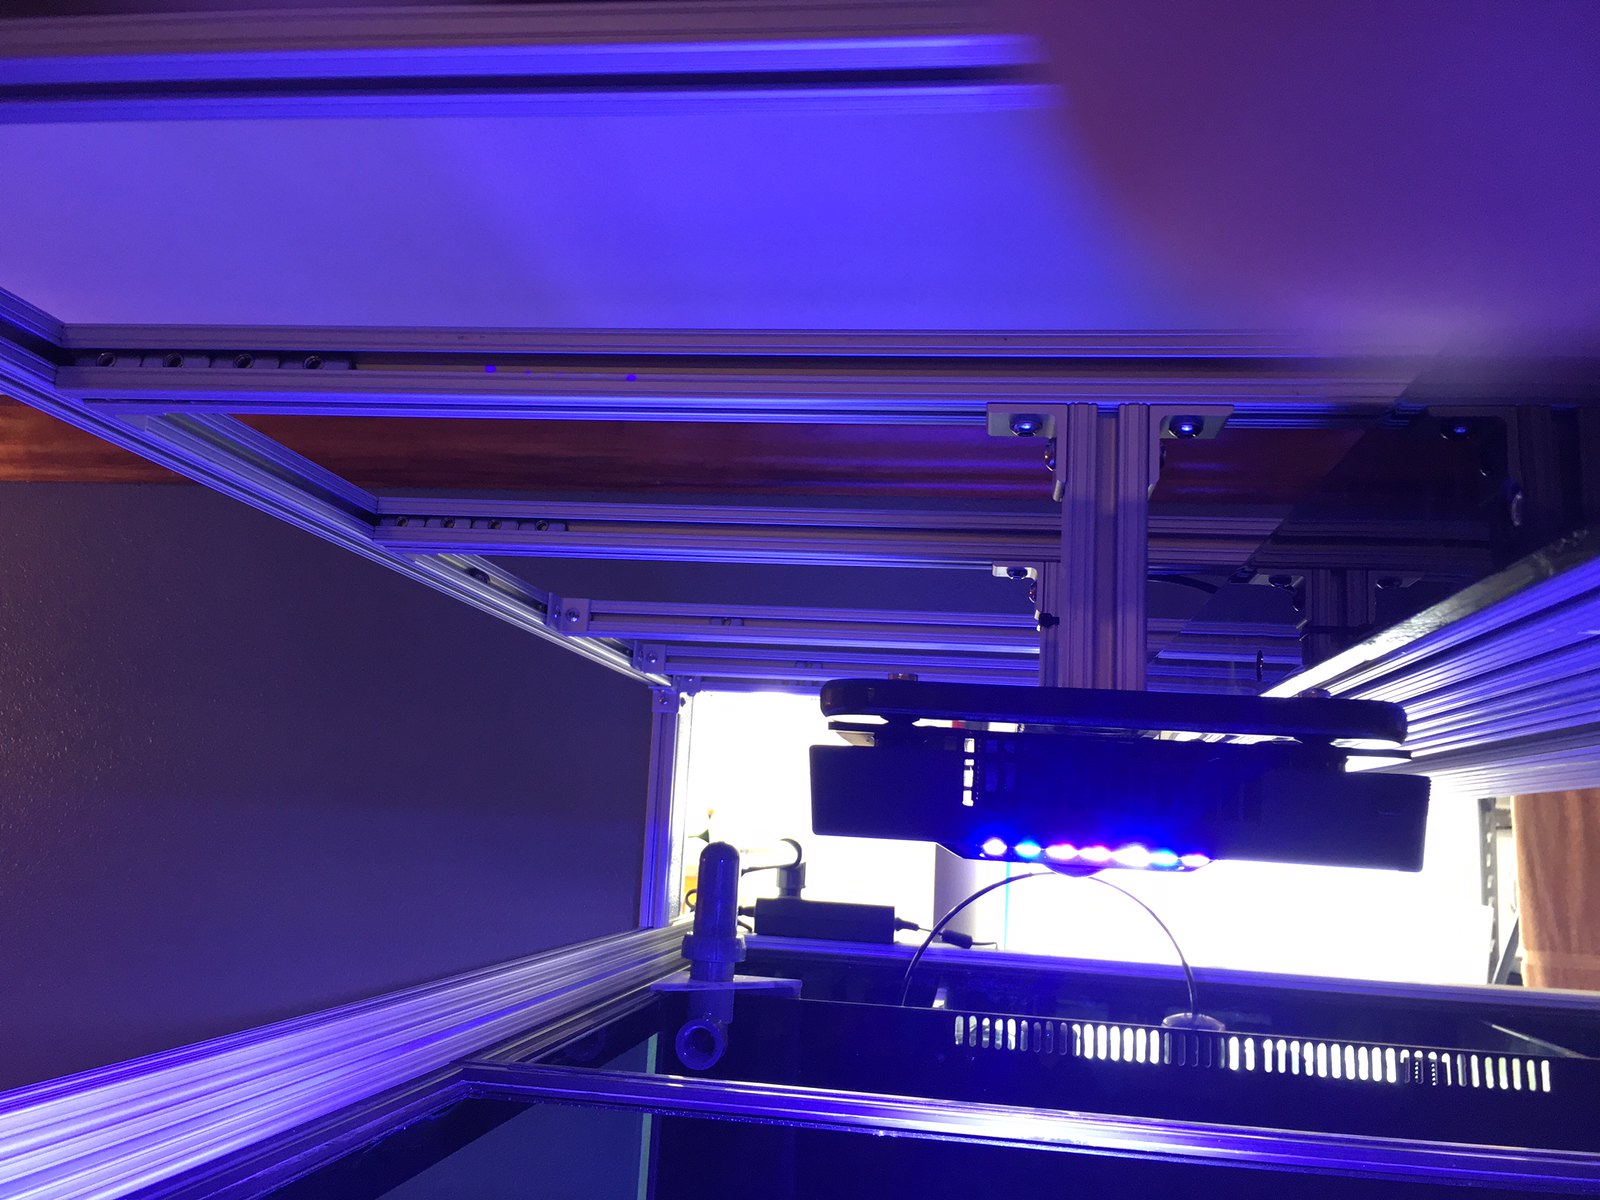
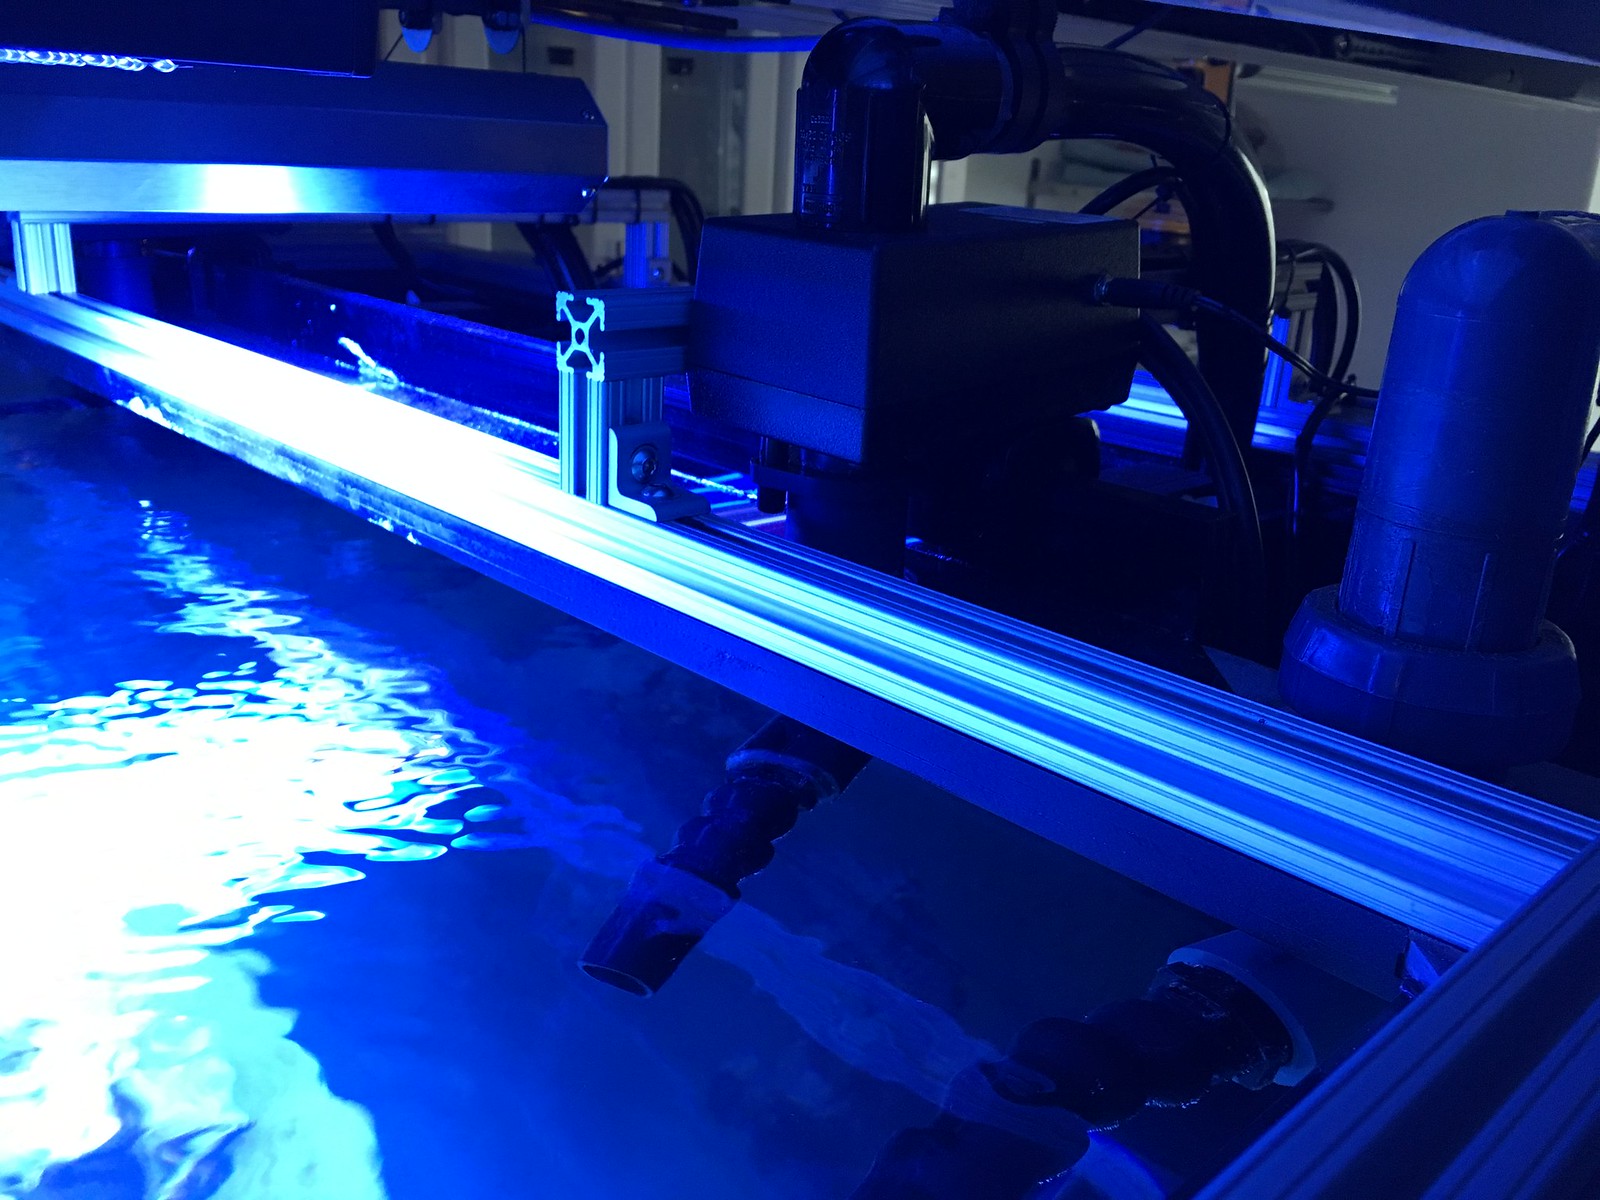
I also picked up a few more pieces of the aluminum strut so I was able to complete the mounting of the Reefbreeder LED's over the QT tanks. The tanks are pretty dirty right now. They're also scratched because they were originally salvaged from a store years ago. I modified them and buffed them as well as I could (or was willing to). They're QT, so I'm not extreemly concerned that they aren't show quality. They do the job.
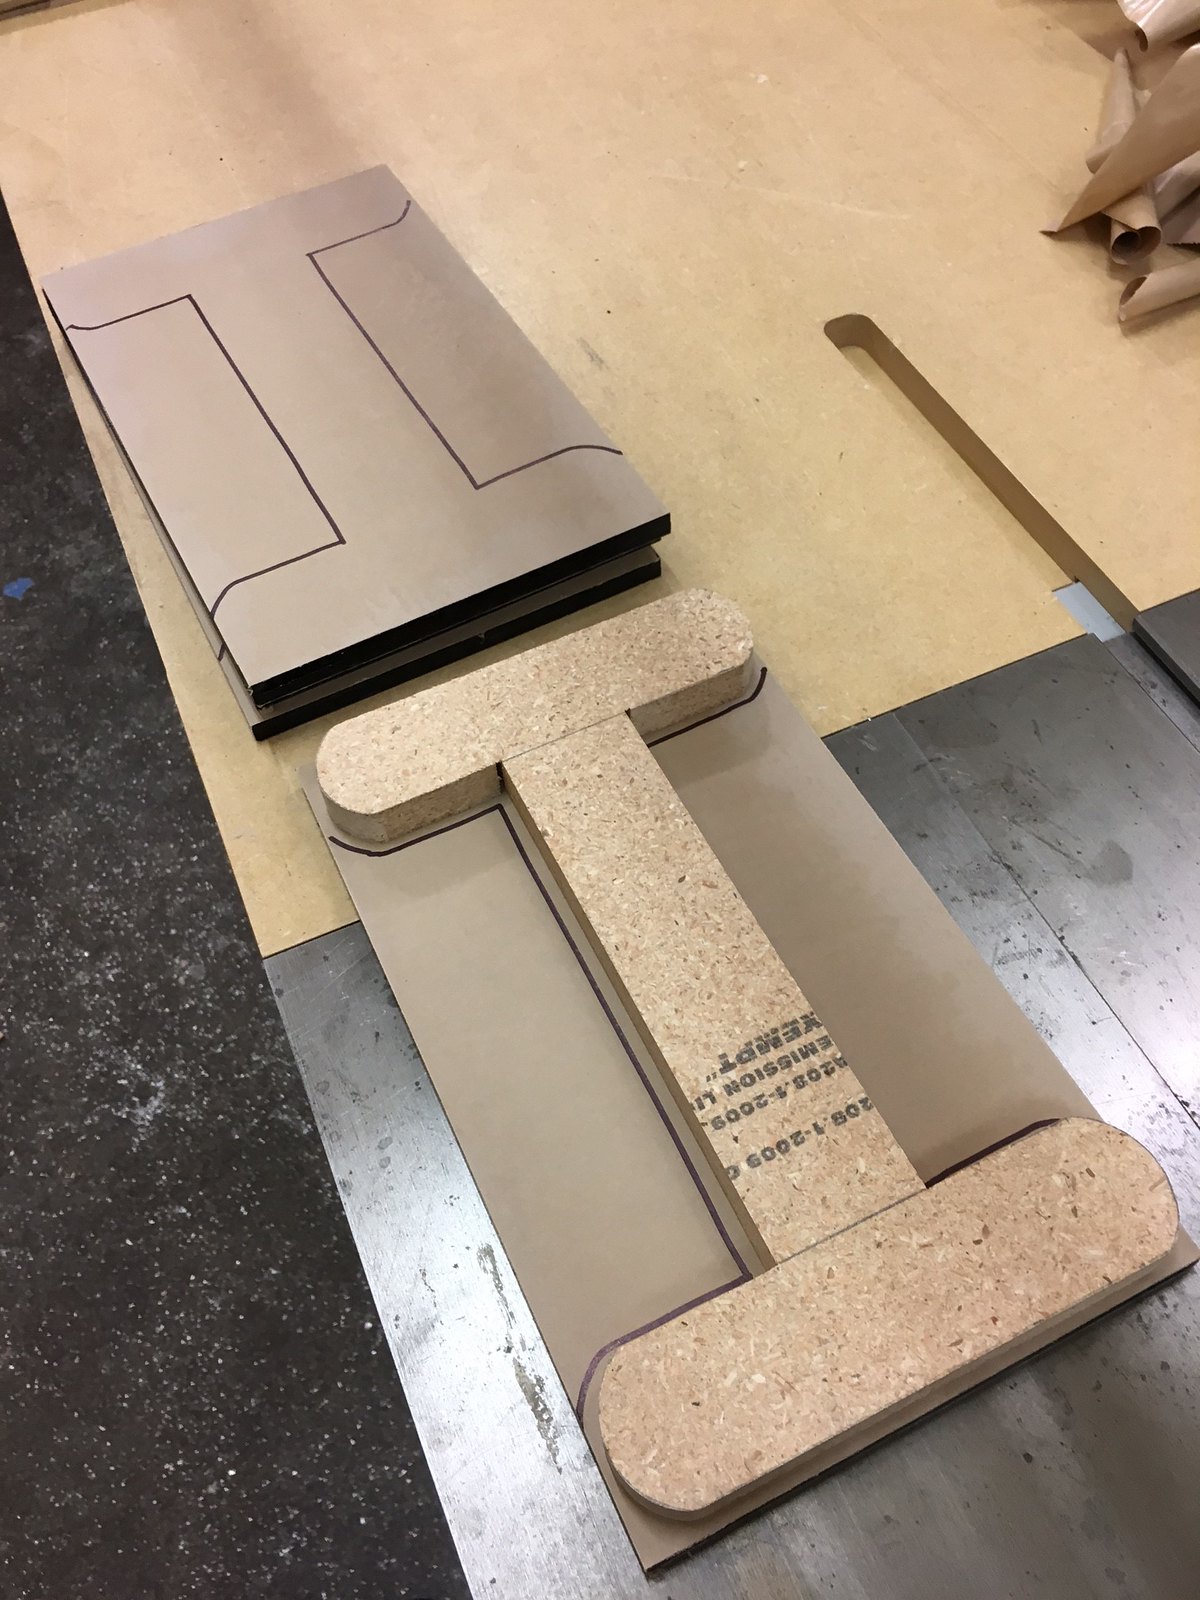
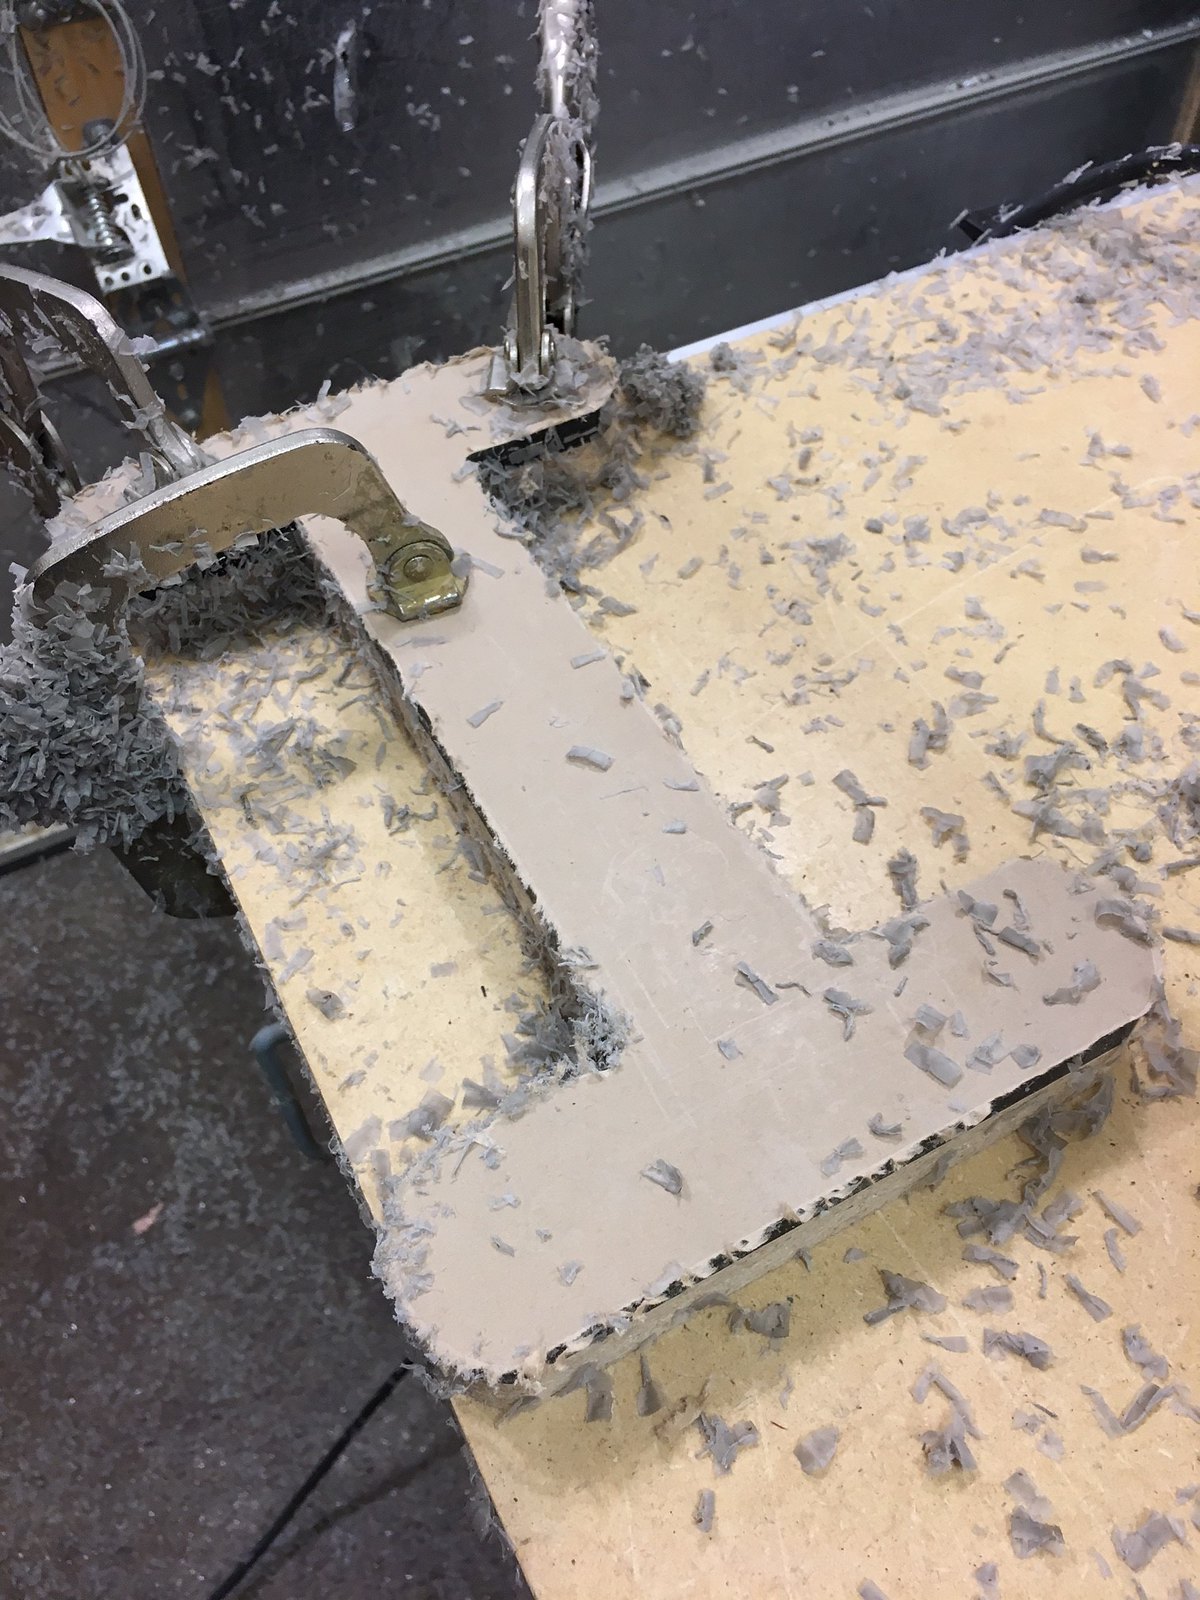
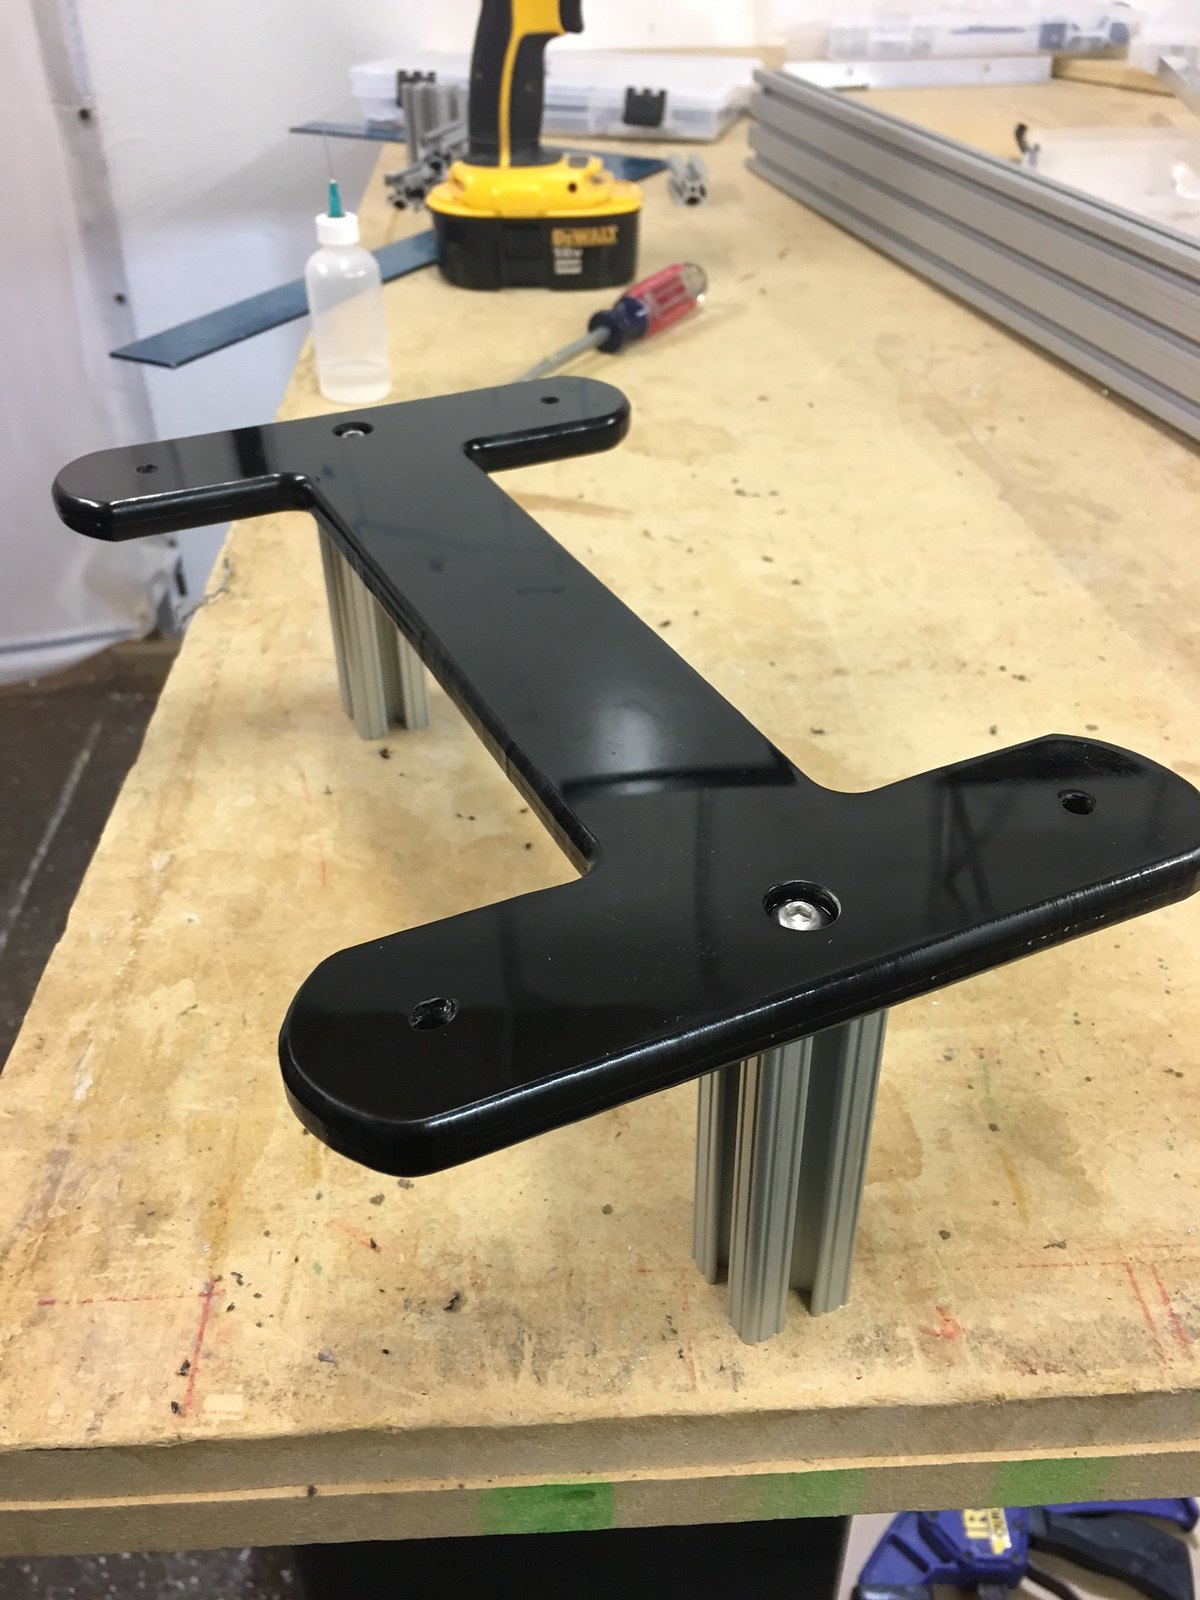
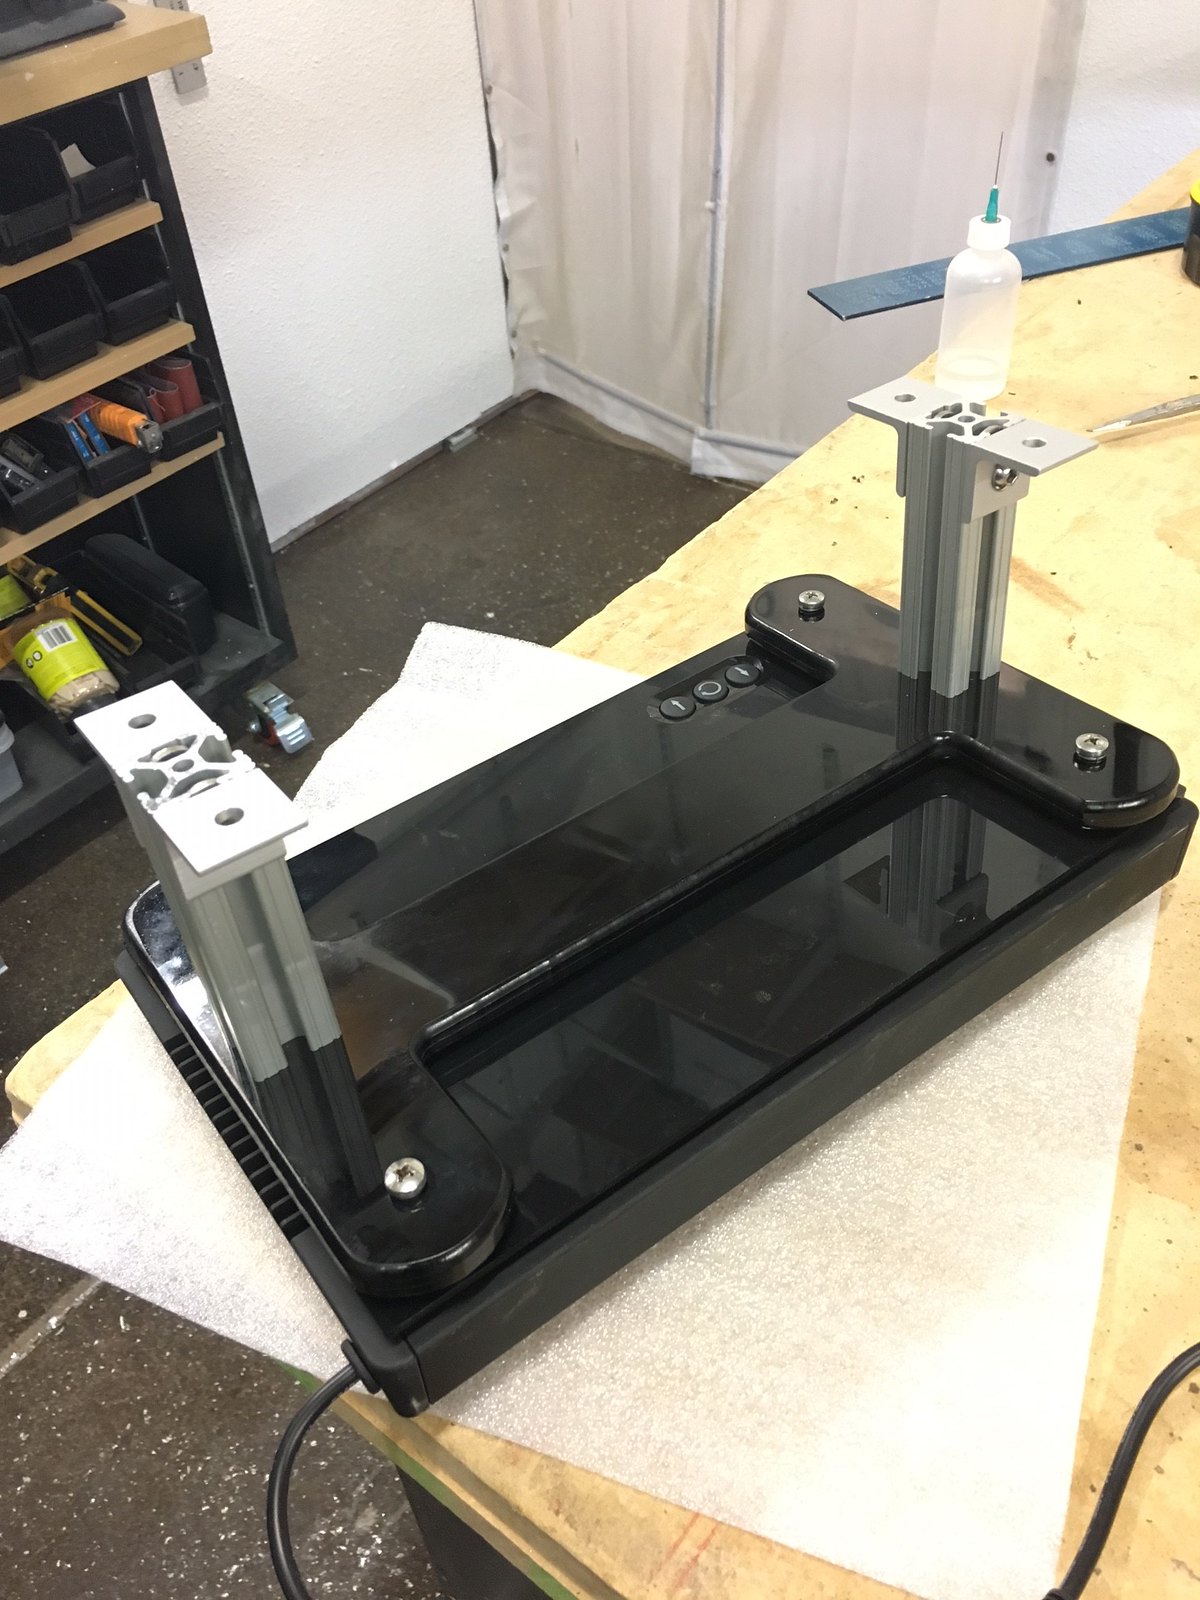
I started off the weekend prepping for the Radions to arrive. I only have one right now to build and design from. The rest are on order. I built a wood jig to create some acrylic mounts off of. I trimmed all of the mounts to fit that jig.
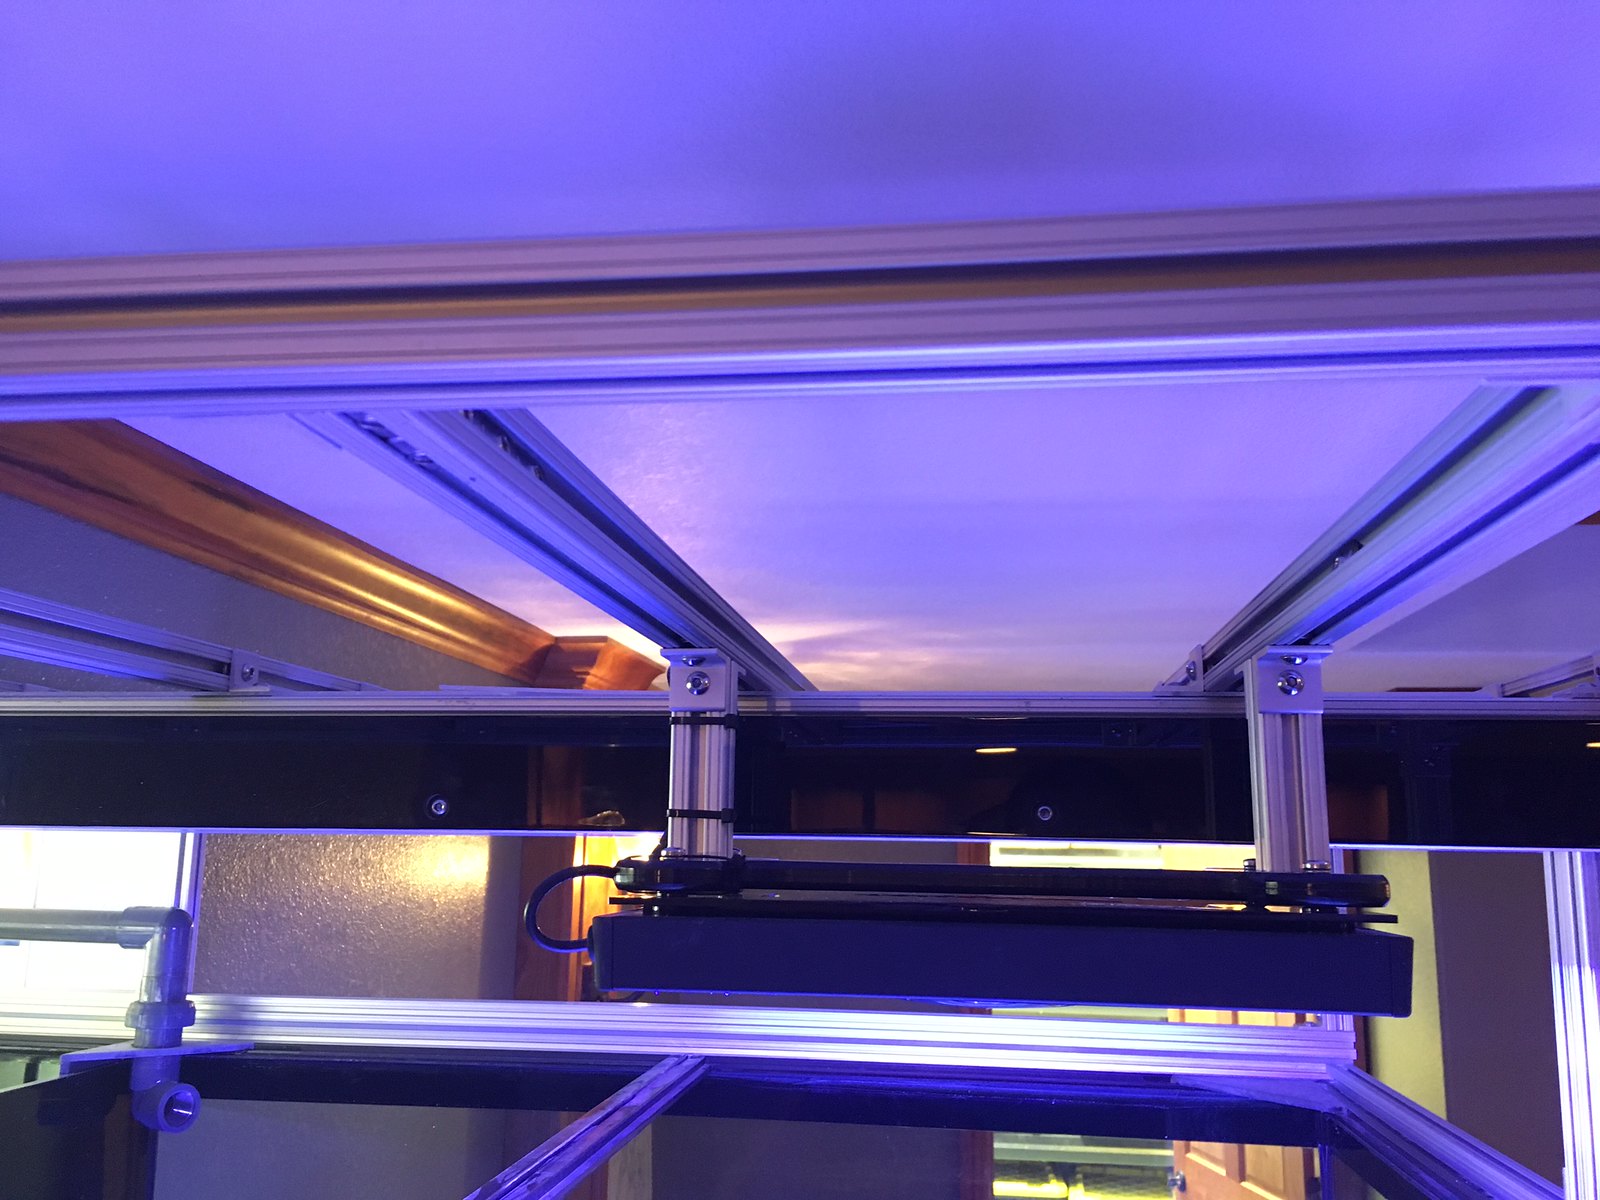
I made 8 mounts. 4 over the display and 2 each over 2 frag tanks. I'm only mounting lights over a single frag tank for now. It will be a while before I need either of the frag tanks. Obviously. But, it's easier to build the mounts now while I already have everything set up.
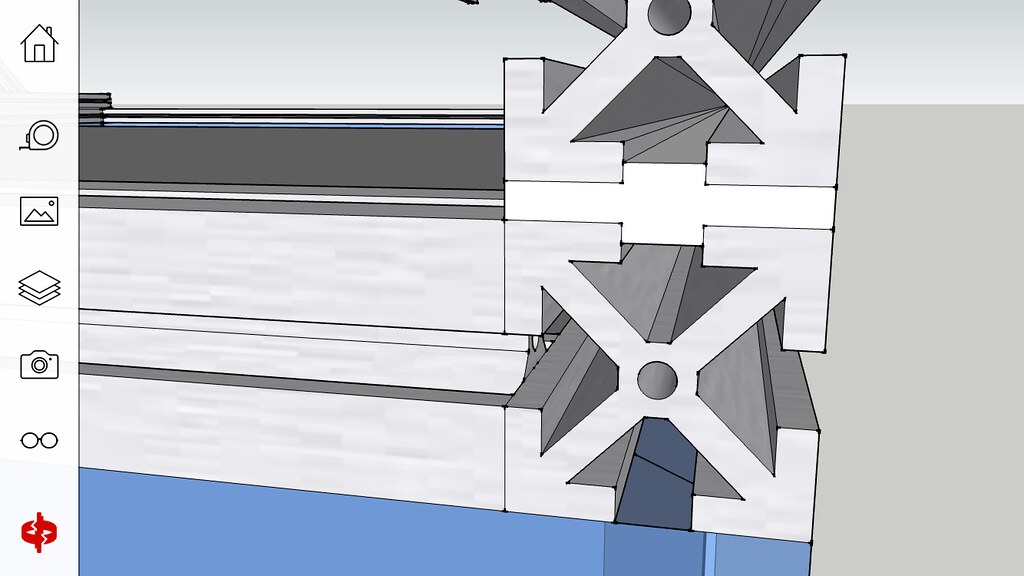
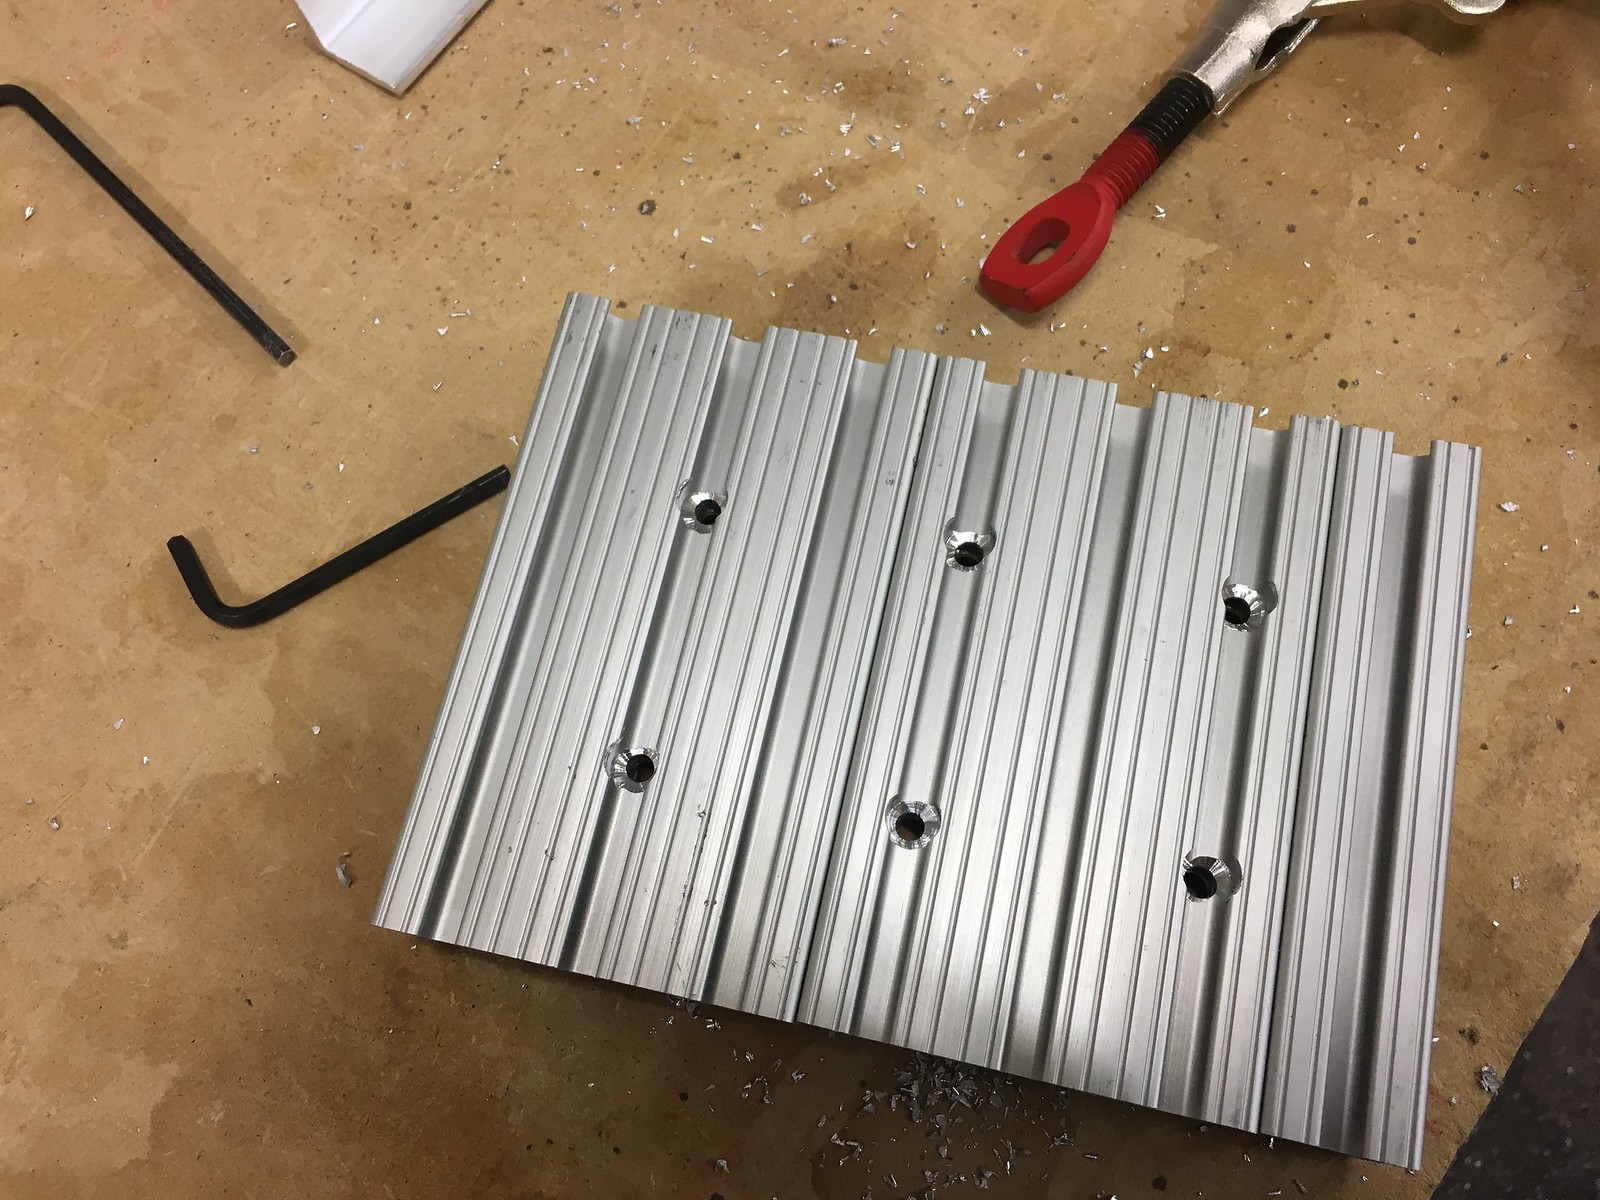
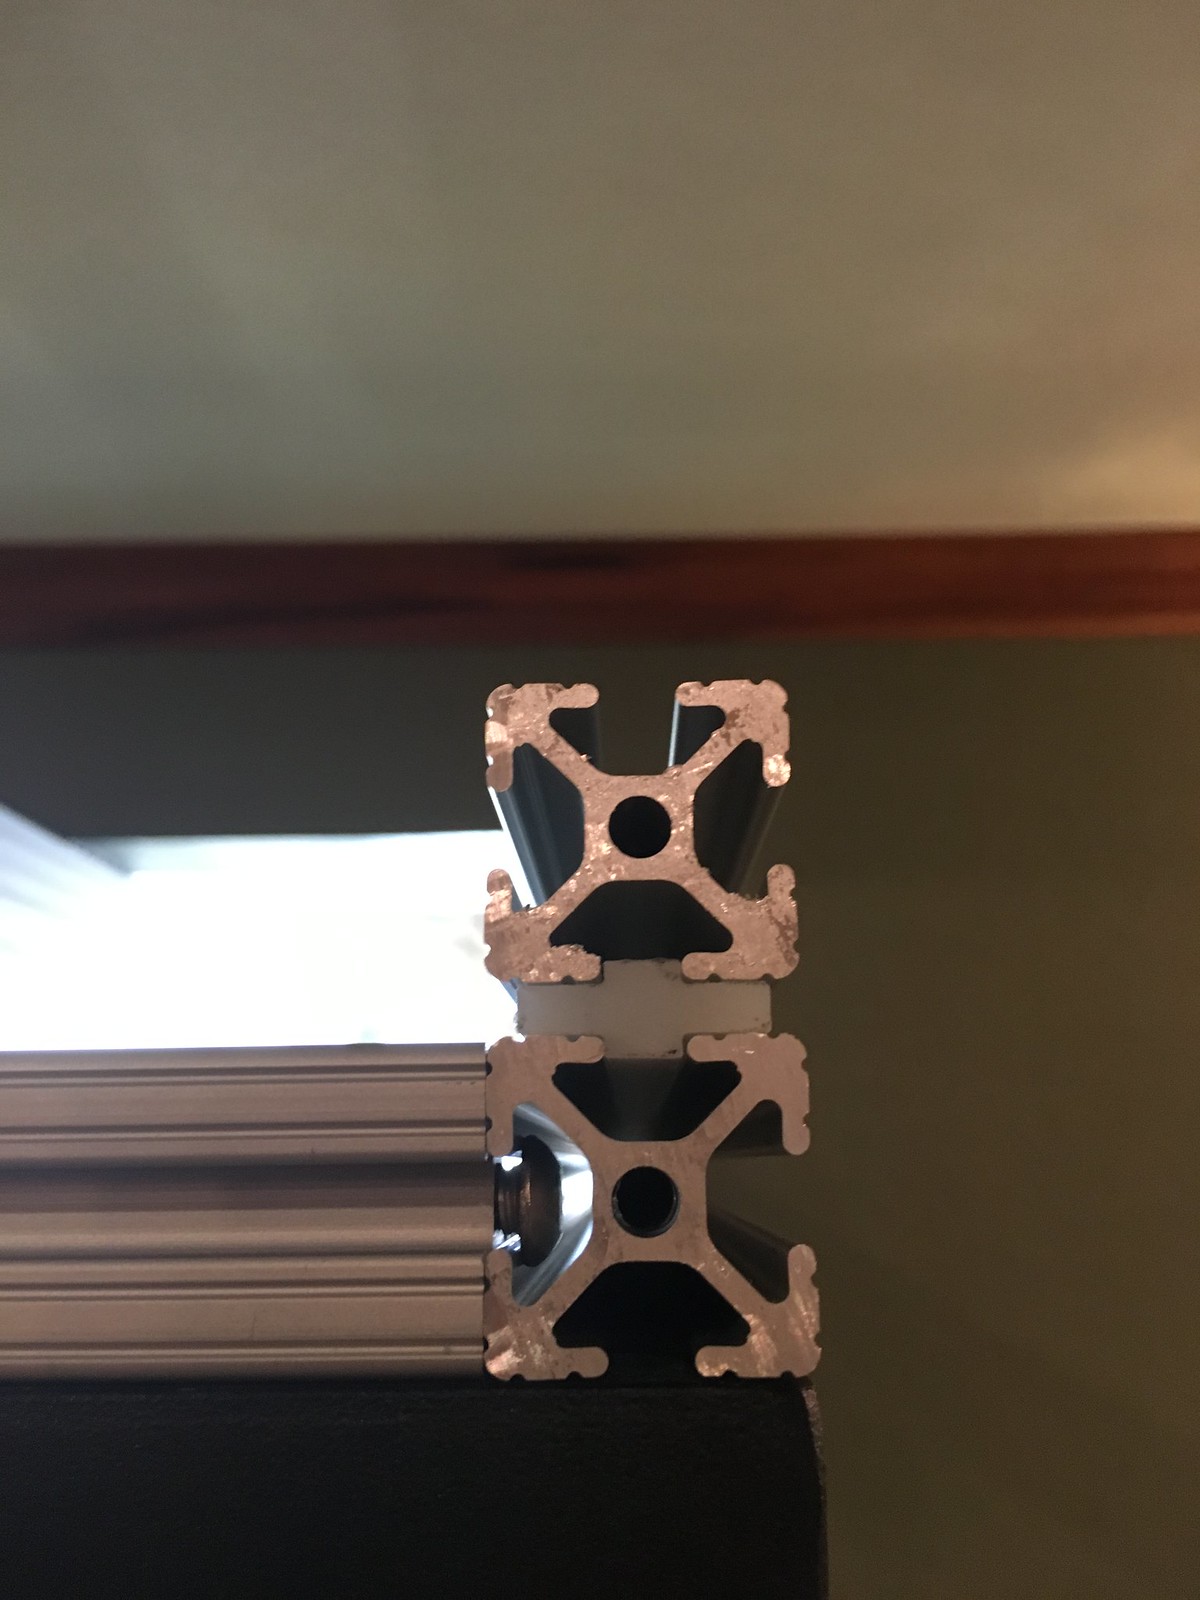
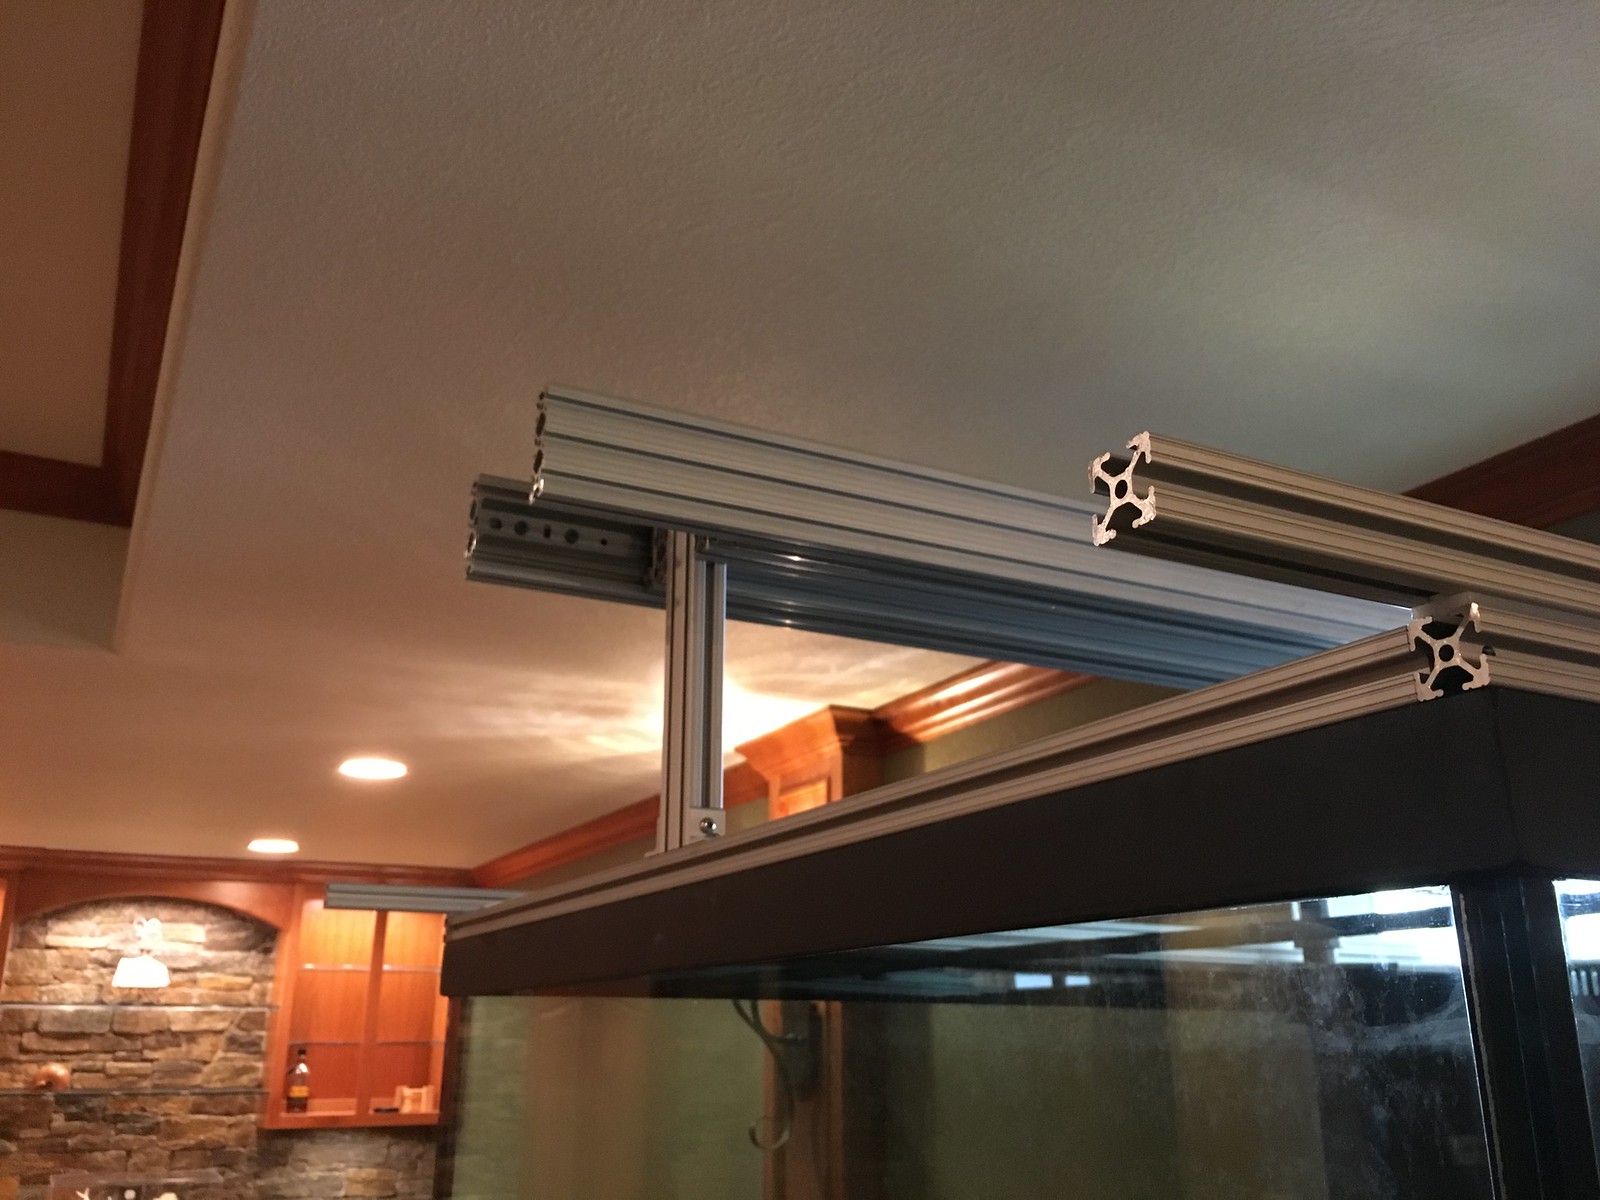
I mounted the brackets to 8020 rails and then mounted those rails to the hood.
The final picture is the back end. I'm using cable carrier drag chain 2" x 1" like you might on a CNC. All of the power and control cabling will run through that to protect them while the hood moves in and out.


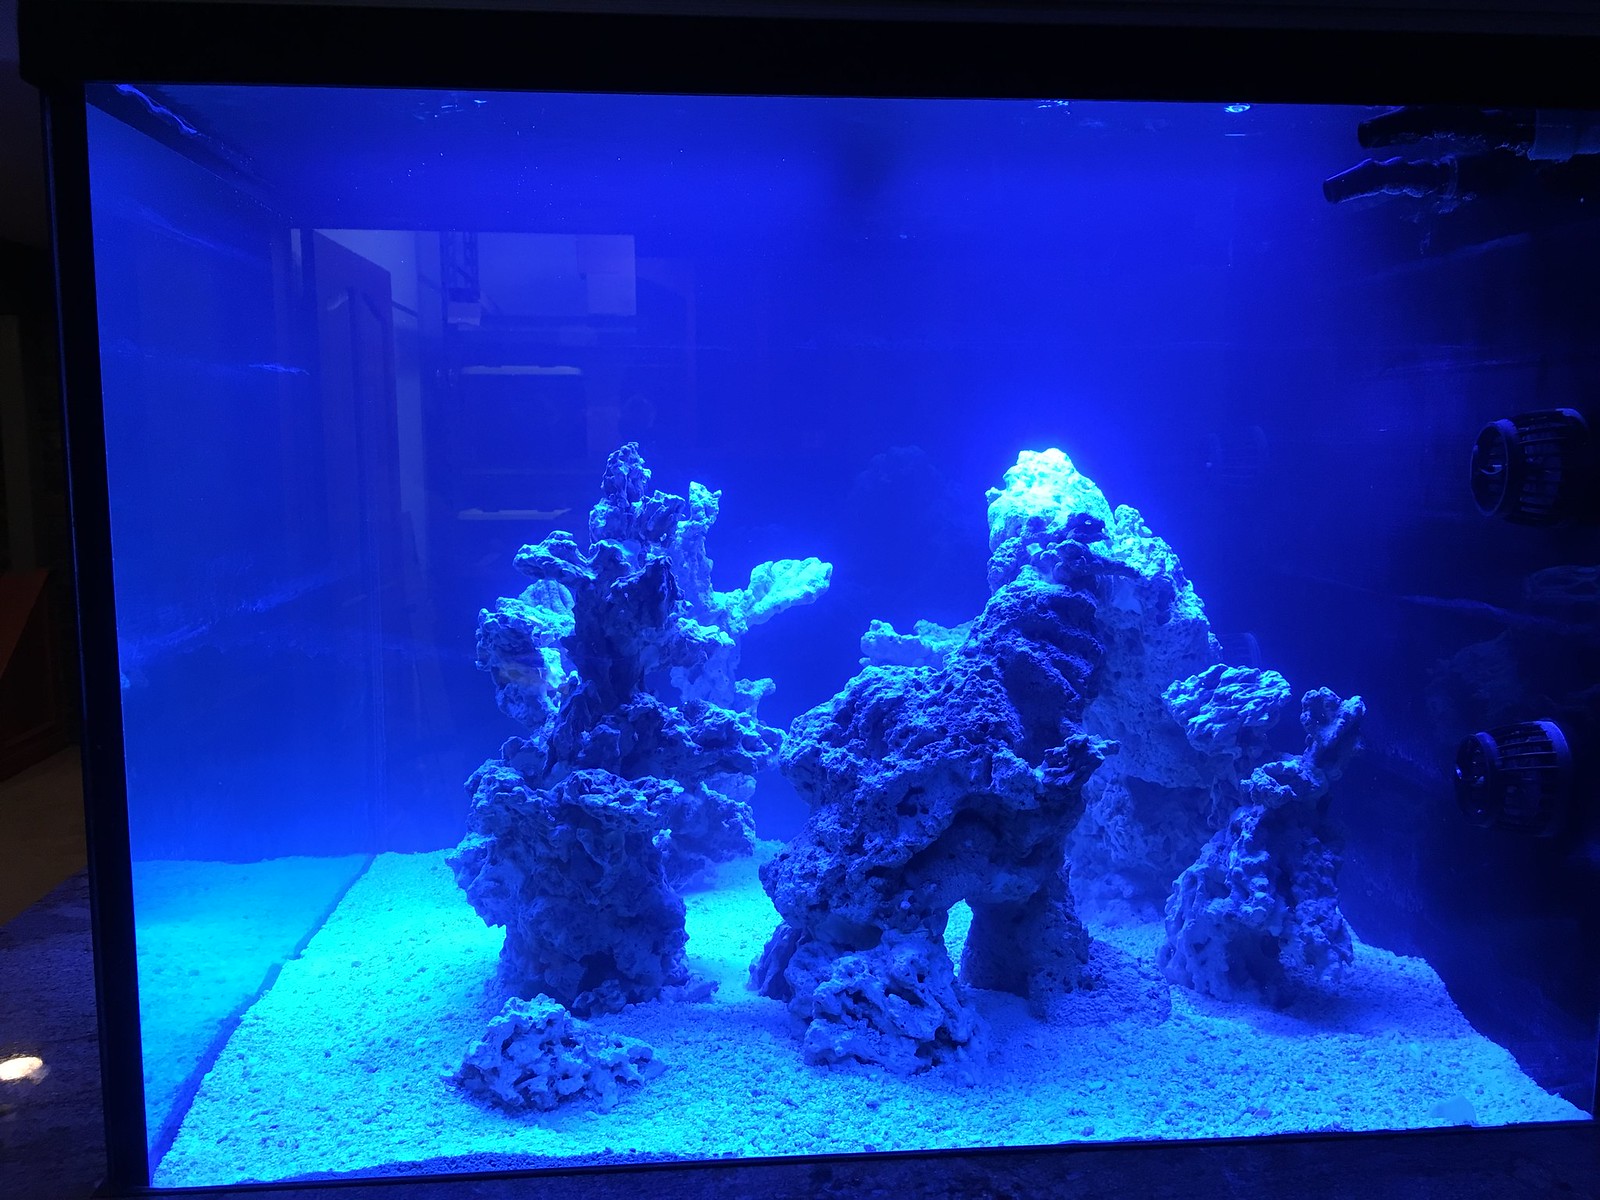
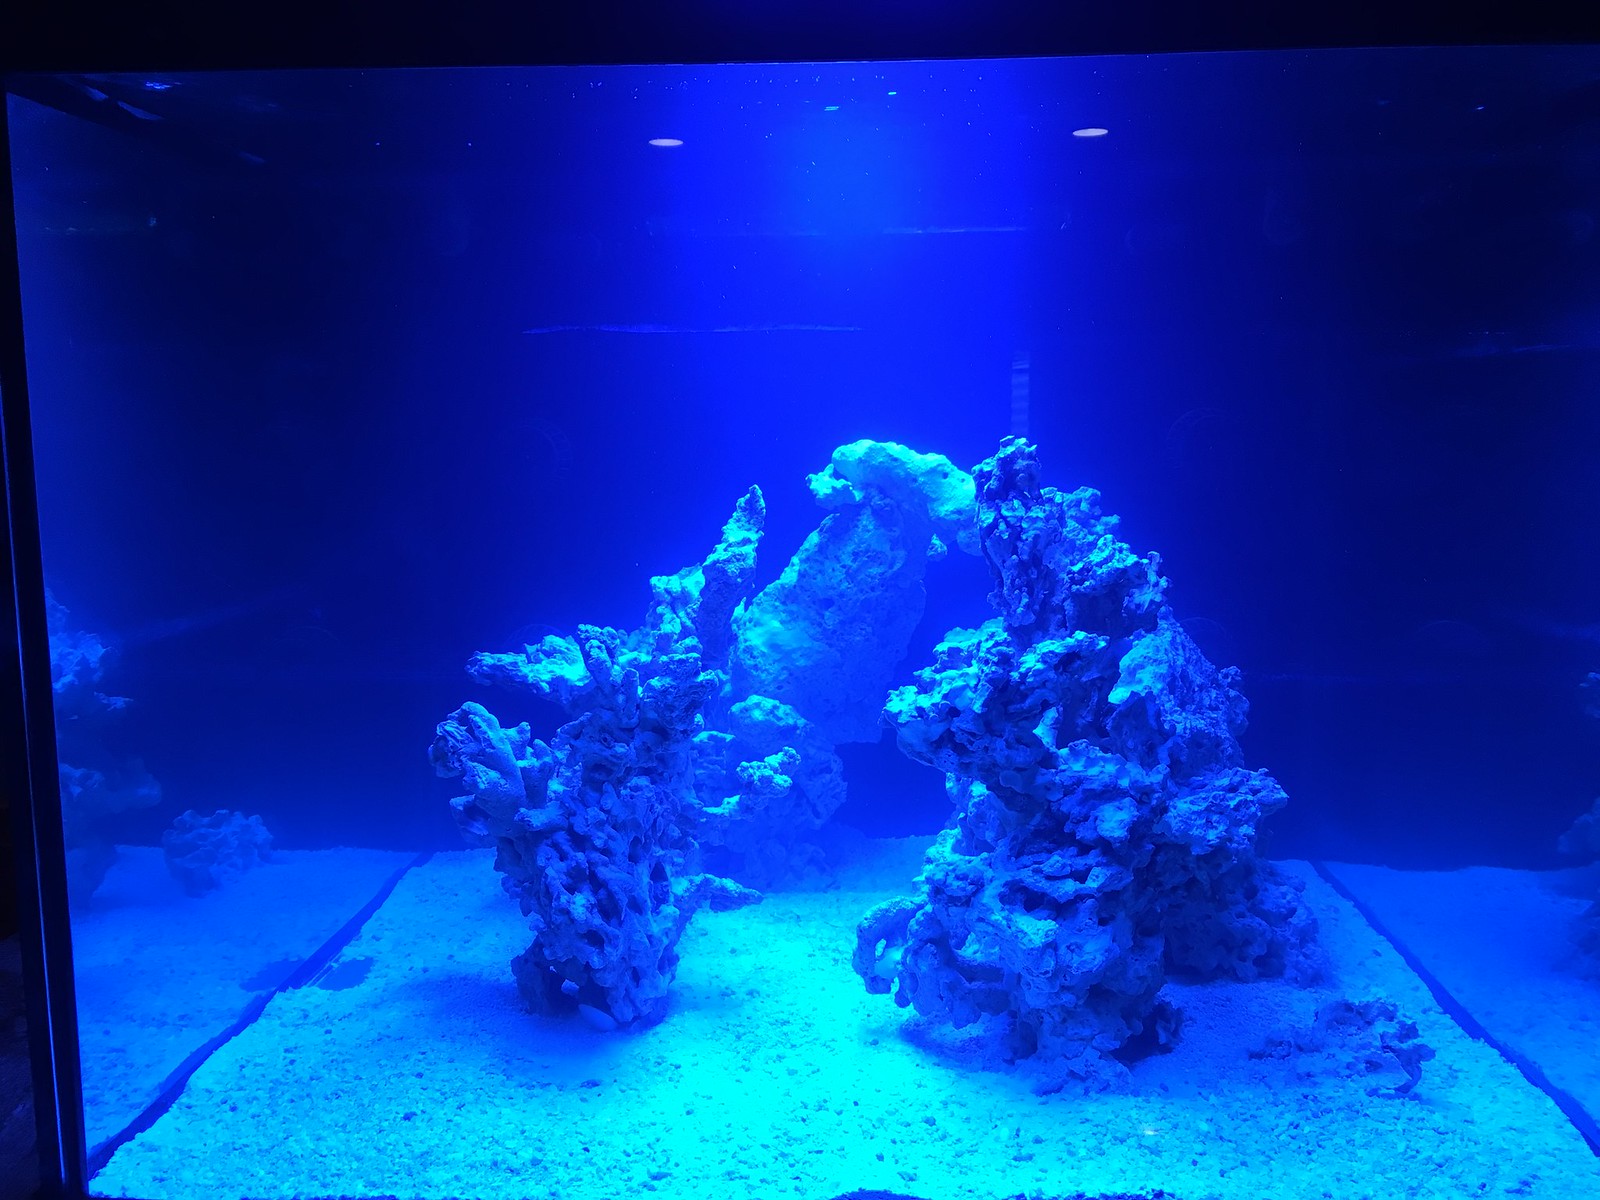
Here is the finished product for rockwork. We have independent boomies (spelling?) for the most part. The boomies or pillars could be removed. The arch in the rear is a little overwhelming and more bulky than I would have perfered but it's in place. It will be nice once it's grown over with sticks.
https://www.youtube.com/watch?v=JKVnjWyeTtE
This is the tank with water and only a single T5 fixture turned on in the center.
https://www.youtube.com/watch?v=JKVnjWyeTtE
This is the tank with water and only a single T5 fixture turned on in the center.


$17.49 ($2.92 / Ounce)
$18.49 ($3.08 / Ounce)
Sun Bum Original SPF 30 Sunscreen Body Spray | Broad Spectrum Moisturizing Sunblock with Vitamin E | Hawaii 104 Act Compliant (Octinoxate & Oxybenzone Free) | 6 oz
Amazon.com

$55.50
$88.63
Marina 5 Gallon (19 L) LED Aquarium Kit – Ideal for Beginner Aquarists and New Fish-Keepers
Amazon Resale

$29.95 ($5.16 / Ounce)
Thrive Reef Safe Sunscreen SPF50 - Hawaii 104 Reef Act Compliant - Mineral Sunscreen Non-Nano Zinc Oxide - Vegan, (5.8 Oz (Pack of 1))
Thrive Natural Care

$756.26
$814.00
Powerblanket Lite PBL1K Propane Tank Heating Blanket, Fits 1000-gallon Horizontal Gas Tank, 1440 Watts, 100 F
Amazon.com

$30.49
$44.95
Reef Fish Identification - Florida Caribbean Bahamas - 4th Edition (Reef Set)
Amazon.com

$11.99
$20.00
The Reef: A Passionate History: The Great Barrier Reef from Captain Cook to Climate Change
Amazon.com

$9.80 ($1.63 / Fl Oz)
$16.99 ($2.83 / Fl Oz)
Hempz Daily Body Sunscreen SPF 50, Sweet Pineapple and Honeymelon, Reef Safe, Vegan, Dermatologist Tested, 6 oz
closeoutsp

$2.77 ($2.77 / Count)
Zksbdxz 200 Pcs Colorful Fishtank Substrates Vase Filler Stones Acrylic Pebbles for Table Scatter Decoration Aquarium Garden
yudaiyinhe

$32.37
$39.95
Coral Reef Guide Red Sea: The complete Red Sea marine life guide for diving and snorkelling enthusiasts
Prime Deals, USA

$10.50 ($3.50 / Fl Oz)
$15.49 ($5.16 / Fl Oz)
Sun Bum Original SPF 50 Sunscreen Face Lotion | Broad Spectrum Moisturizing Facial Sunblock with Vitamin E | Oil Free | Hawaii 104 Act Compliant (Octinoxate & Oxybenzone Free) | Travel Friendly | 3 oz
Amazon.com

$27.84
$39.95
Reef Coral Identification: Florida, Caribbean, Bahamas 3rd Edition (Reef Set (New World))
Amazon.com

$15.99 ($5.33 / Fl Oz)
Two Peas Organics - All Natural Organic SPF 50 Sunscreen Lotion - Coral Reef Safe - Baby, Kid & Family Friendly - Chemical Free Mineral Based Formula - Waterproof & Unscented – 3oz
Two Peas Organics LLC

$26.25
Brightwell Aquatics 2 fl. oz. Garlic Power Concentrated Garlic Supplement for Marine Fishes, 60 mL by Brightwell Aquatics
Champion Lighting and Supply Co.

$14.08
$15.39
Mr. Heater Fuel Filter for Big Buddy & Portable Buddy F276163
Black Swan Distribution Corp

$14.99 ($3.00 / Fl Oz)
$18.99 ($3.80 / Fl Oz)
BLUE LIZARD Sensitive Mineral Sunscreen with Zinc Oxide 50+ Water Resistant UVAUVB Protection with Smart Cap Technology Fragrance Free, Sensitve, SPF 50 - - Tube, Unscented, 5 Fl Oz
Amazon.com

$14.99 ($43.61 / lb)
Ocean Nutrition Brine Shrimp Plus Flake Fish Food 5.5 Ounces (154 Grams) Jar | Freshwater & Saltwater Marine Aquarium Flakes Food for Aquariums
San Francisco Bay Brand

$13.99
$20.99
Tetra Fish Tank Water Conditioner and Dechlorinator, Aquasafe Plus, Fresh Water and Marine Aquariums 33.8-Ounce
Amazon.com

$8.50 ($12.50 / Fl Oz)
Eternal Essence Oils 2 Pack 10ml Premium Fragrance Oil - Coral Reef & Barrier Reef - for Candle, Soap Making, Aromatherapy, Diffusers, Home Care, & Humidifiers
eternal essence oils
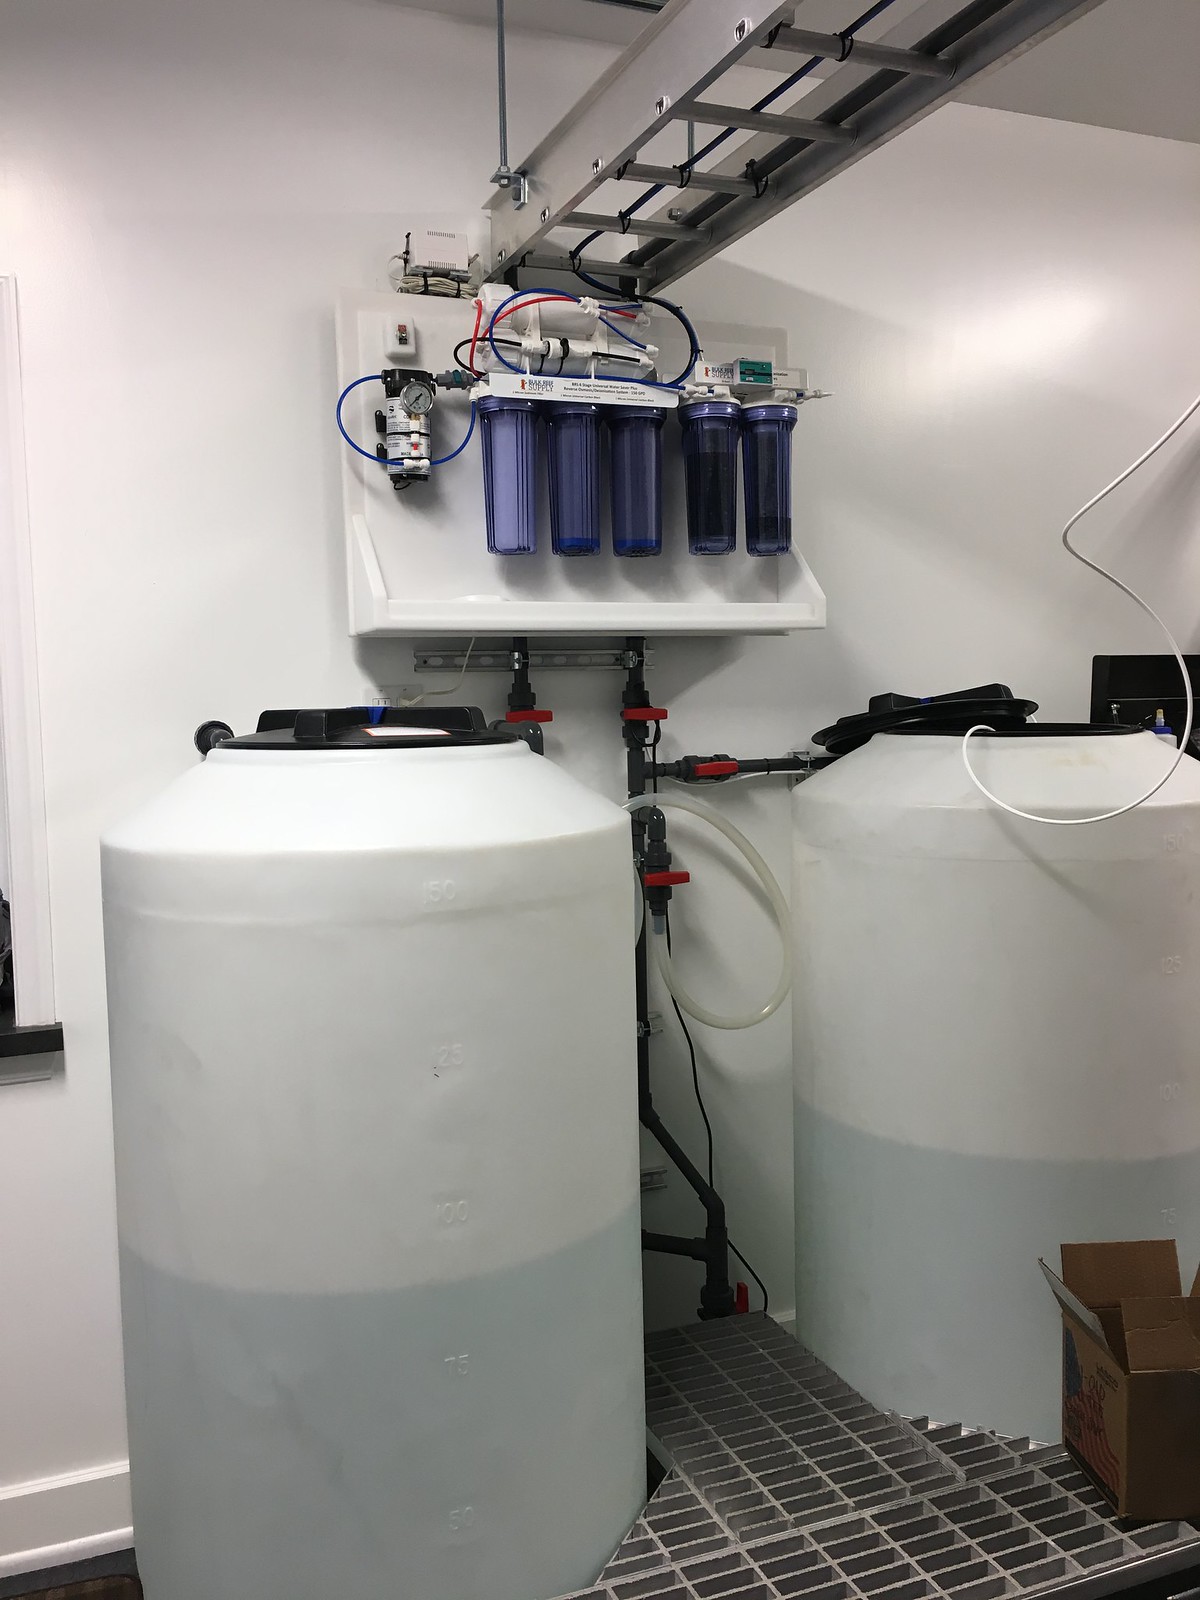
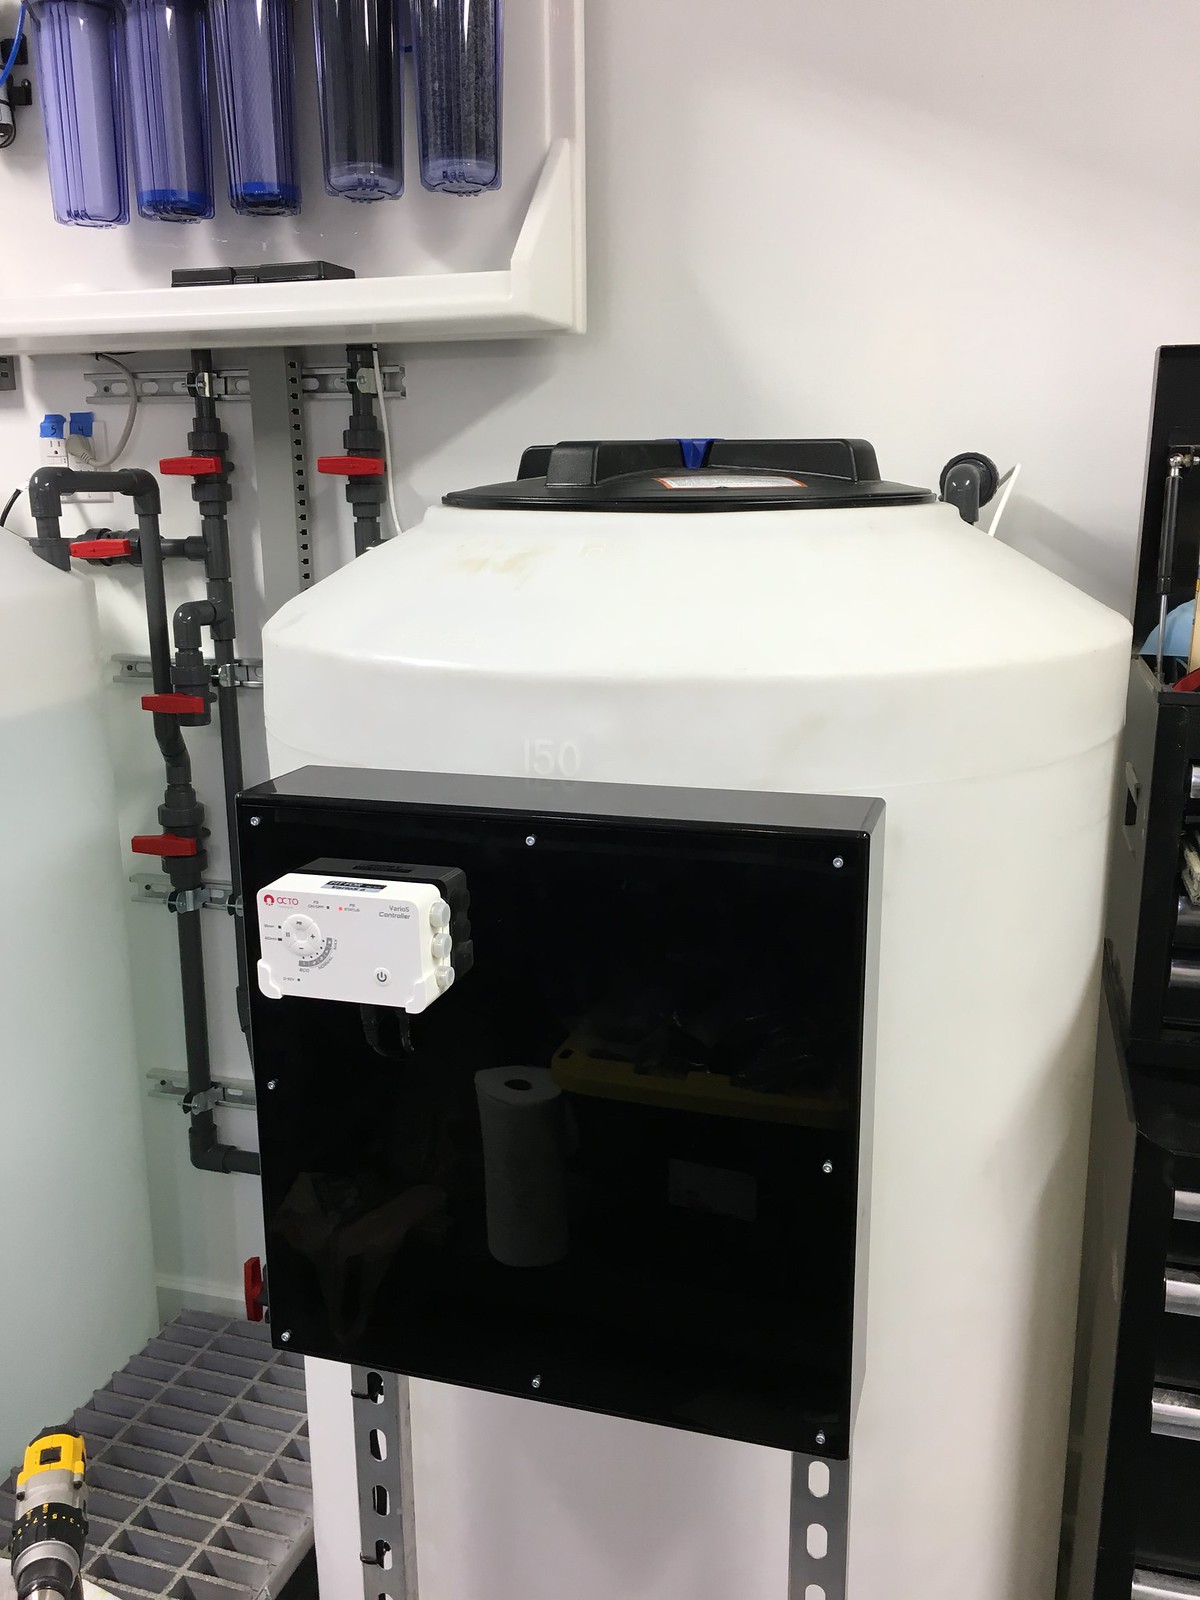
I finished the mixing station for now. I made acrylic boxes for the electronics and easy access to the pump controllers. Later on, I will be integrating more electronics into those boxes. For now, they're mostly empty.

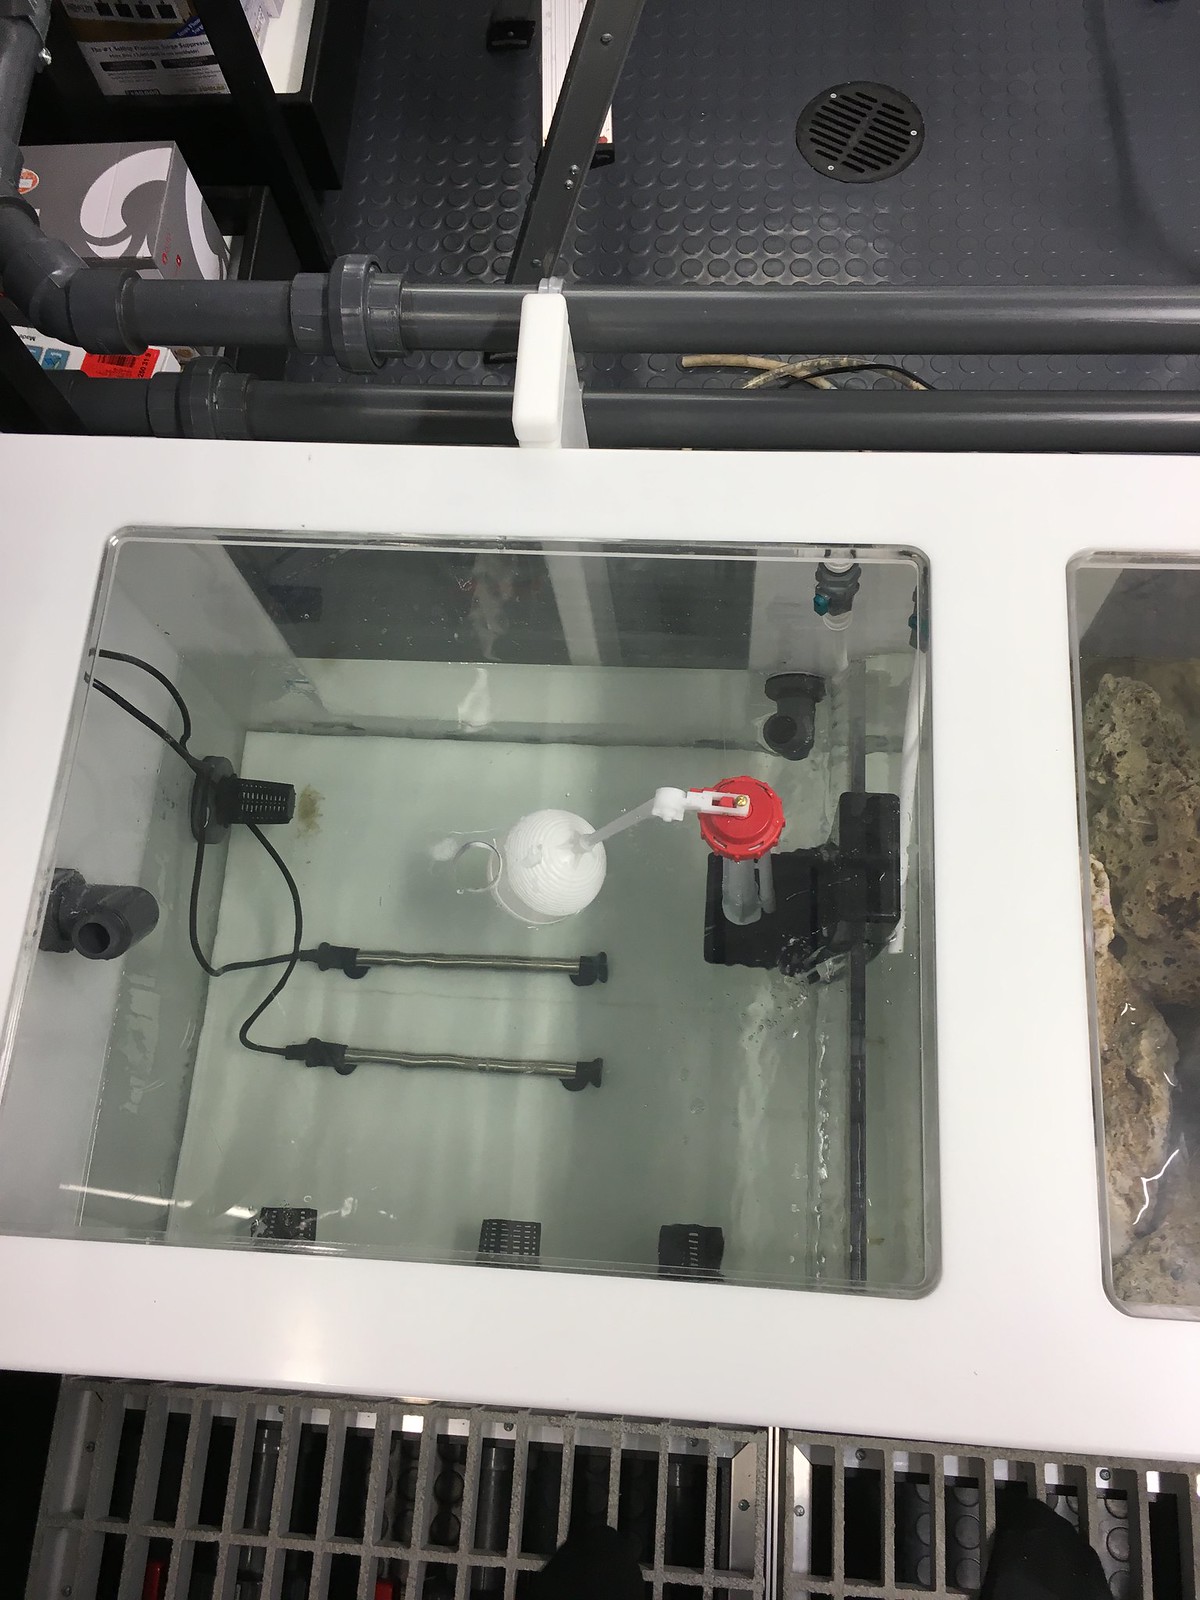
I added miracle mud, sand, and crushed coral to the refugium. The elevated portion on the right end has a deepish bed of mud covered with sand/gravel. That is intended for mangroves. The heater will be taken out and hidden later.
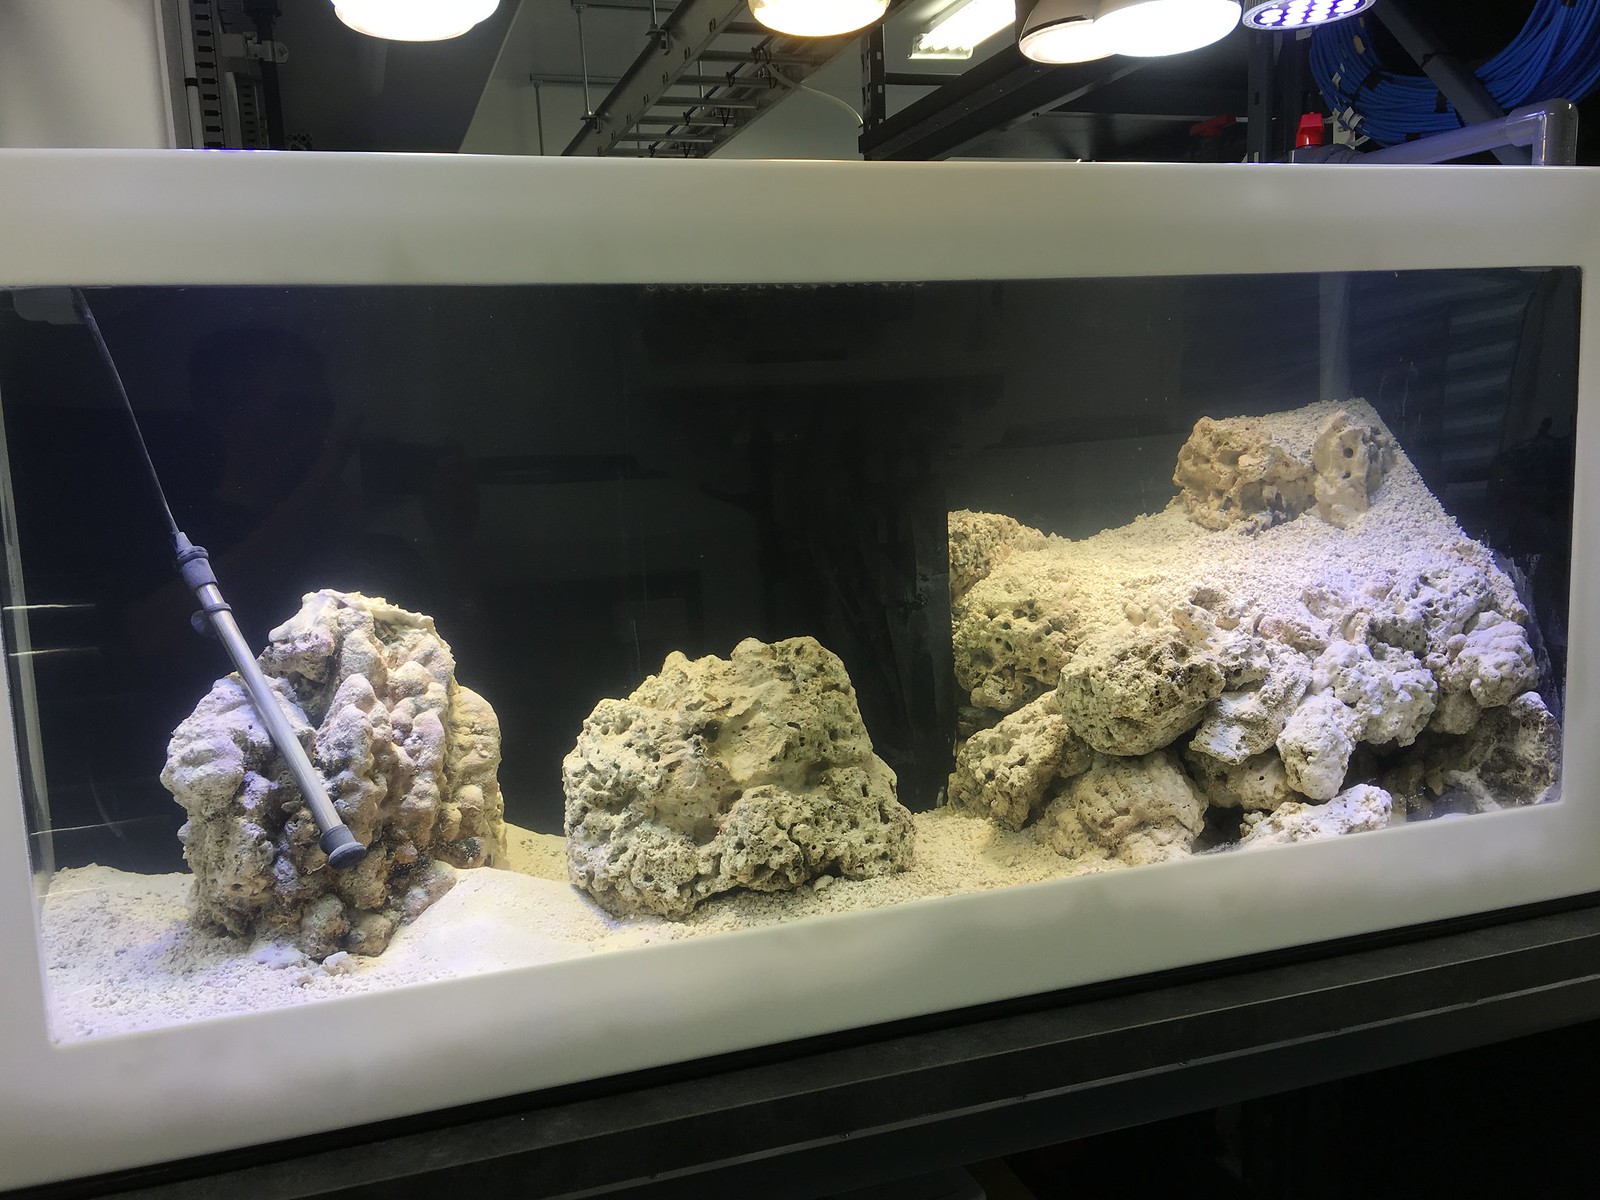
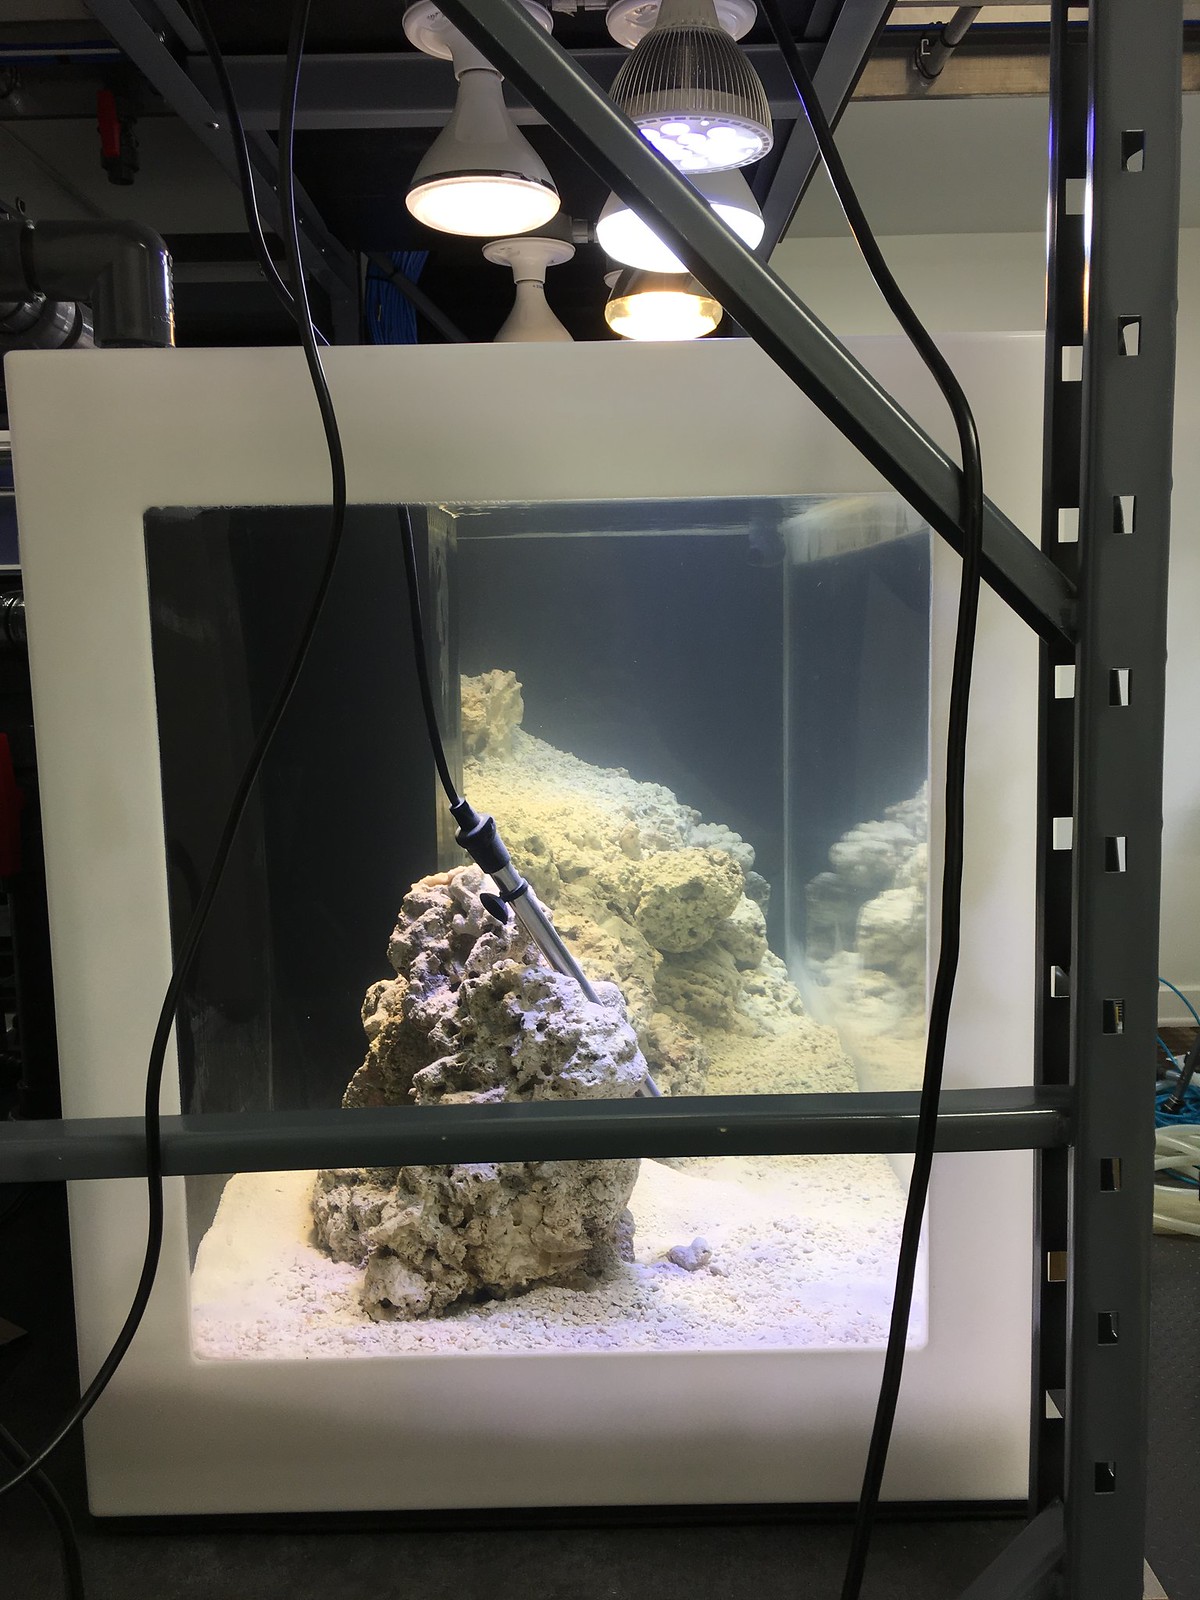


I added miracle mud, sand, and crushed coral to the refugium. The elevated portion on the right end has a deepish bed of mud covered with sand/gravel. That is intended for mangroves. The heater will be taken out and hidden later.


I installed two Vectra M1's into the overflow box. They feed back up to independent sea-swirls. That's a modified closed loop. I have these set up obviously for the added flow, but also because these will be my go-to pumps to transfer over in the event of a power outage. I didn't want a true closed loop because I didn't want the extra holes. These accomplish almost the same thing.
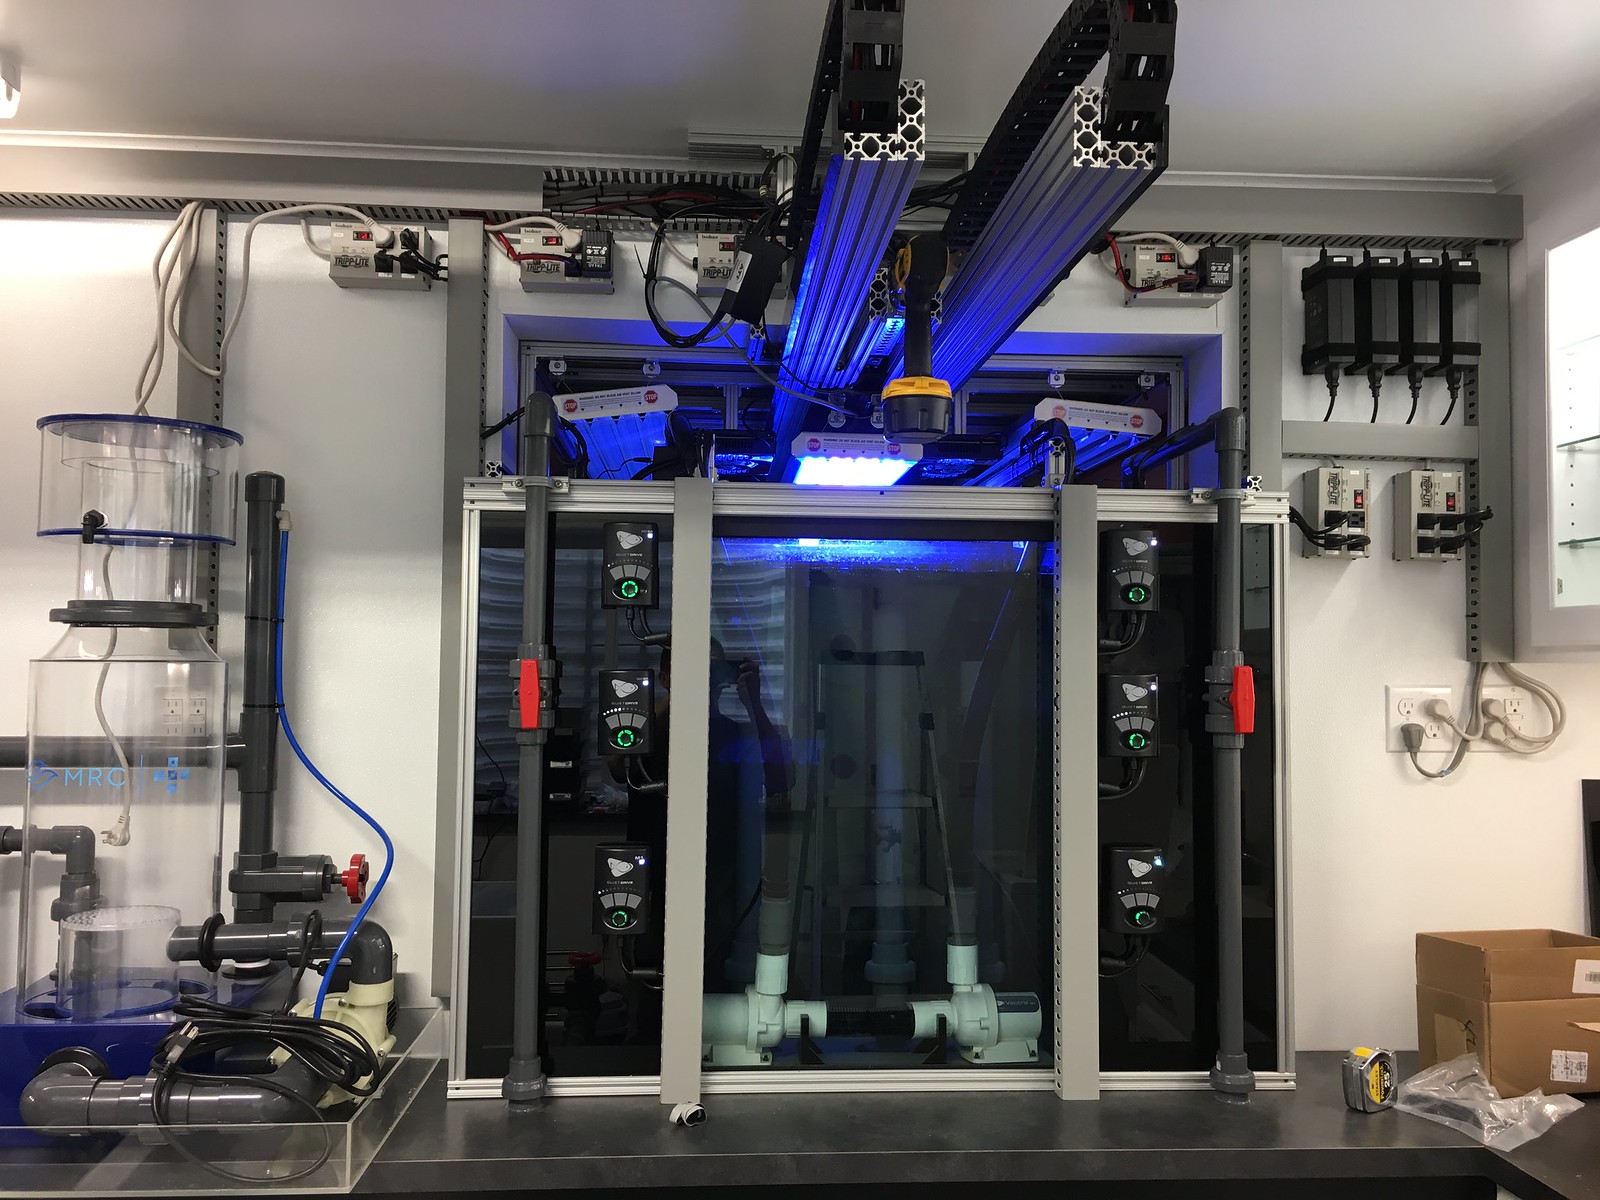


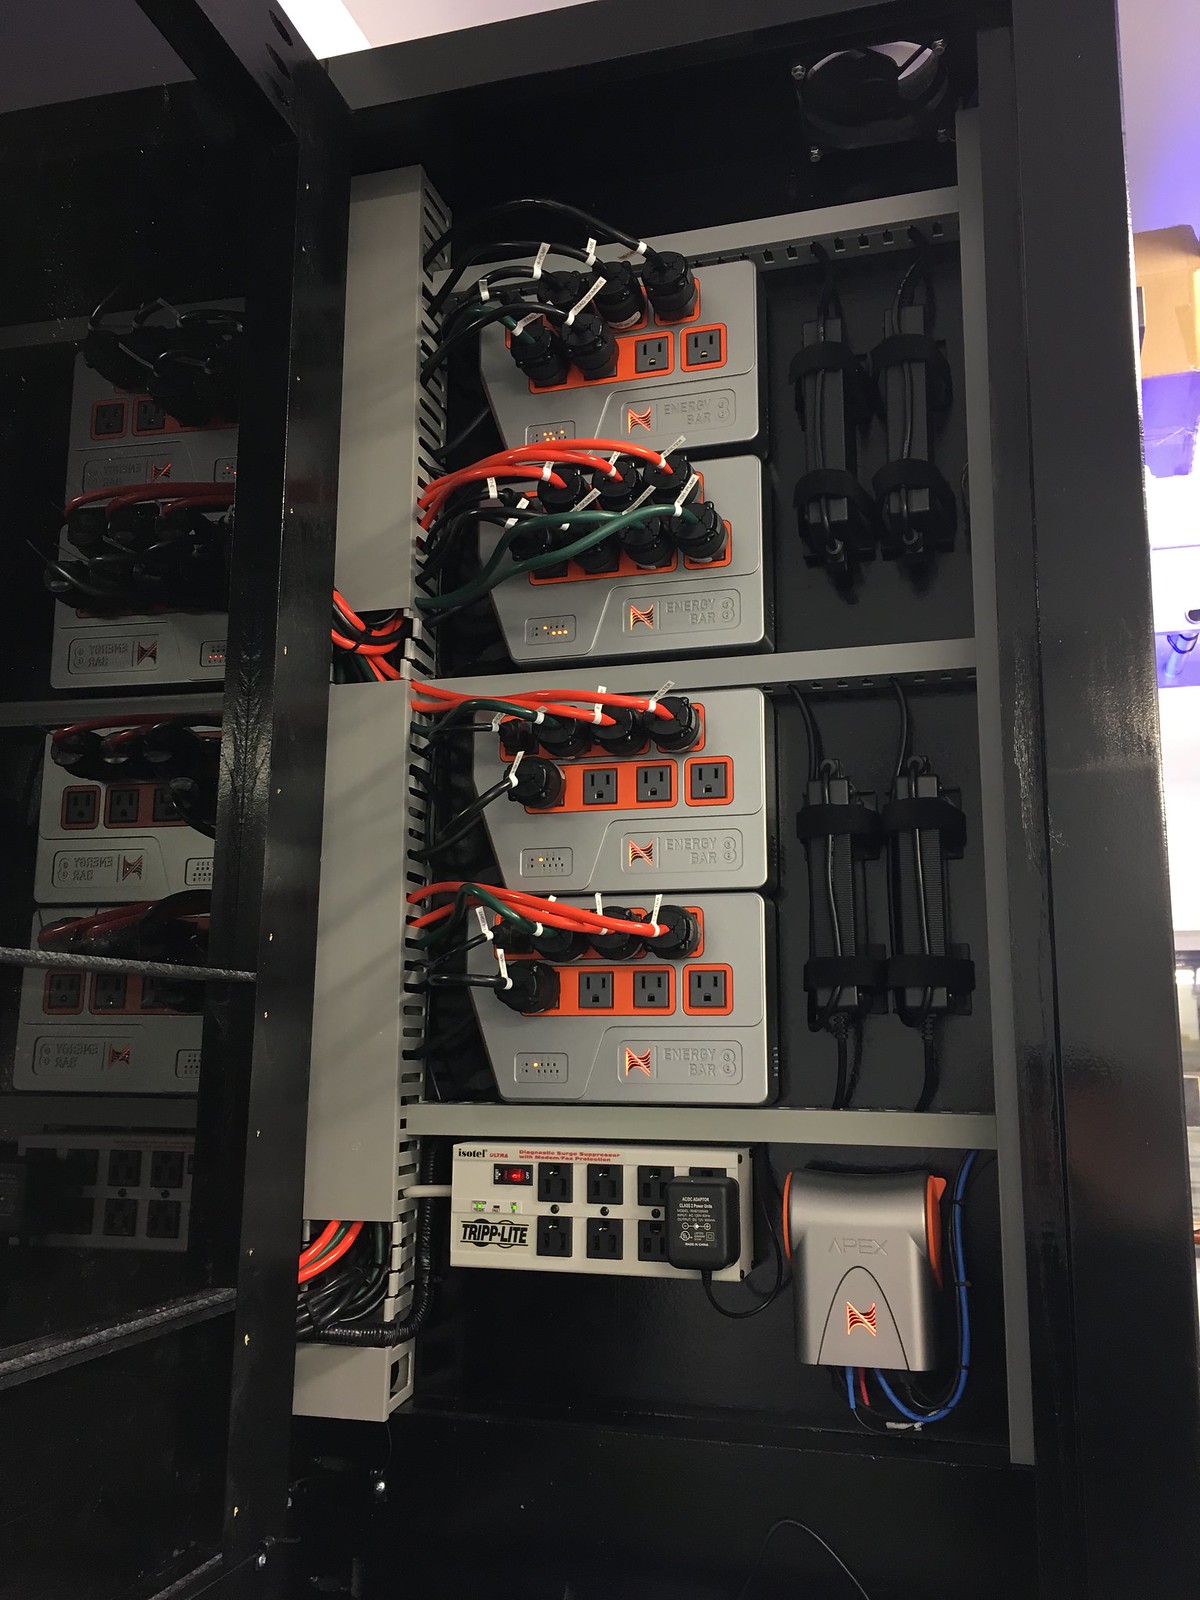
I installed the four MP-60's in the dry boxes. Then, I spent a good amount of time organizing electronics. The cord management isn't complete. I'm still debating controllers and how much I'll actually run through a controller. For now, everything that is running is plugged in directly to surge protectors. I'm labeling every single outlet and cord so that I have a good reference as to what exactly is plugged into what circuit. I'll probably write up some documentation for further reference. That will also allow me to start tracking dates for warrenty, service, and bulb replacement.
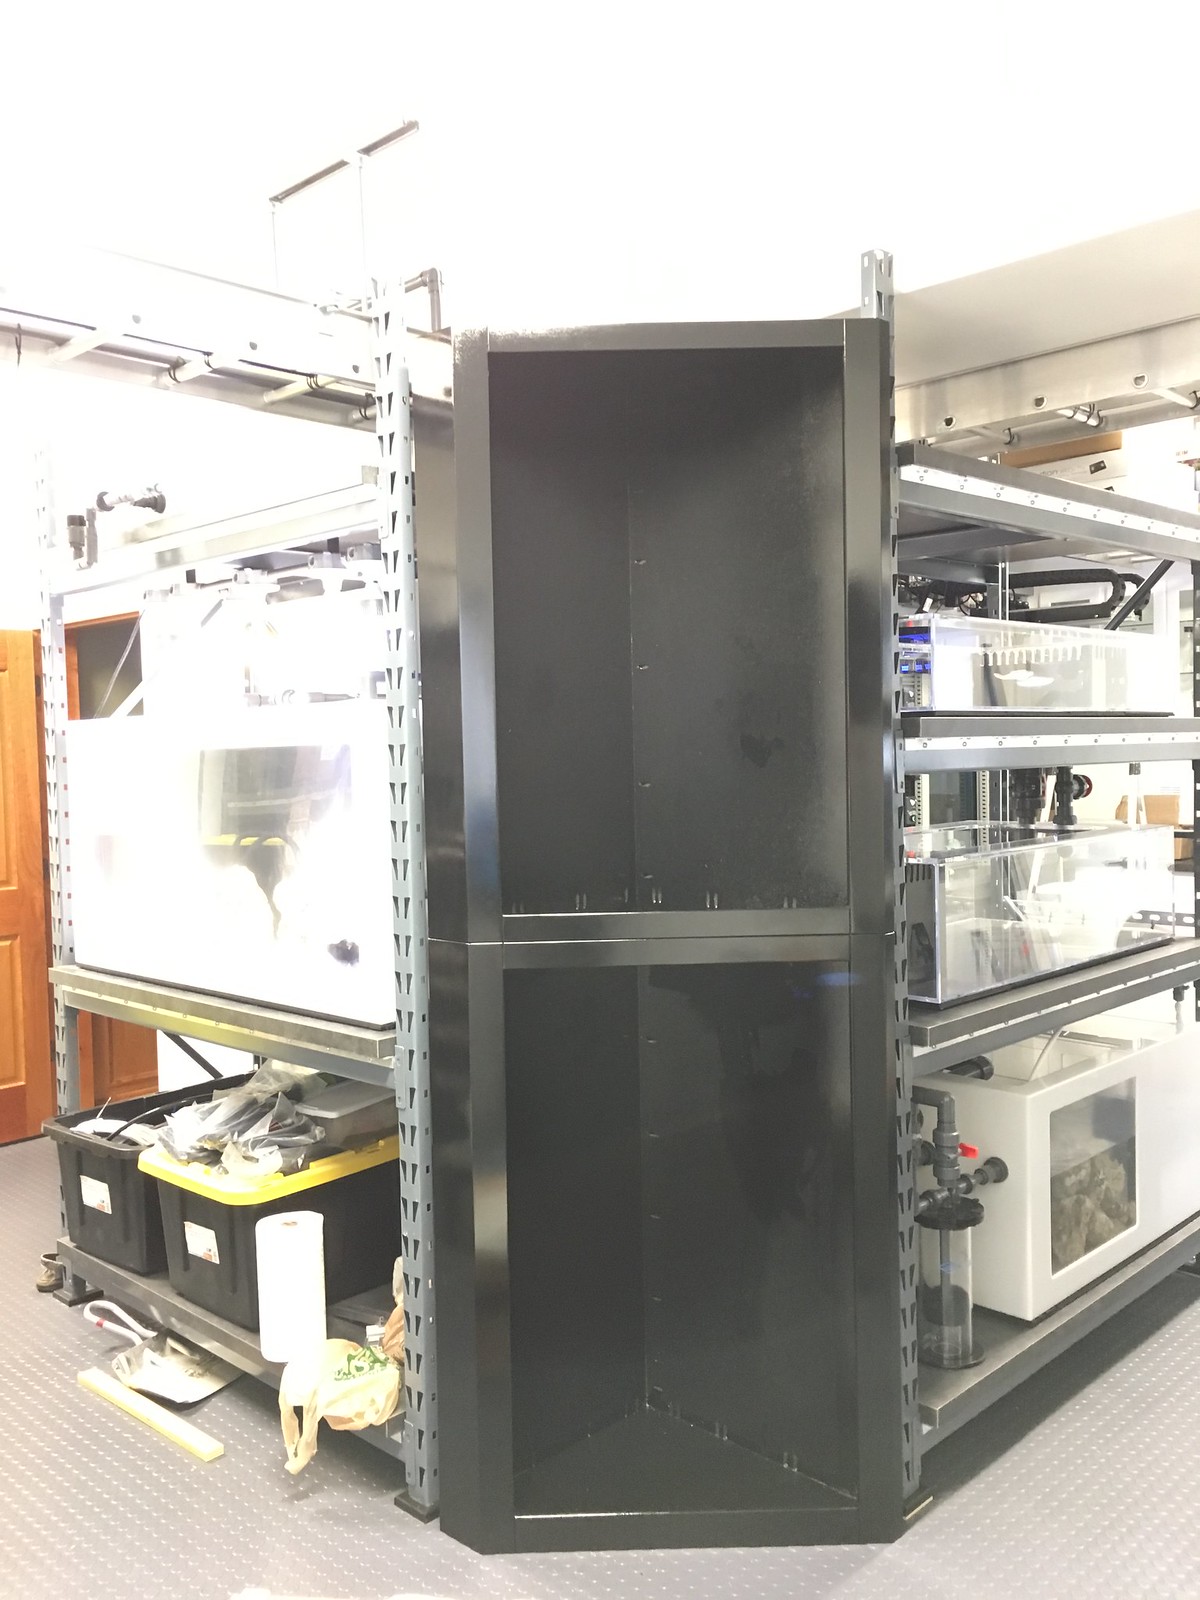
I built an 8' tall rack that is a "corner" cabinet. It sits in the little corner where the refugium meets the frag rack. That will basically function as an IT rack. I'll have some UPS in there, the controller, and all of the switches, meters, displays, general electronics interface. I am installing doors tomorrow. The door panels are basically modular removeable panels that I can modify and replace as I start mounting the controller and switches. The doors themselves will only be opened when I need to modify something in the electronics. Otherwise, it is a sealed box to protect from splashing. I will probably need to vent it. That's the nice thing about having a modular face to the doors. I can add and remove things as needed without rebuilding the entire cabinet.
I built an 8' tall rack that is a "corner" cabinet. It sits in the little corner where the refugium meets the frag rack. That will basically function as an IT rack. I'll have some UPS in there, the controller, and all of the switches, meters, displays, general electronics interface. I am installing doors tomorrow. The door panels are basically modular removeable panels that I can modify and replace as I start mounting the controller and switches. The doors themselves will only be opened when I need to modify something in the electronics. Otherwise, it is a sealed box to protect from splashing. I will probably need to vent it. That's the nice thing about having a modular face to the doors. I can add and remove things as needed without rebuilding the entire cabinet.

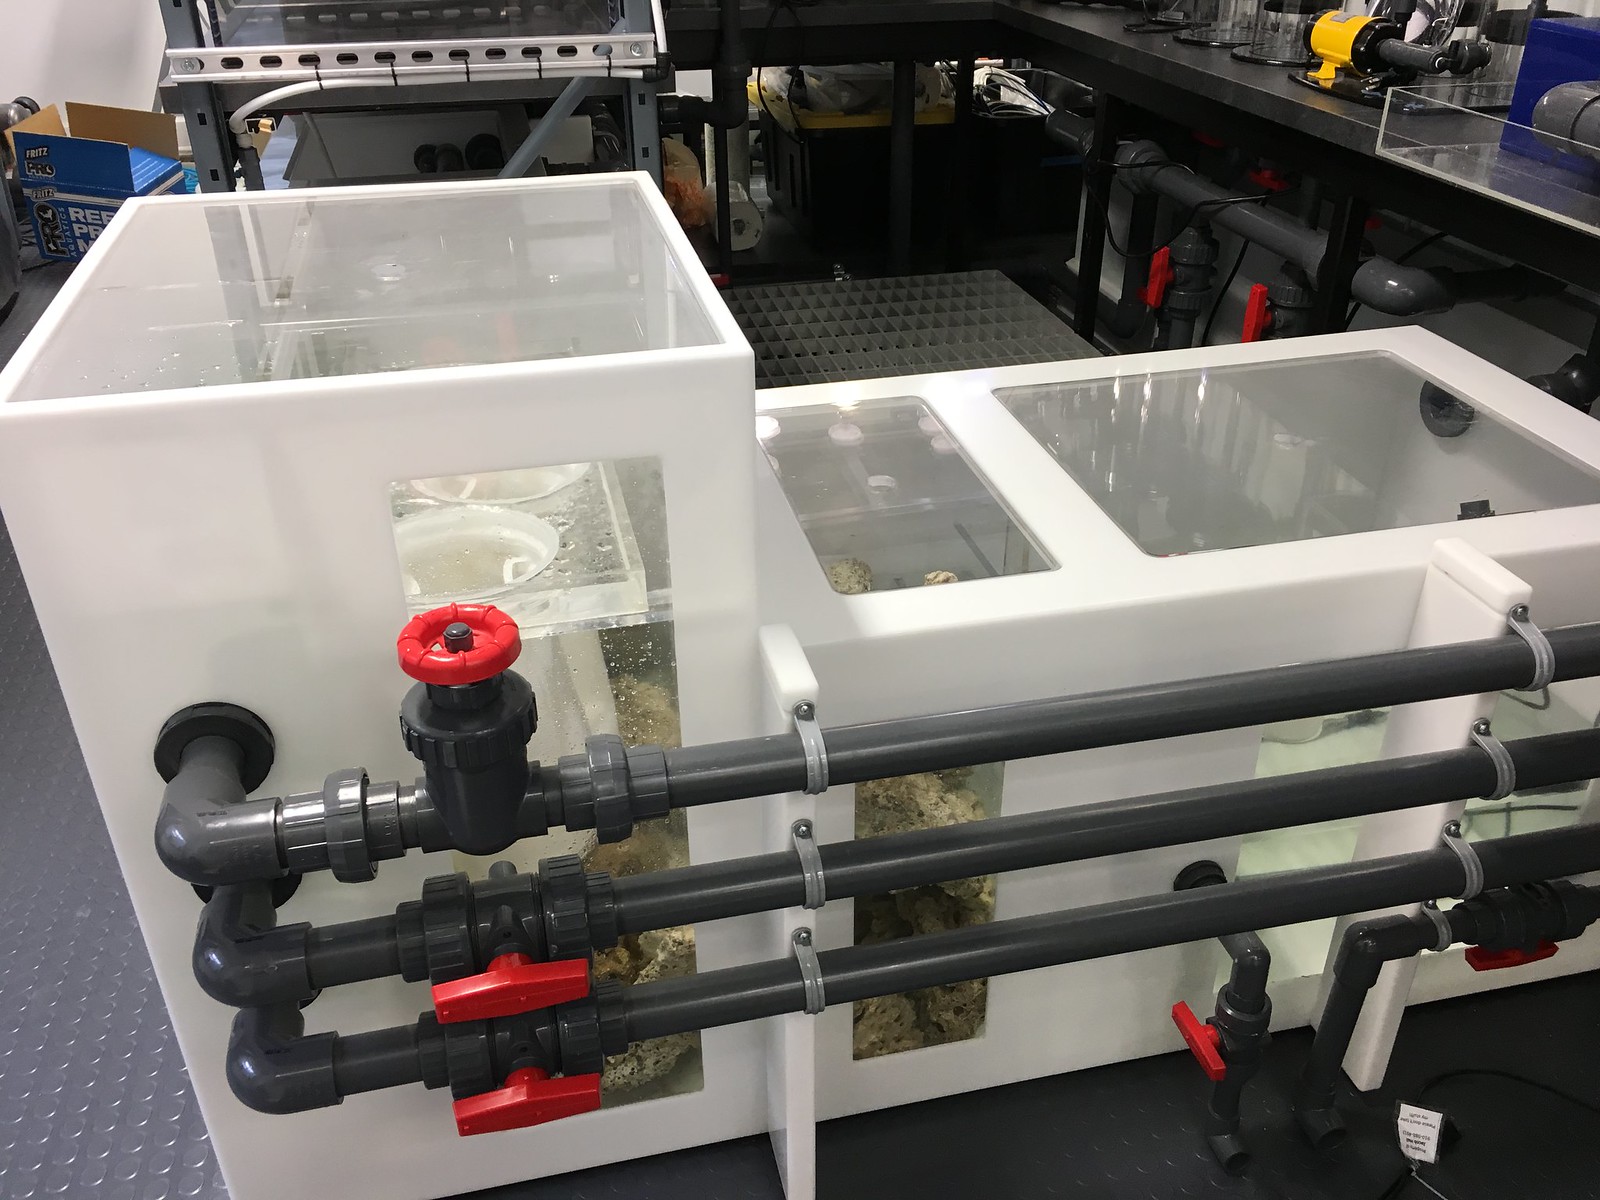
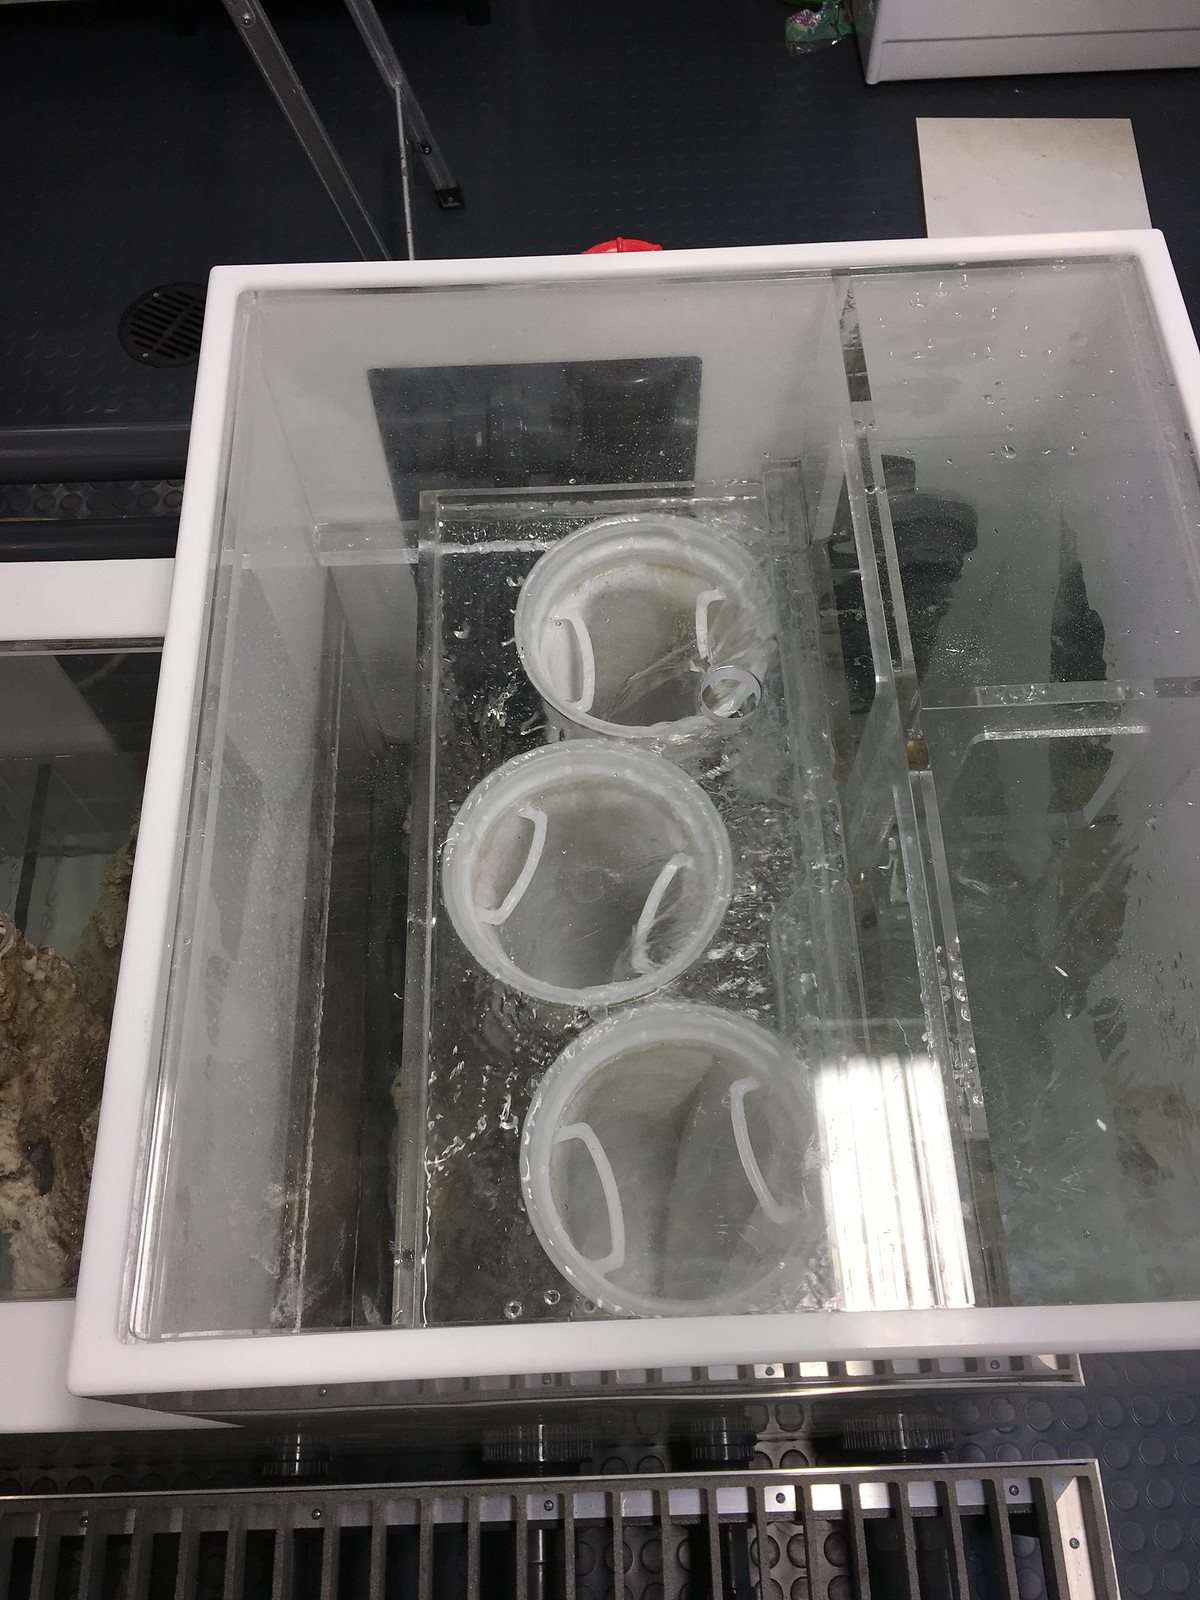
Lastly, I've been making A LOT of water! Today, I finally did a final check on all of the true union valves and let the water run down into the sump. I initially had all valves turned off and then started opening one at a time so that I could bring small sections online to monitor. Eventually, I got both return pumps running. I'm using matching Dolphin pumps as returns. One return feeds the display, the refugium, and the reactors. The other return feeds the display and the frag tank sump. I have just the sump to the frag tank tied in and cycling with the display's water for now. Once the rock in there is cured, I could potentially isolate that system and start running the frag tanks on their own. Or, I could turn on the frag tanks and allow the water to continue to mix with the display's for added stability.
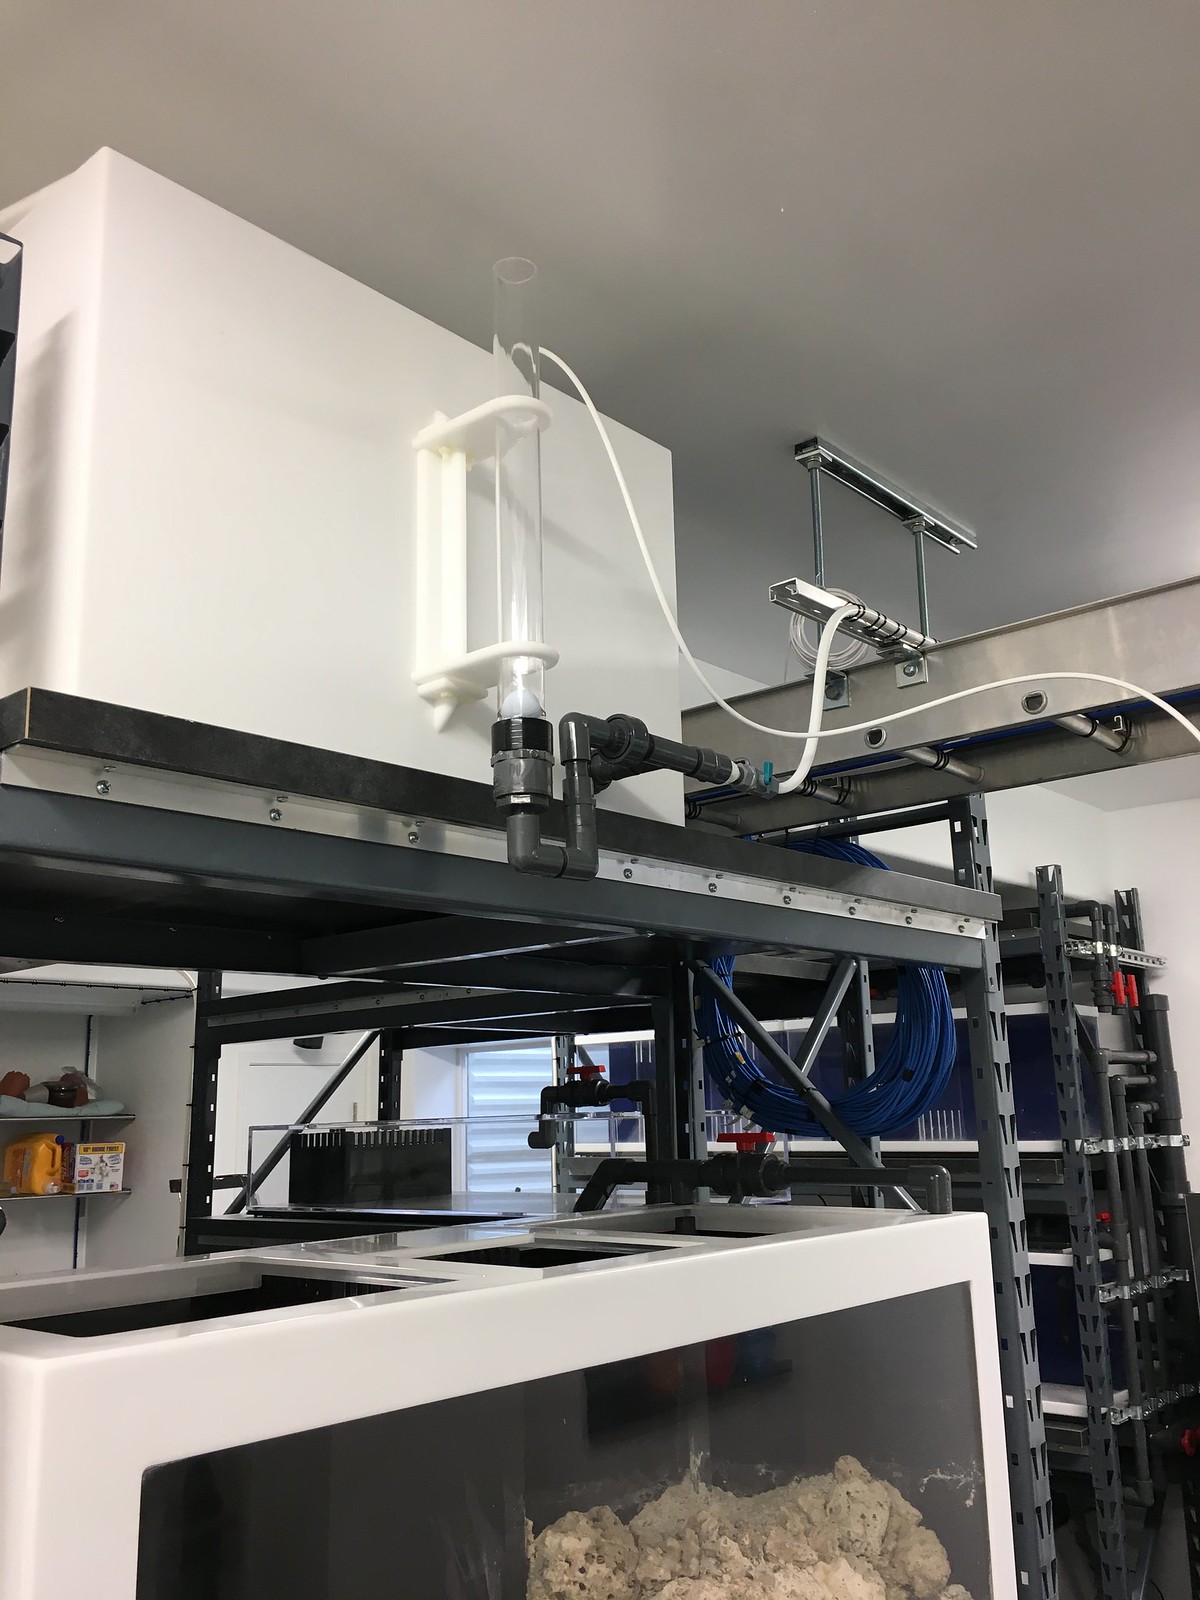
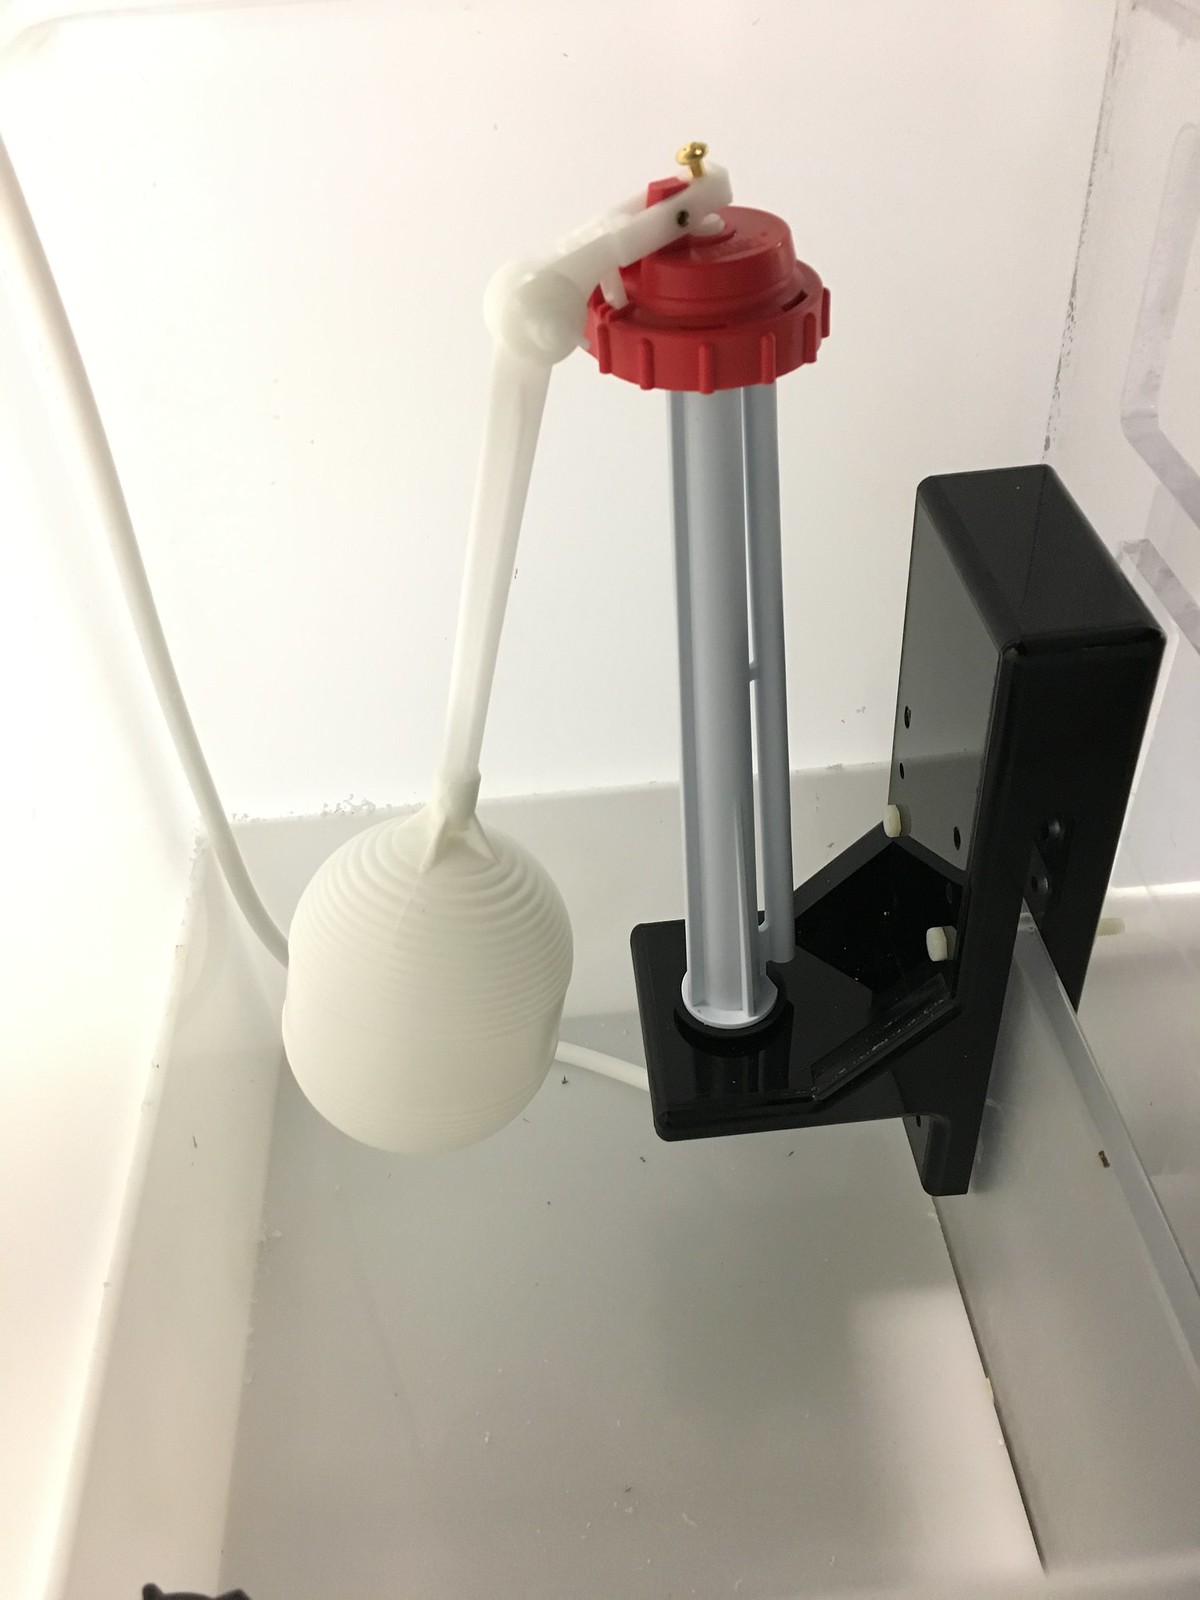
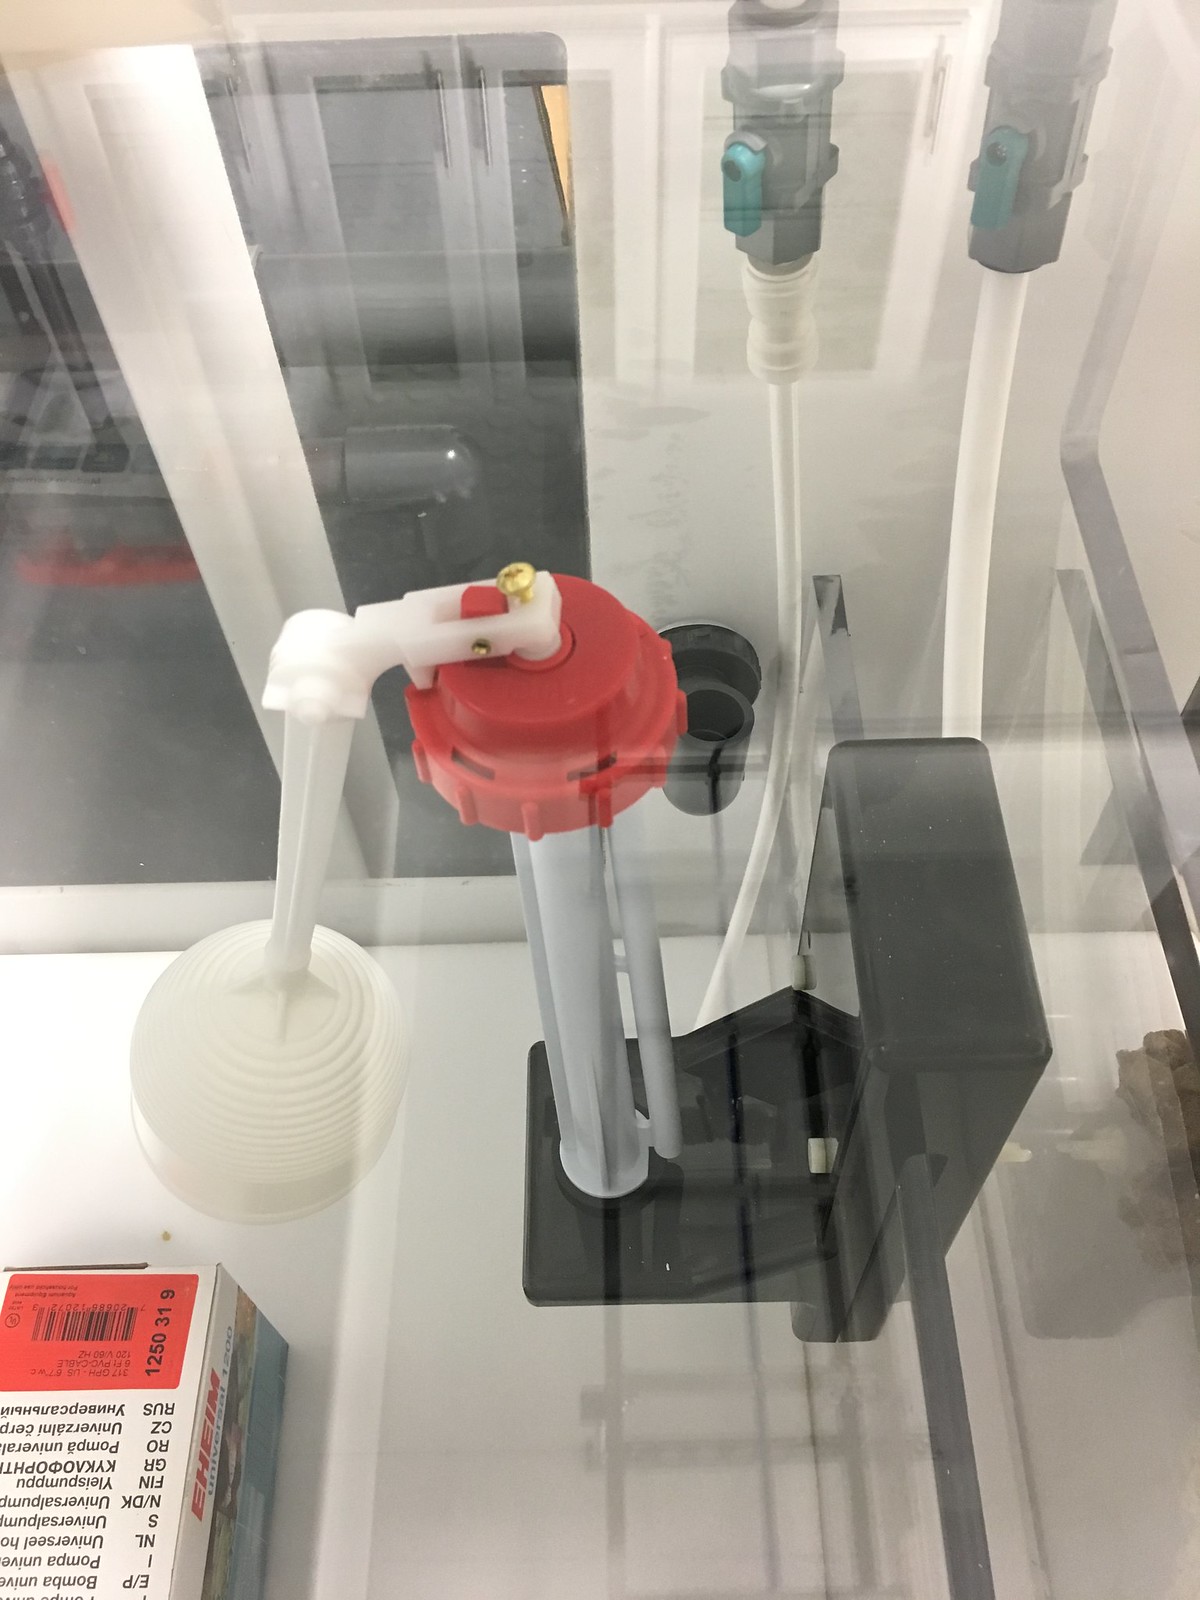
I filled the fresh water top-off tank and have that running with the main sump. It just tops off via gravity and the float valve. That has been a stable solution in the past and is working well again.
I already conducted some power failure tests. My sump can hold the volume. I did identify one issue with the refugium during a power outage. I will need to address that later on.
Overall, with the water running, I'm feeling pretty confident. I still need to install a more perminant heater solution. I pulled old heaters from the last tank for now. They're 300 Watt.

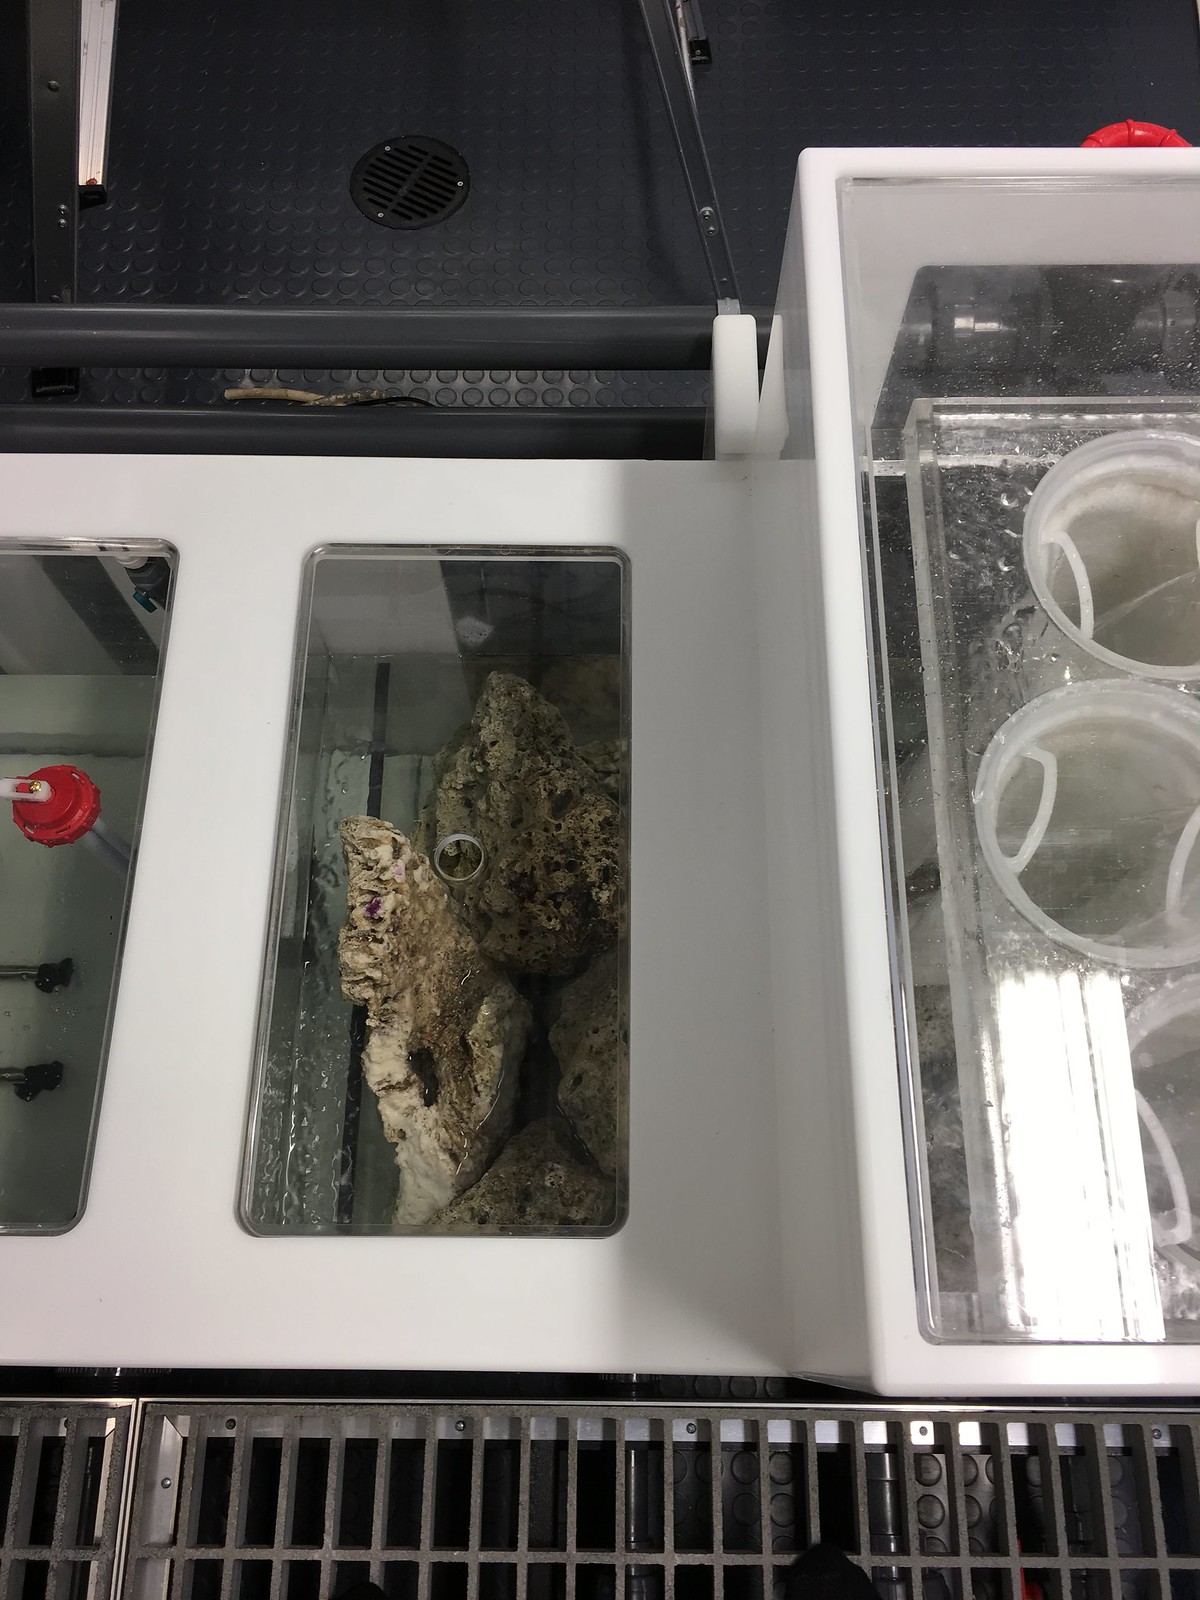
One major thing I haven't done yet is bringing the skimmer online. I will probably do that tomorrow or next weekend. I want to make sure I'm around to watch it for a full day in case something unexpected happens. Just getting this water running this much is enough for now.
I filled the fresh water top-off tank and have that running with the main sump. It just tops off via gravity and the float valve. That has been a stable solution in the past and is working well again.
I already conducted some power failure tests. My sump can hold the volume. I did identify one issue with the refugium during a power outage. I will need to address that later on.
Overall, with the water running, I'm feeling pretty confident. I still need to install a more perminant heater solution. I pulled old heaters from the last tank for now. They're 300 Watt.


One major thing I haven't done yet is bringing the skimmer online. I will probably do that tomorrow or next weekend. I want to make sure I'm around to watch it for a full day in case something unexpected happens. Just getting this water running this much is enough for now.
I picked up the Neptune Apex system for the display tank and for the QT systems. I've spent the last month focusing on prepping for and installing these systems. After two days of finising up minor issues and cleaning the filtration area, I can finally do another pan of the room. I had a few minor issues like a J-Guest fitting leaking due to a missaligned O-ring, I have both the display and QT tanks running on cruise control. Those minor issues are taken care of.
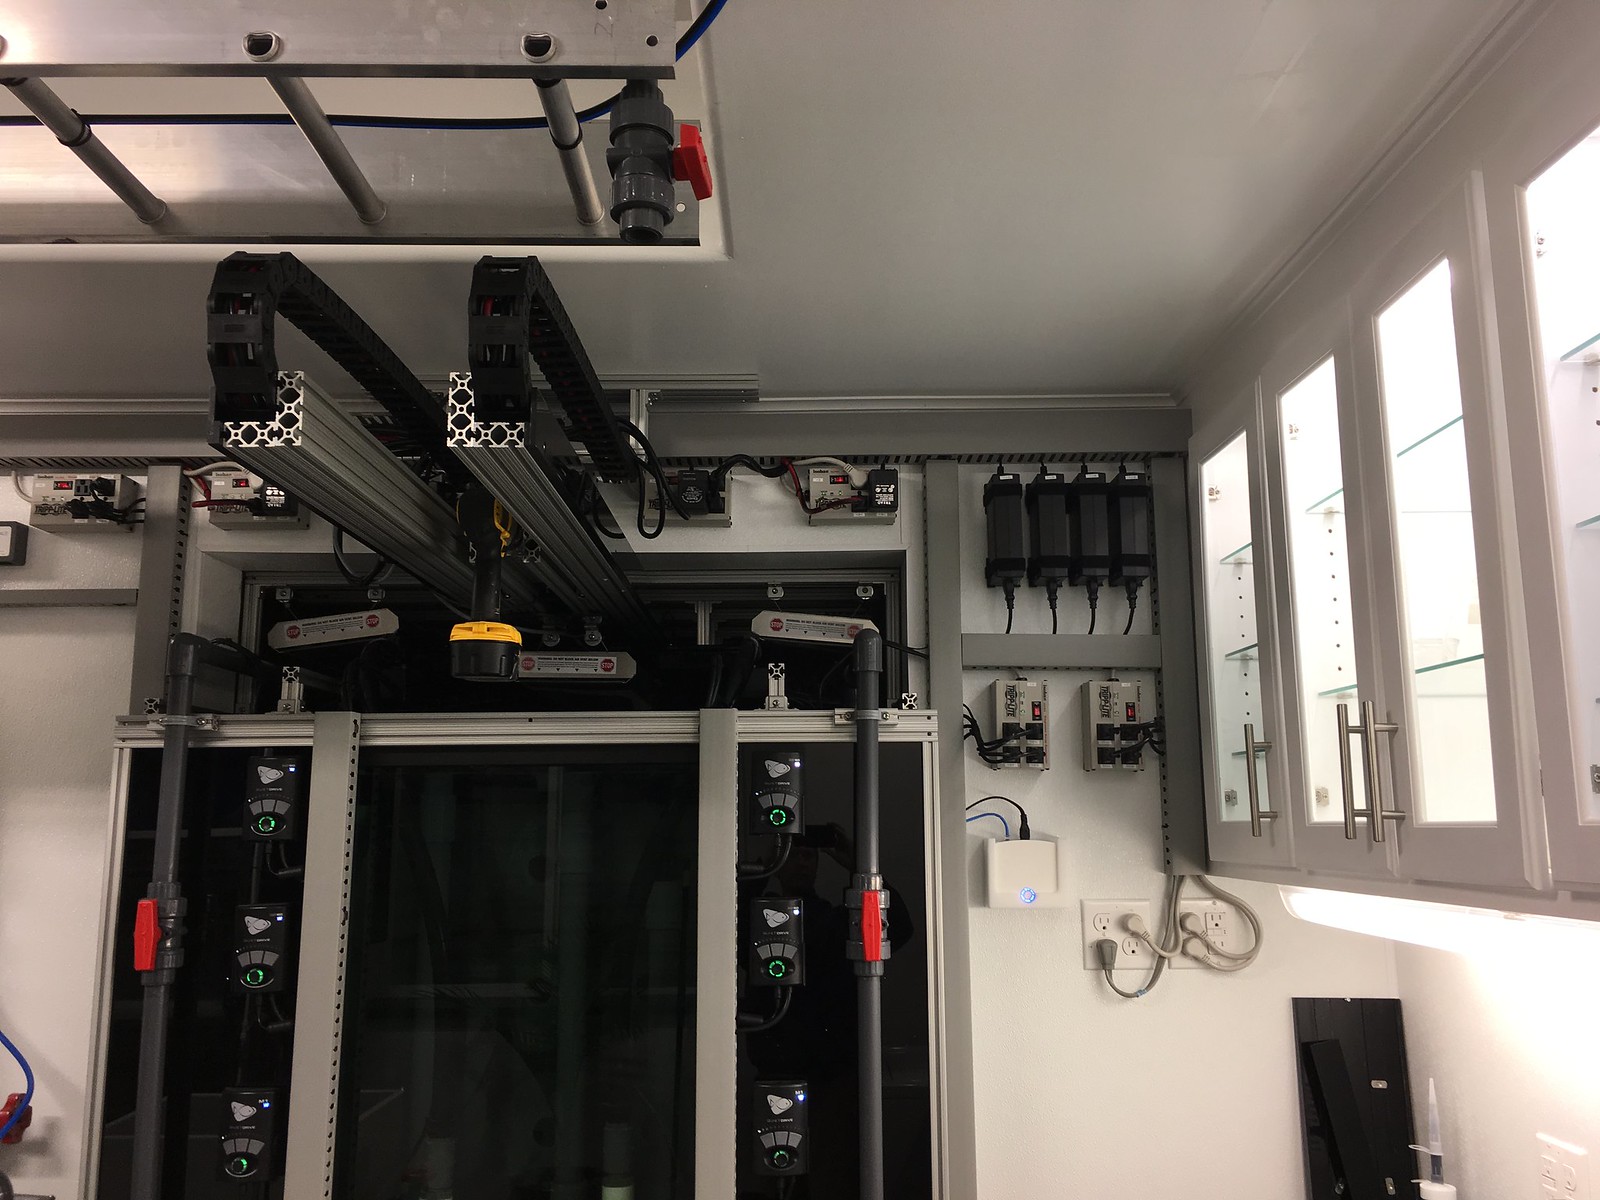
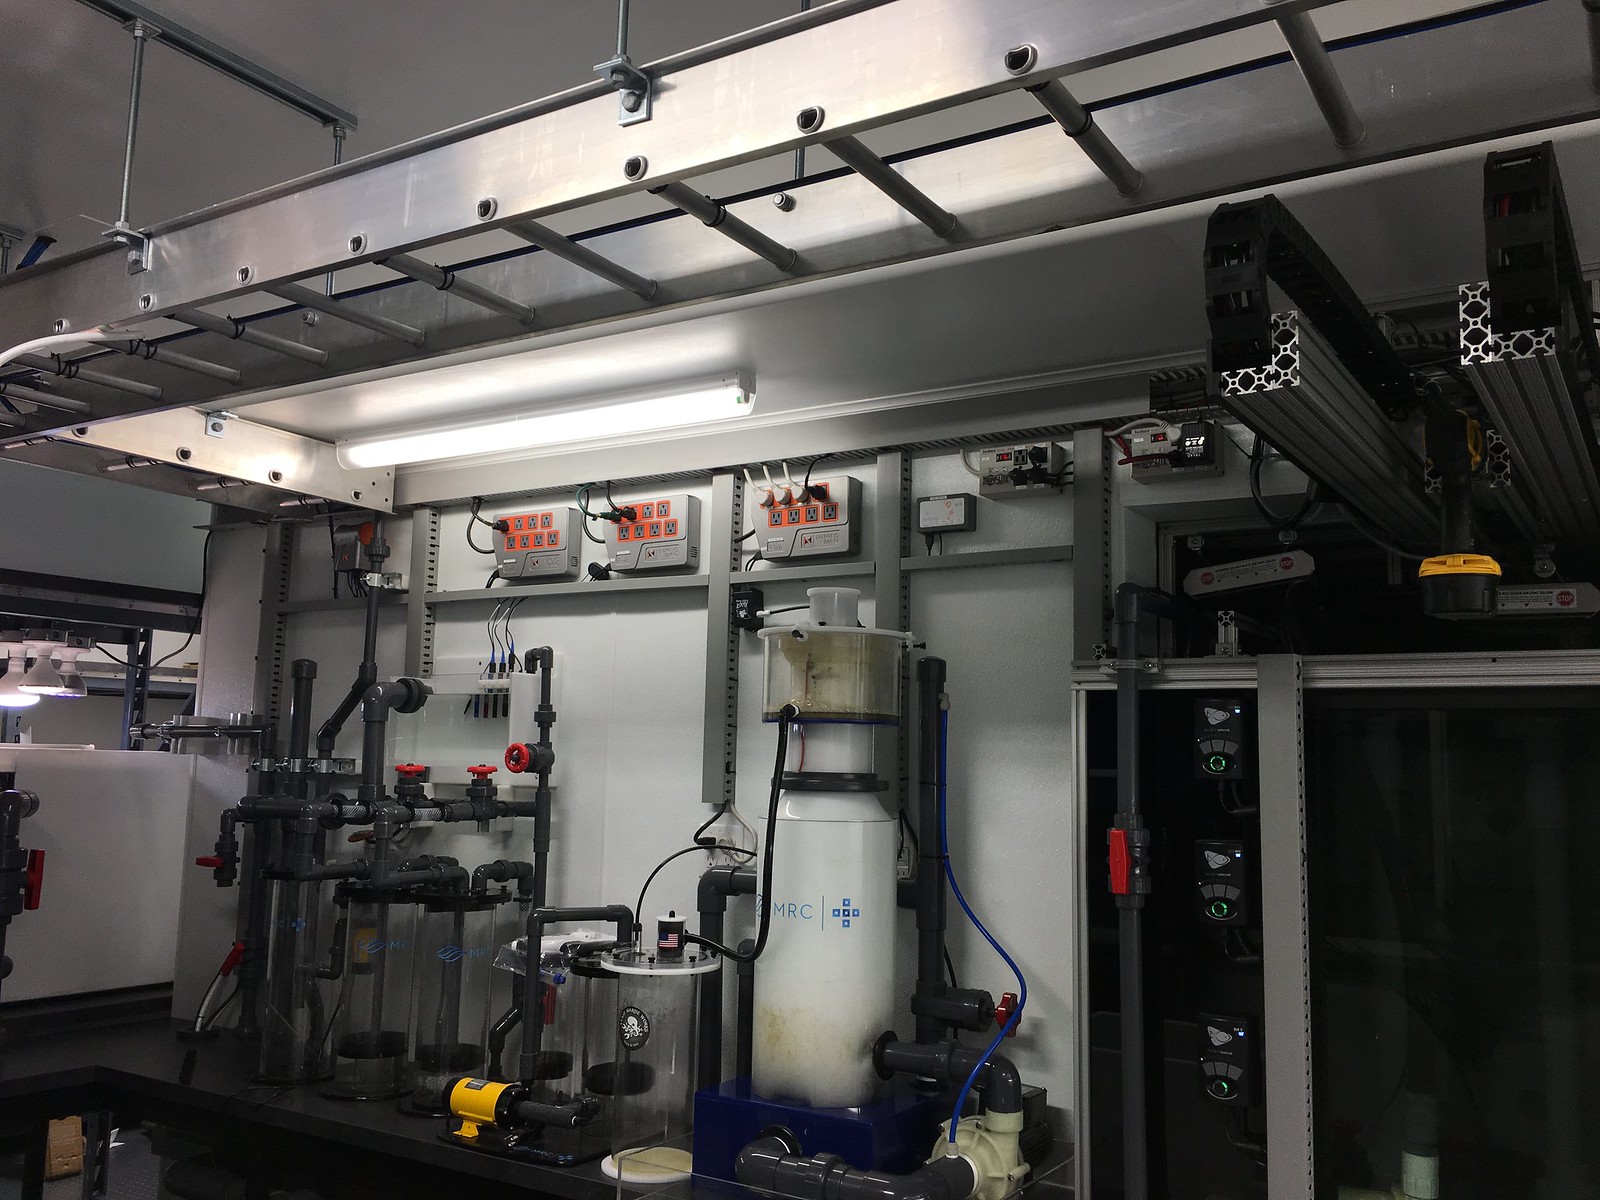
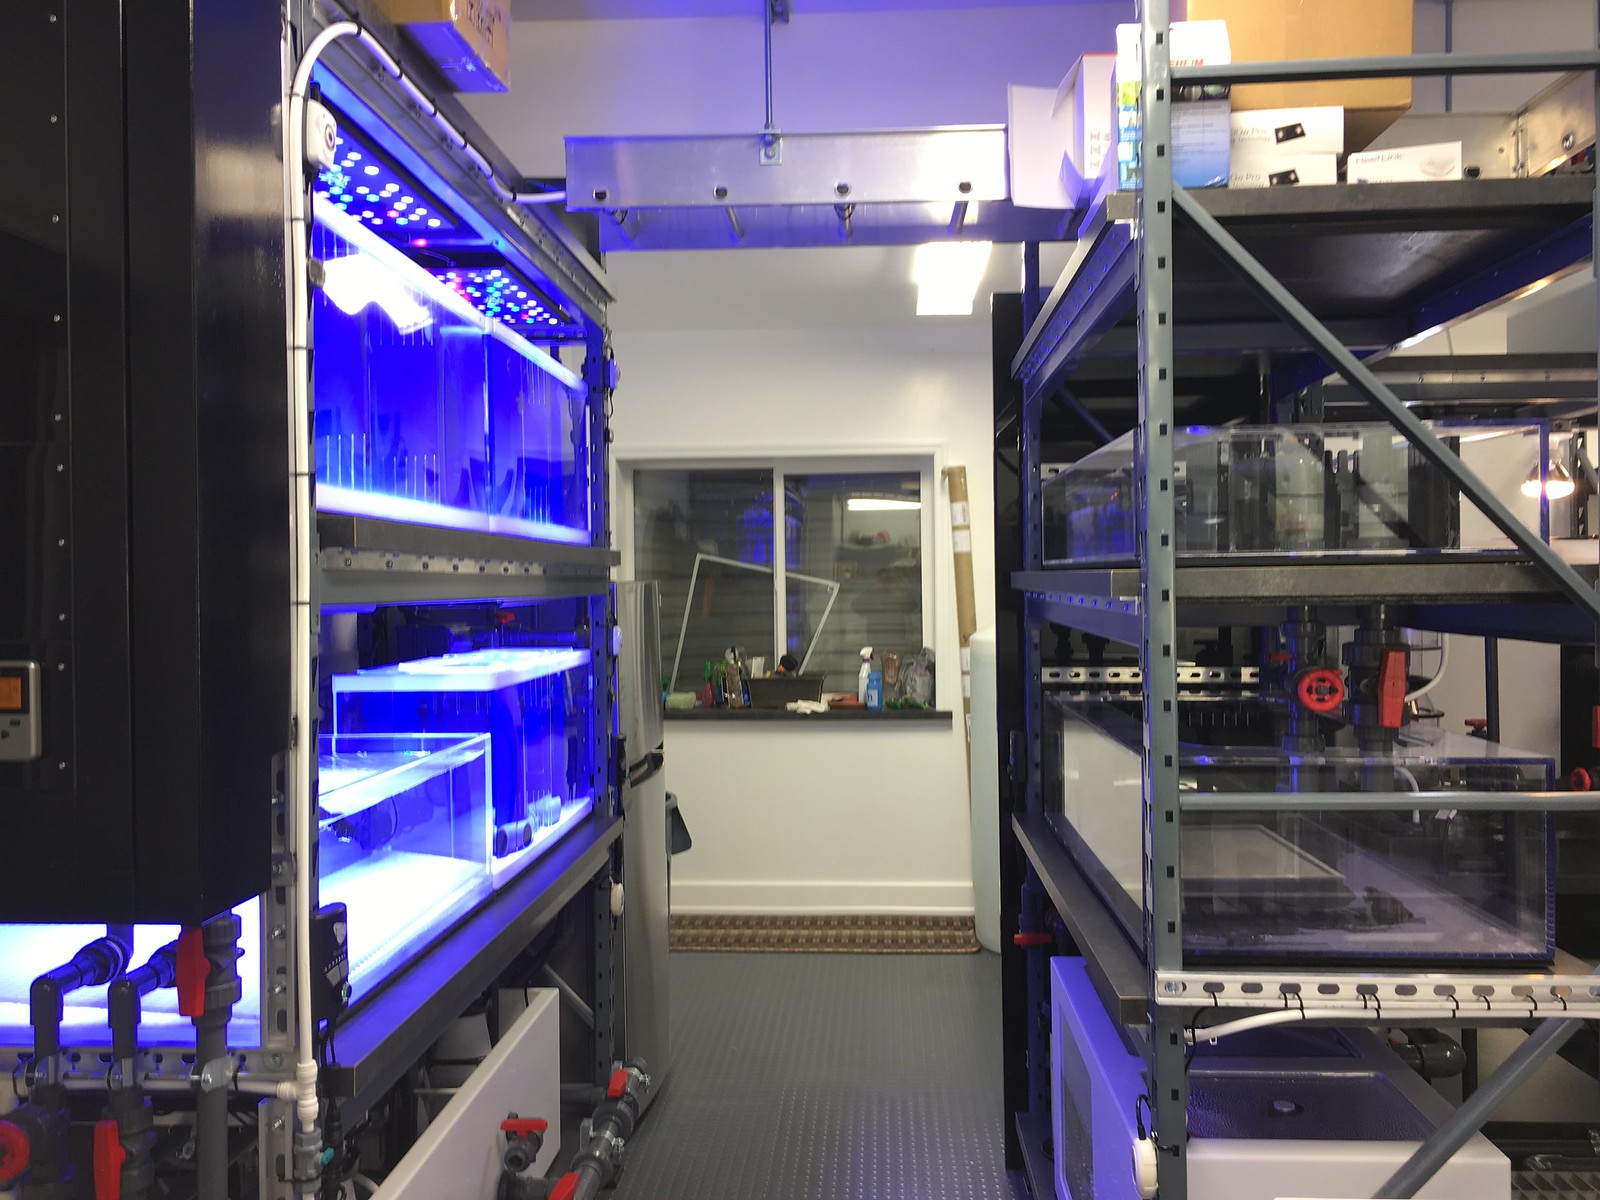


I build another cabinet for the Energy Bars that support the QT systems. Like a lot of aspects of this build, I've tried to leave things modular and easily modifiable. I still need to build holders for the ReefBreeder light remote controls. They will be mounted on the second panel up. I will eventually add input buttons, switches, and/or output light indicators as needed to these panels that interface to the Apex. For example, I might add a large red "EMERGENCY STOP" button. I will be adding a cheep tablet to the other electronics cabinet that focuses on the display system. I might end up adding a cheep tablet to this cabinet so that I can tweek the QT system quickly and easily. For now, I'm going to spend some time working with things as they are and figure out exactly how I end up using the systems over time before making major changes or additions.
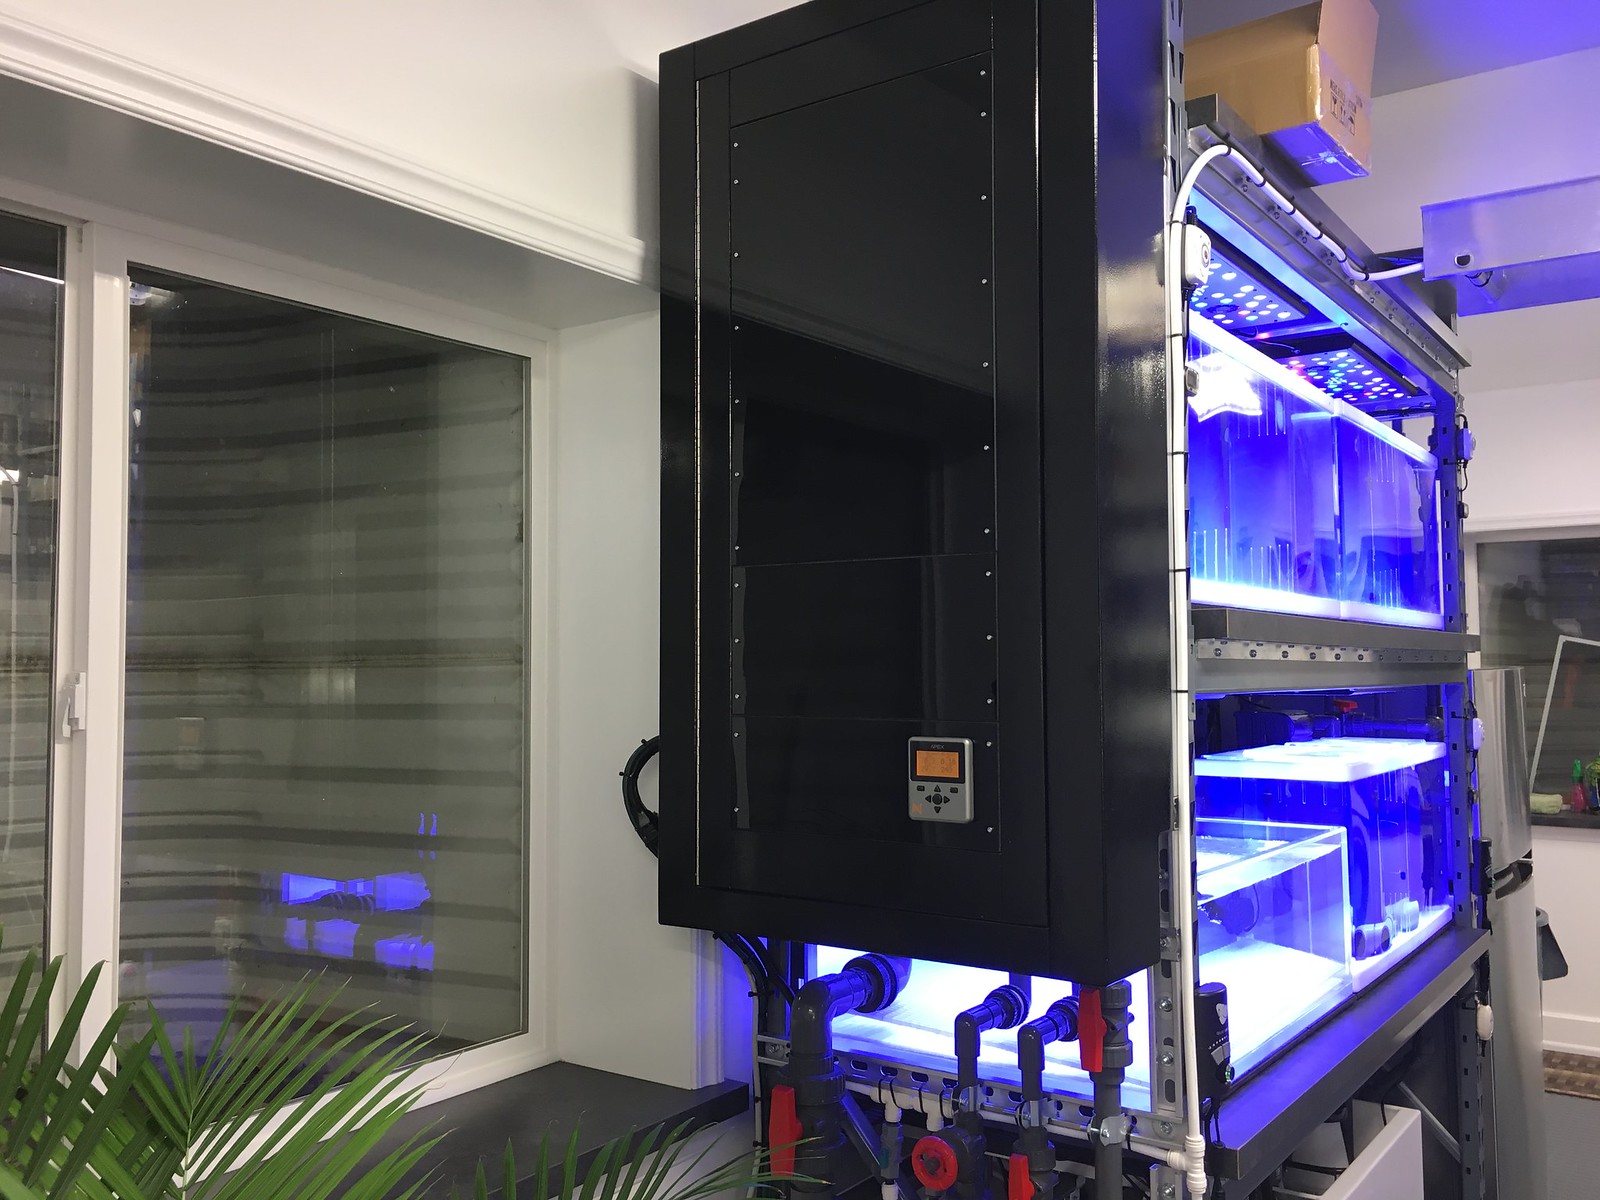
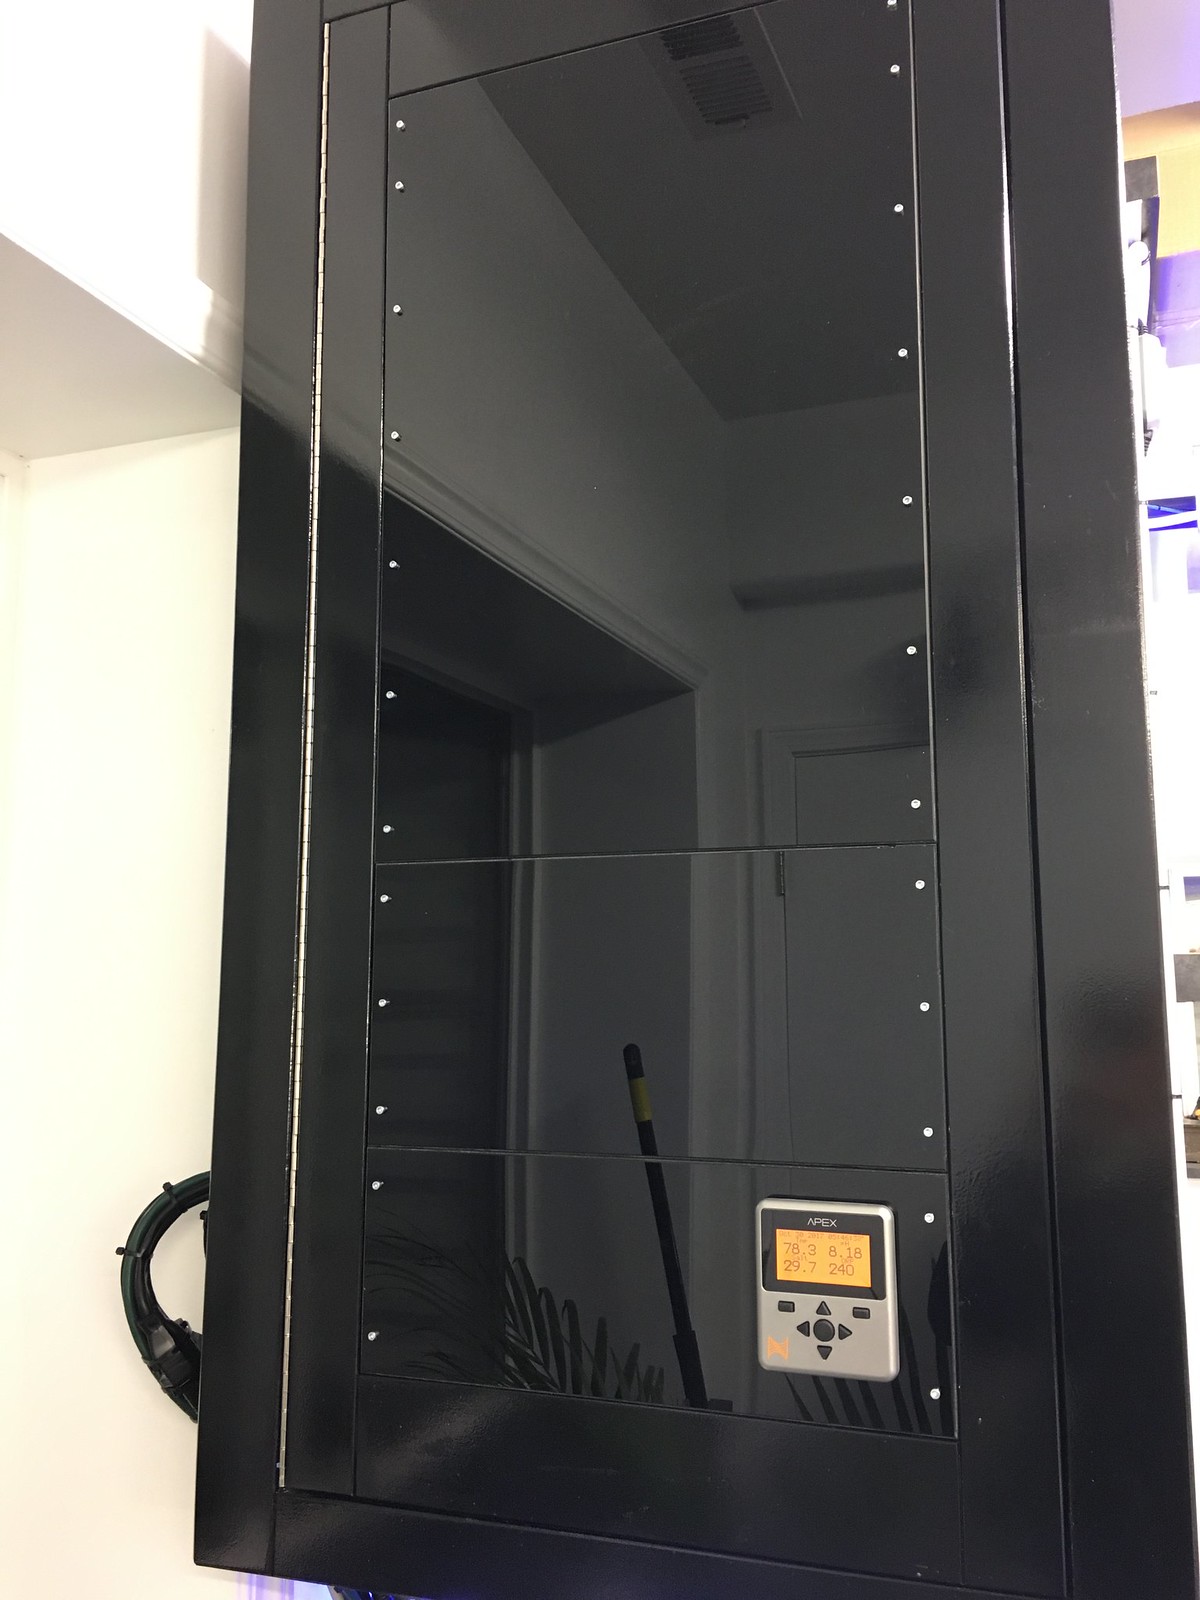


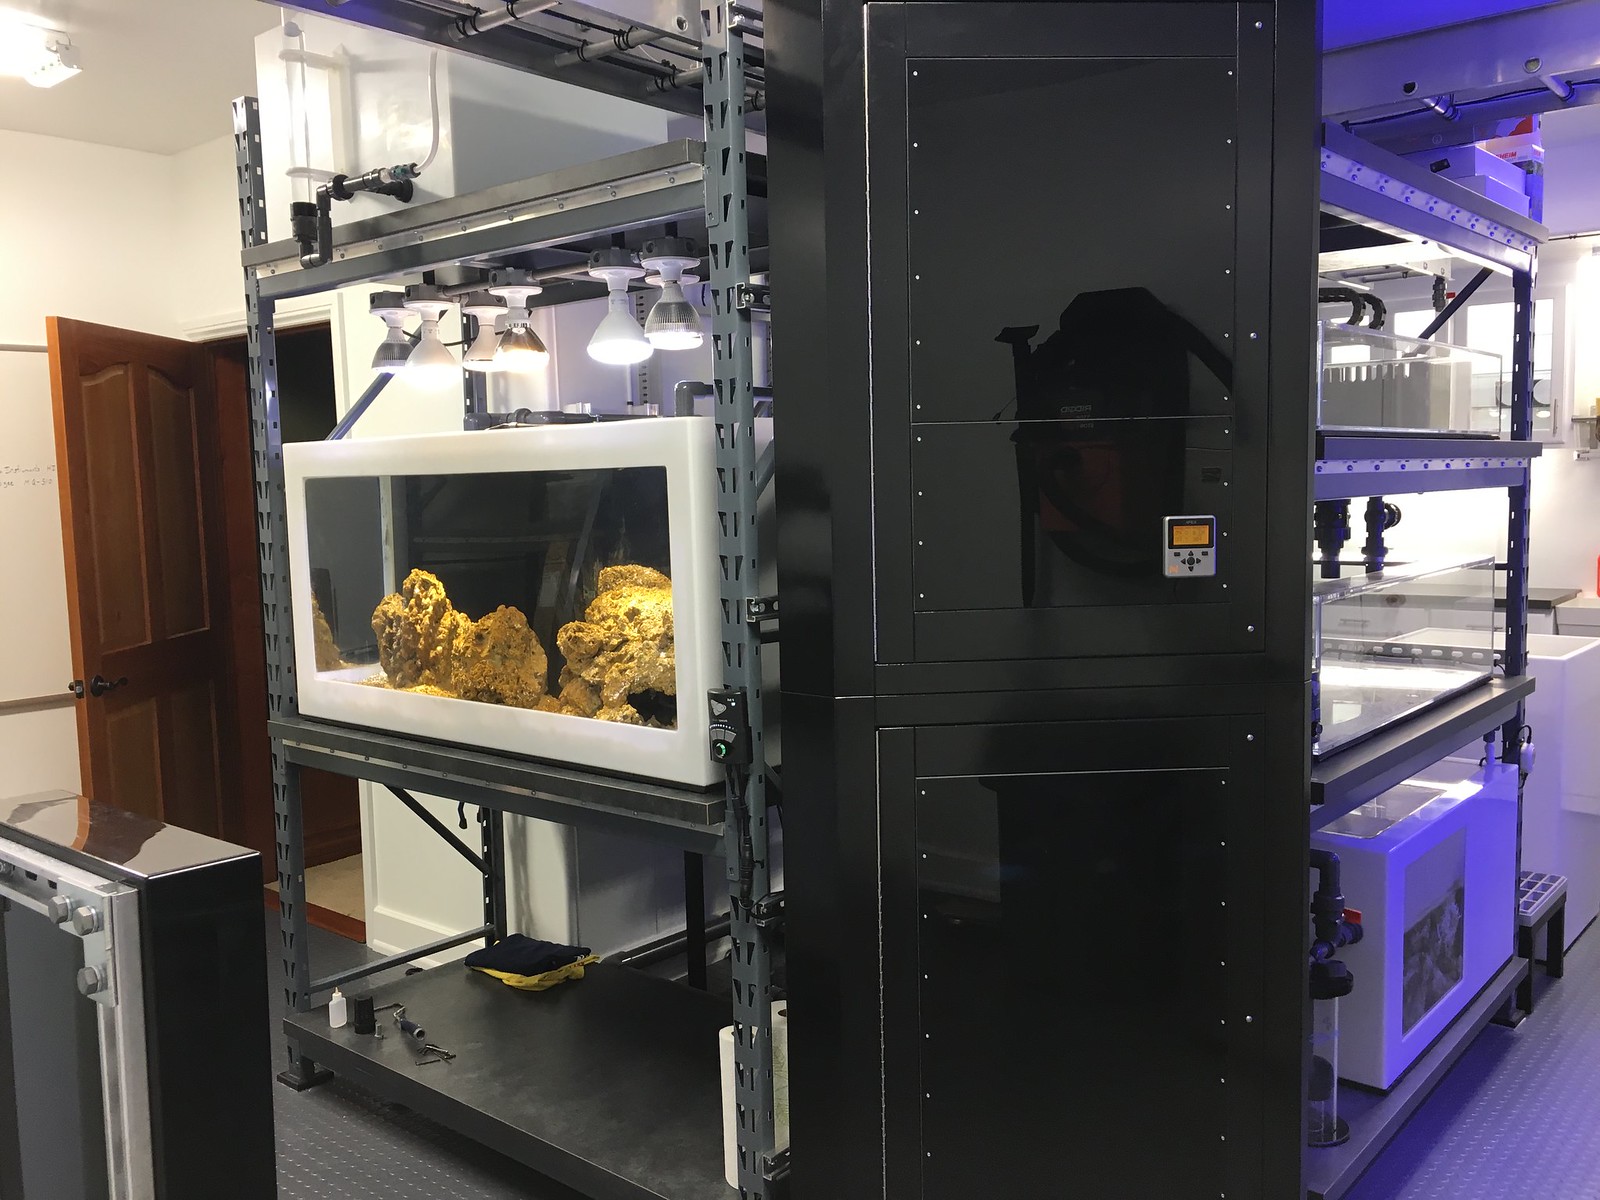
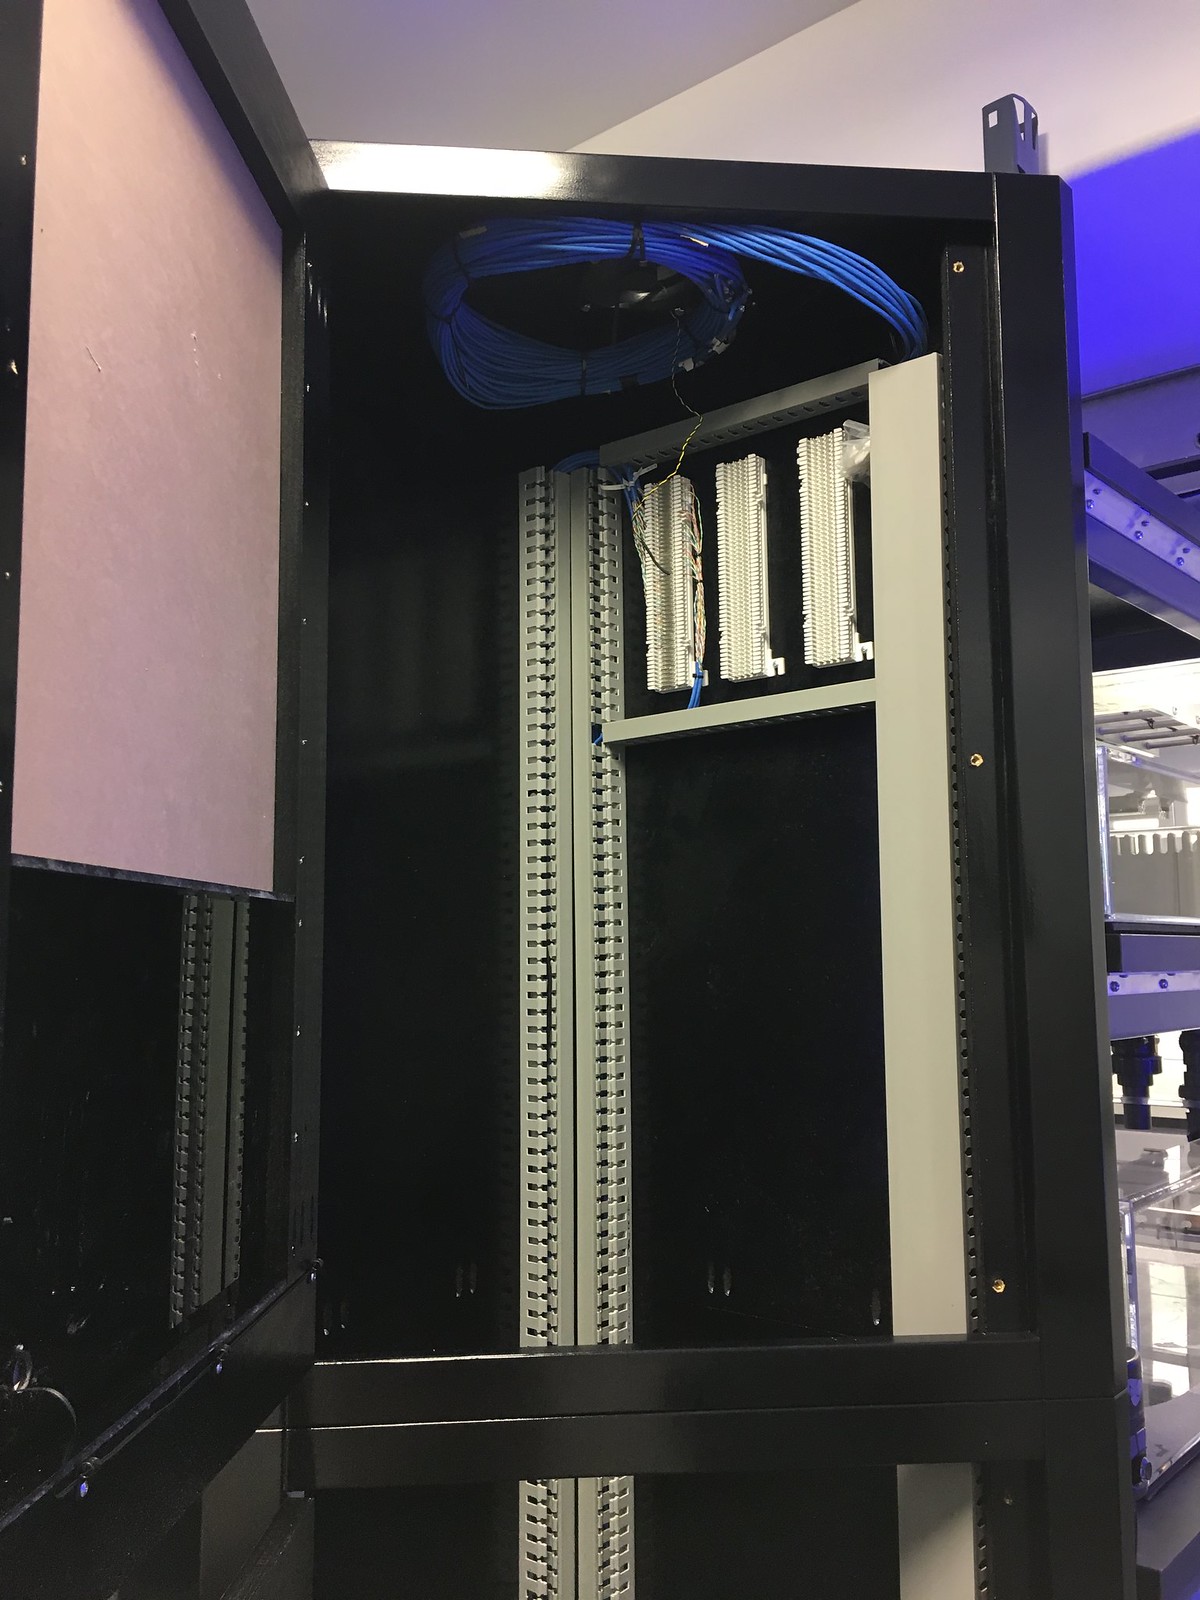
The large cabinet for misc electronics has been prepped and sealed up. I will be mounting a tablet next to the Apex display head. Long term, I will be interfacing all of the other electronics I plan on building into this cabinet. I purposely built this cabinet larger than needed so that I can easily expand as needed.

I installed some equipment from Avast Marine on the MRC skimmer. I'm really impressed with their products and highly recommend them! I am considering ordering some more of their pressure sensors to use as high/low water level indicators.

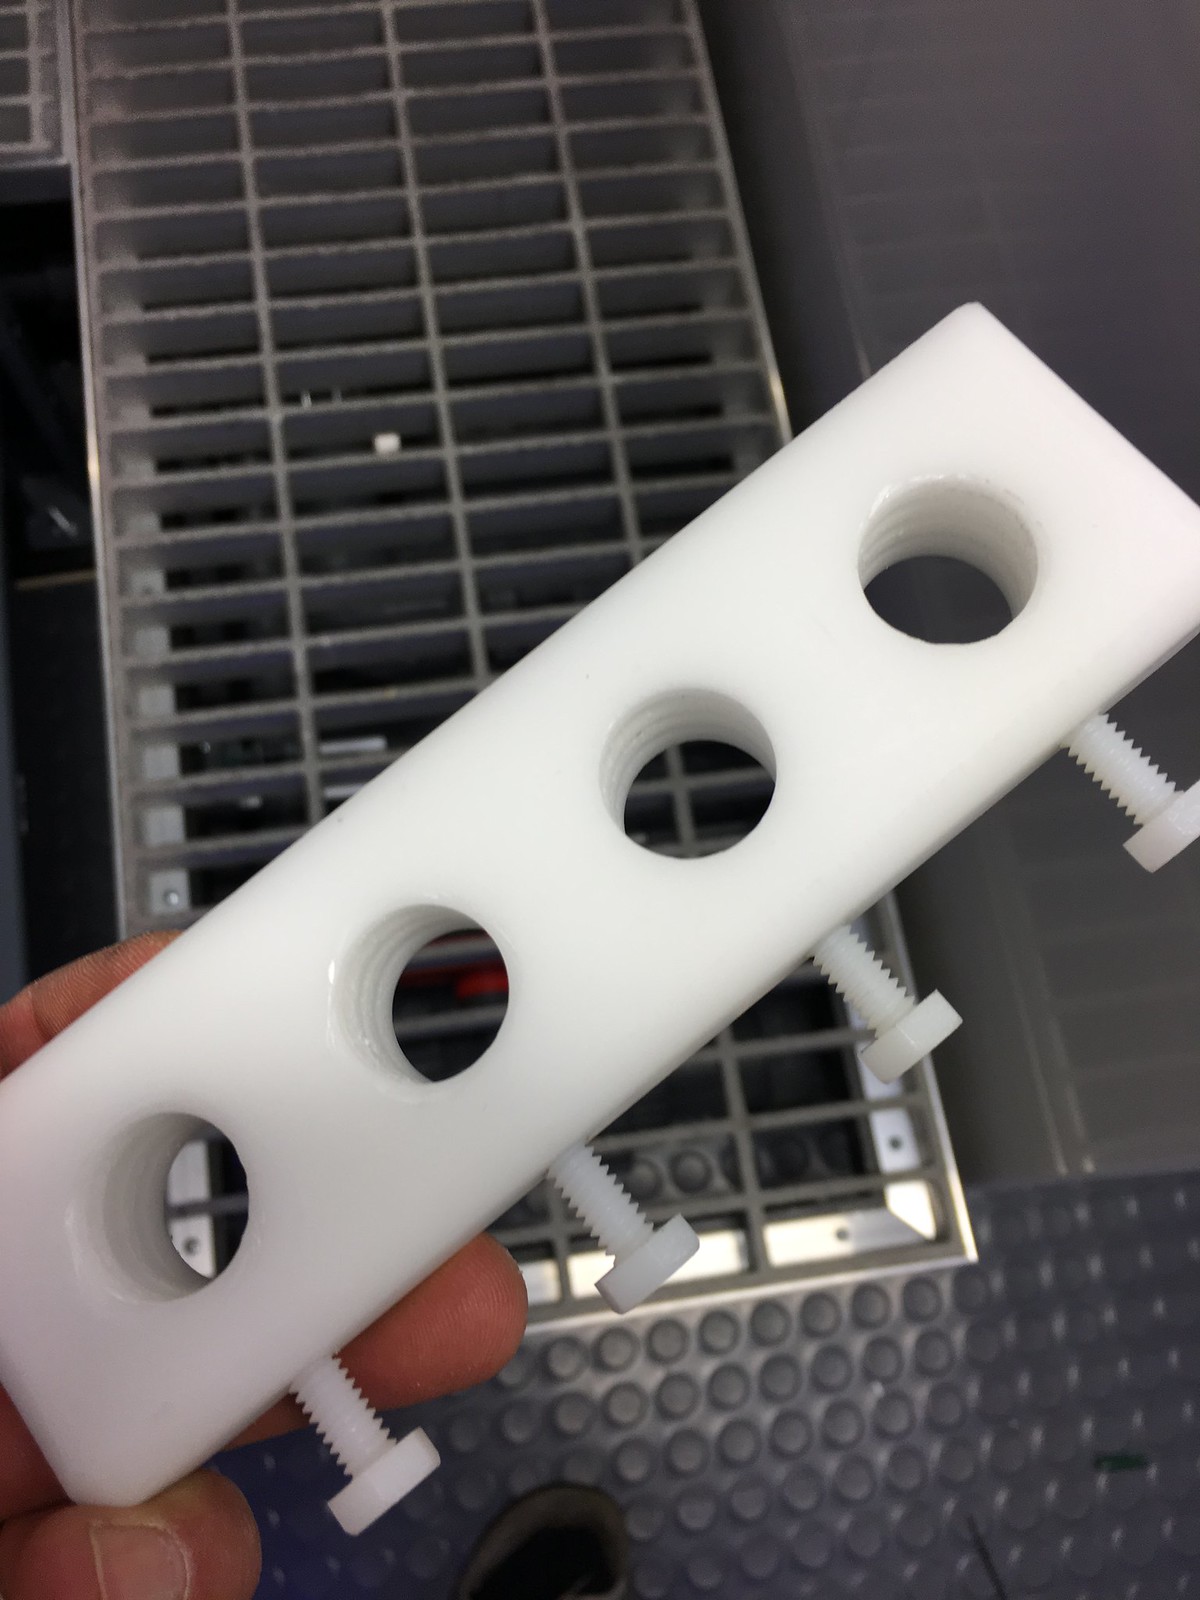
Lastely, I built some of these probe holders from scrap acrylic. I also built a small acrylic box that will be dedicated for testing probes. I've been following some of the new testing devices coming onto the market so I tried to oversize this box.
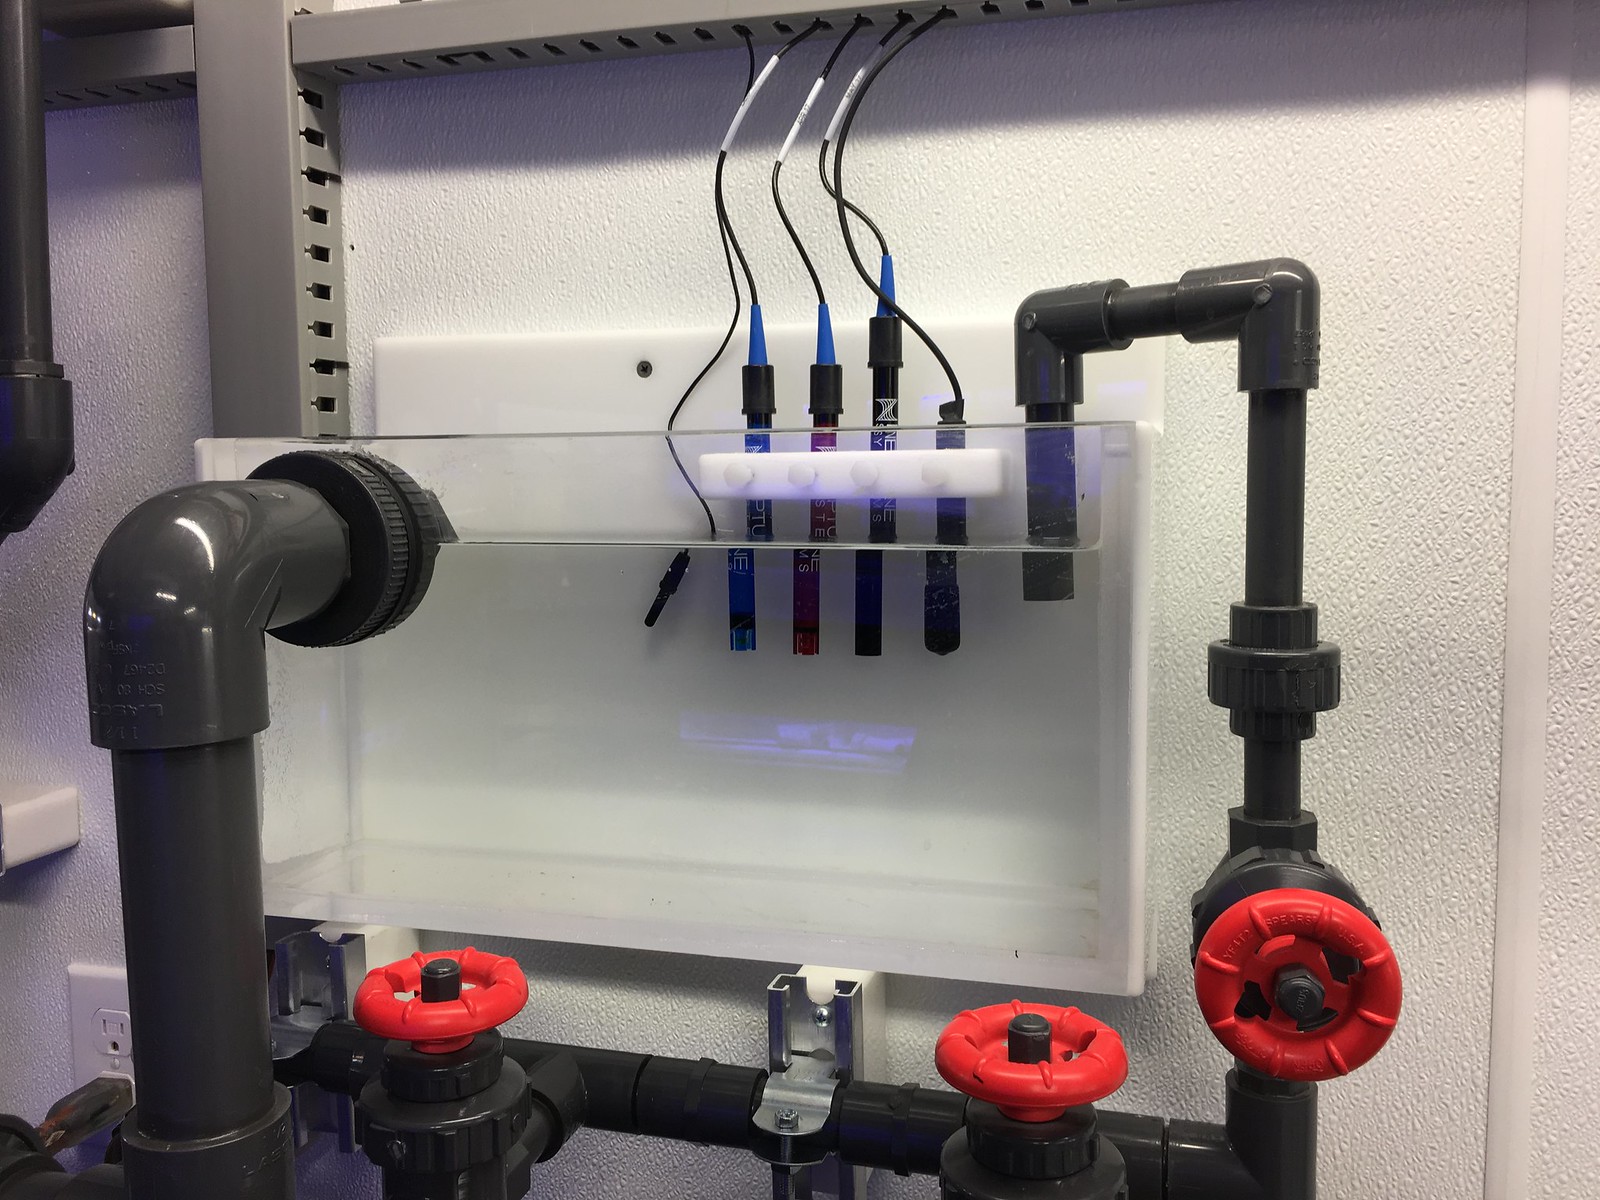


I installed some equipment from Avast Marine on the MRC skimmer. I'm really impressed with their products and highly recommend them! I am considering ordering some more of their pressure sensors to use as high/low water level indicators.

Lastely, I built some of these probe holders from scrap acrylic. I also built a small acrylic box that will be dedicated for testing probes. I've been following some of the new testing devices coming onto the market so I tried to oversize this box.


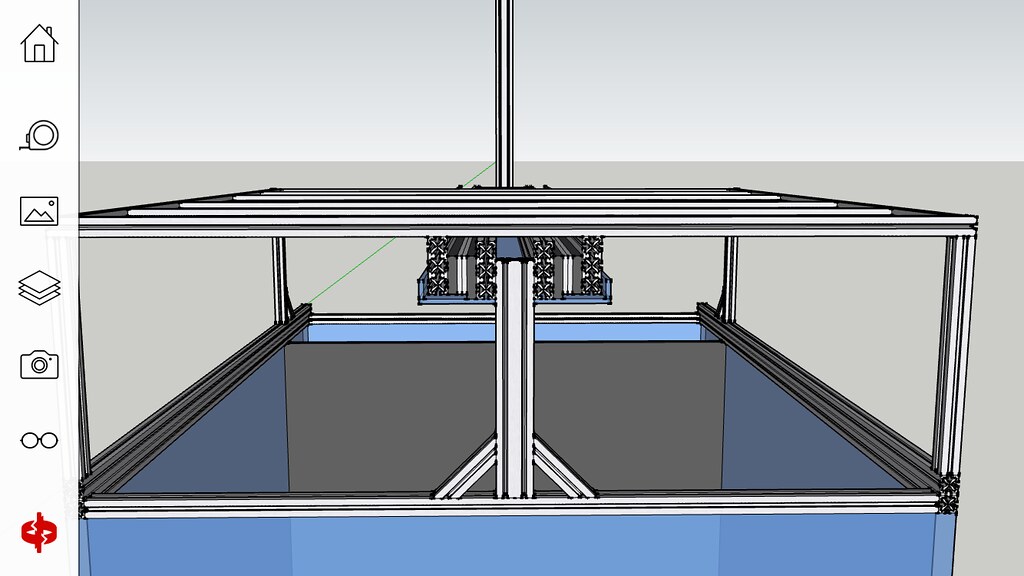
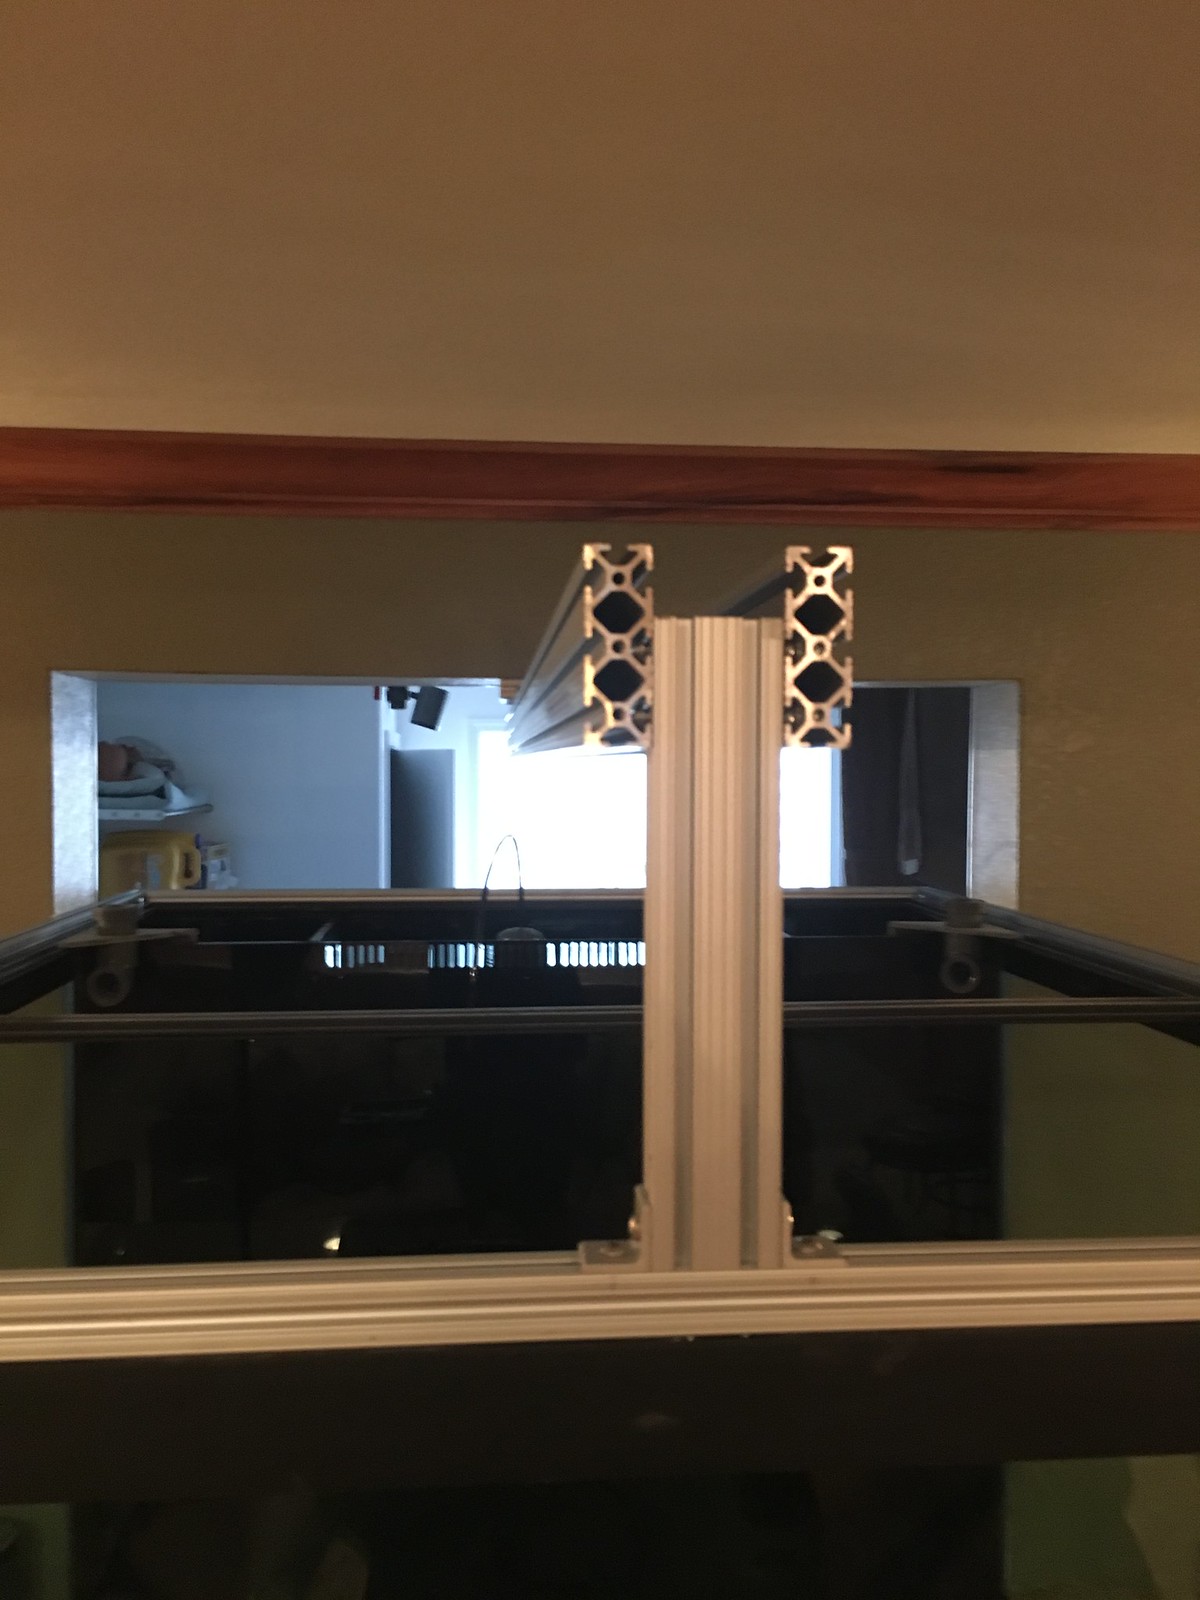
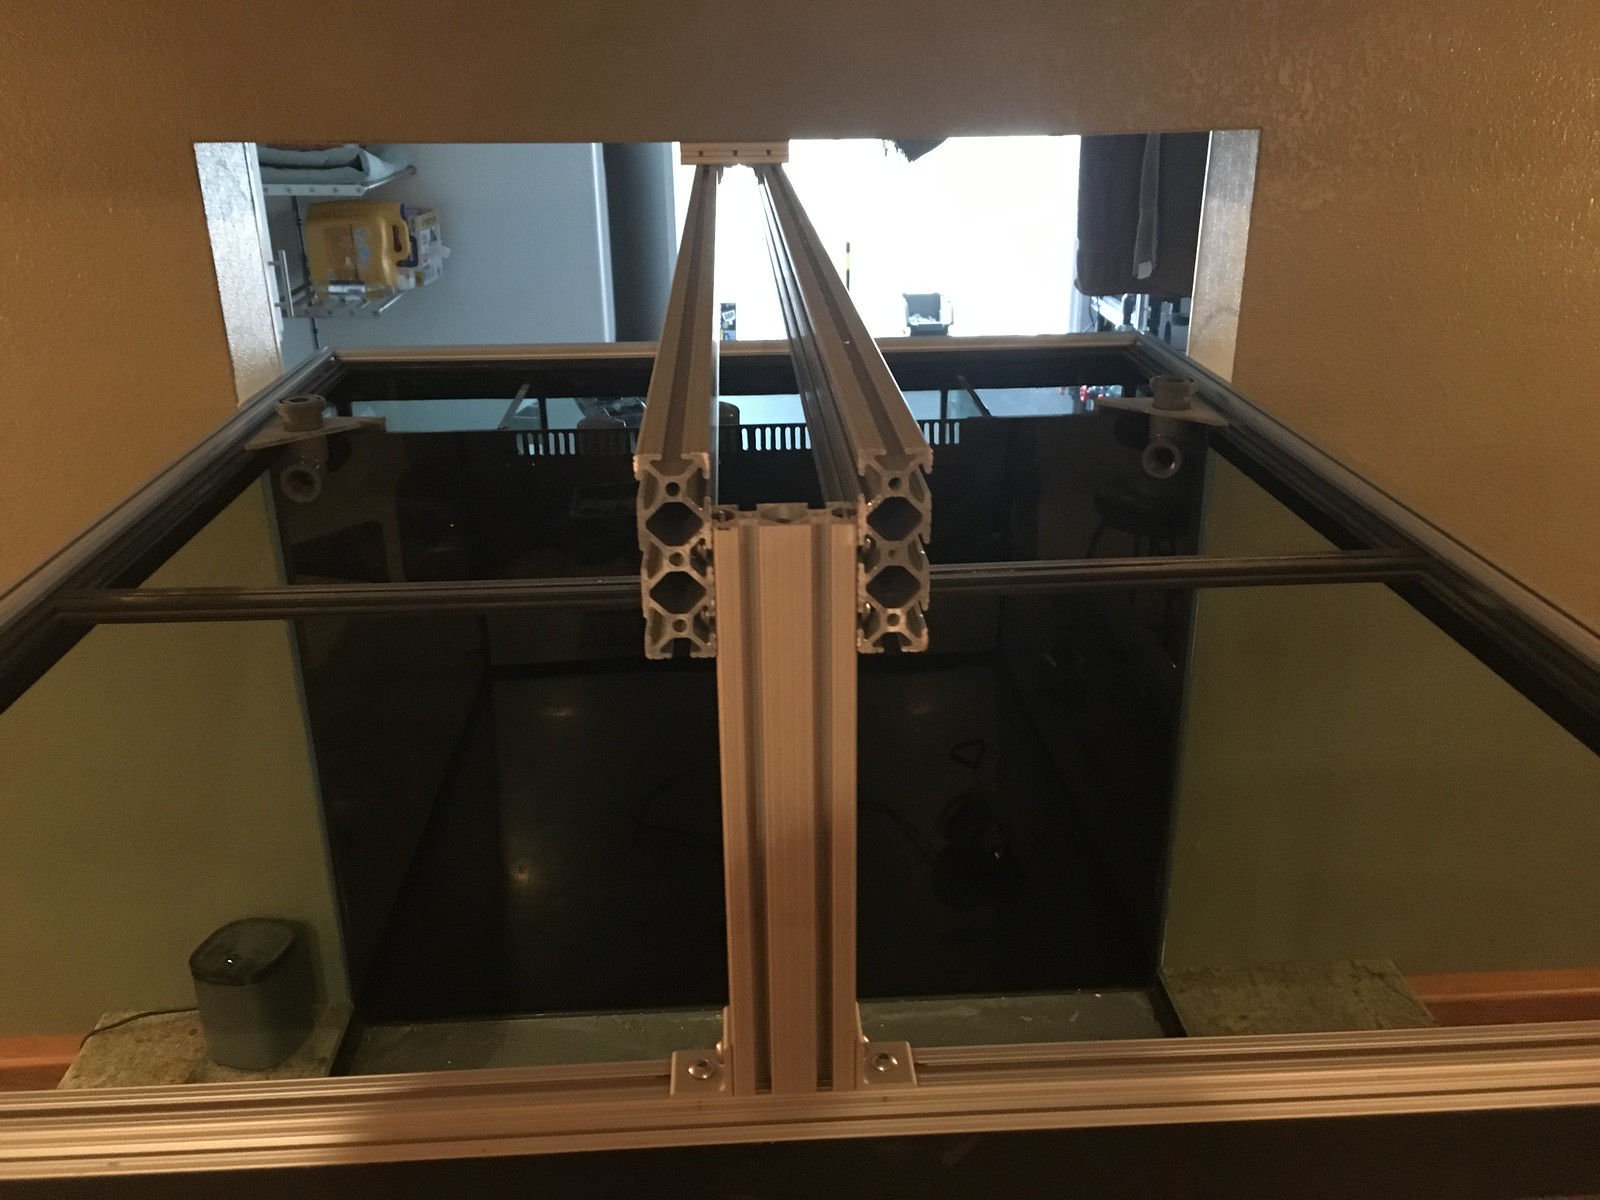
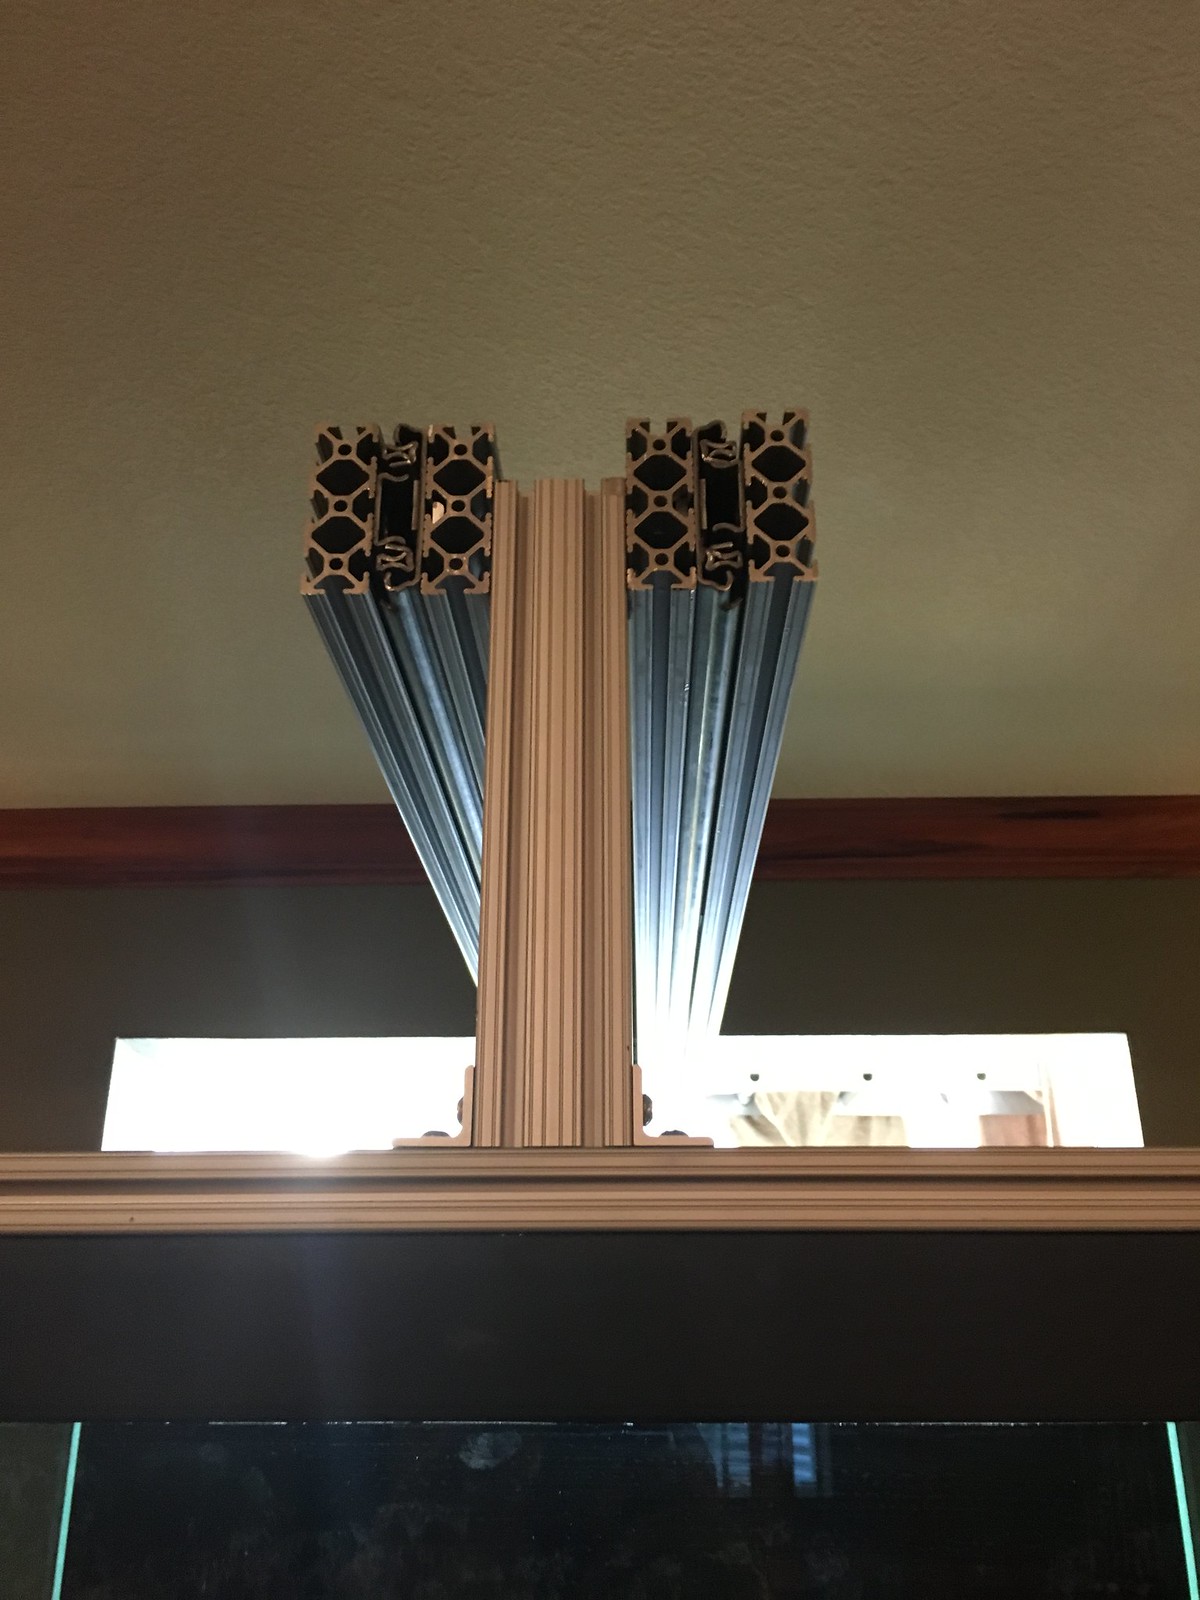
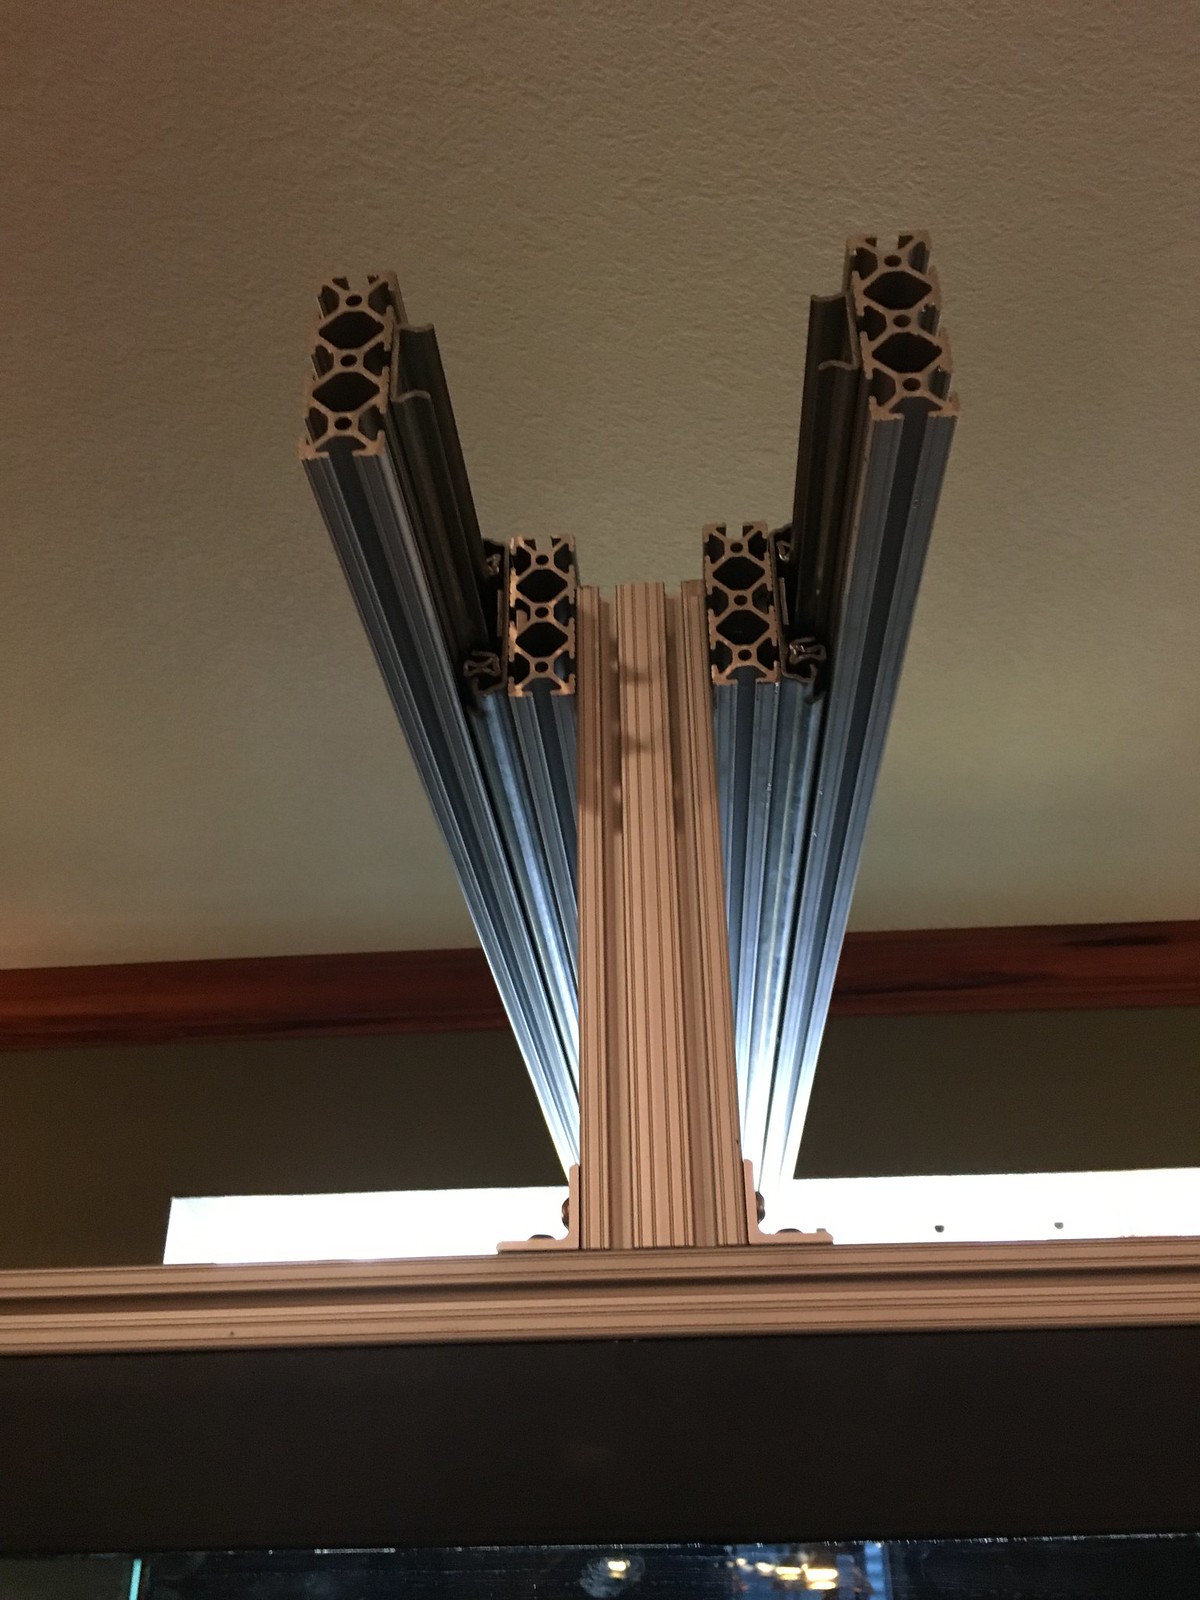
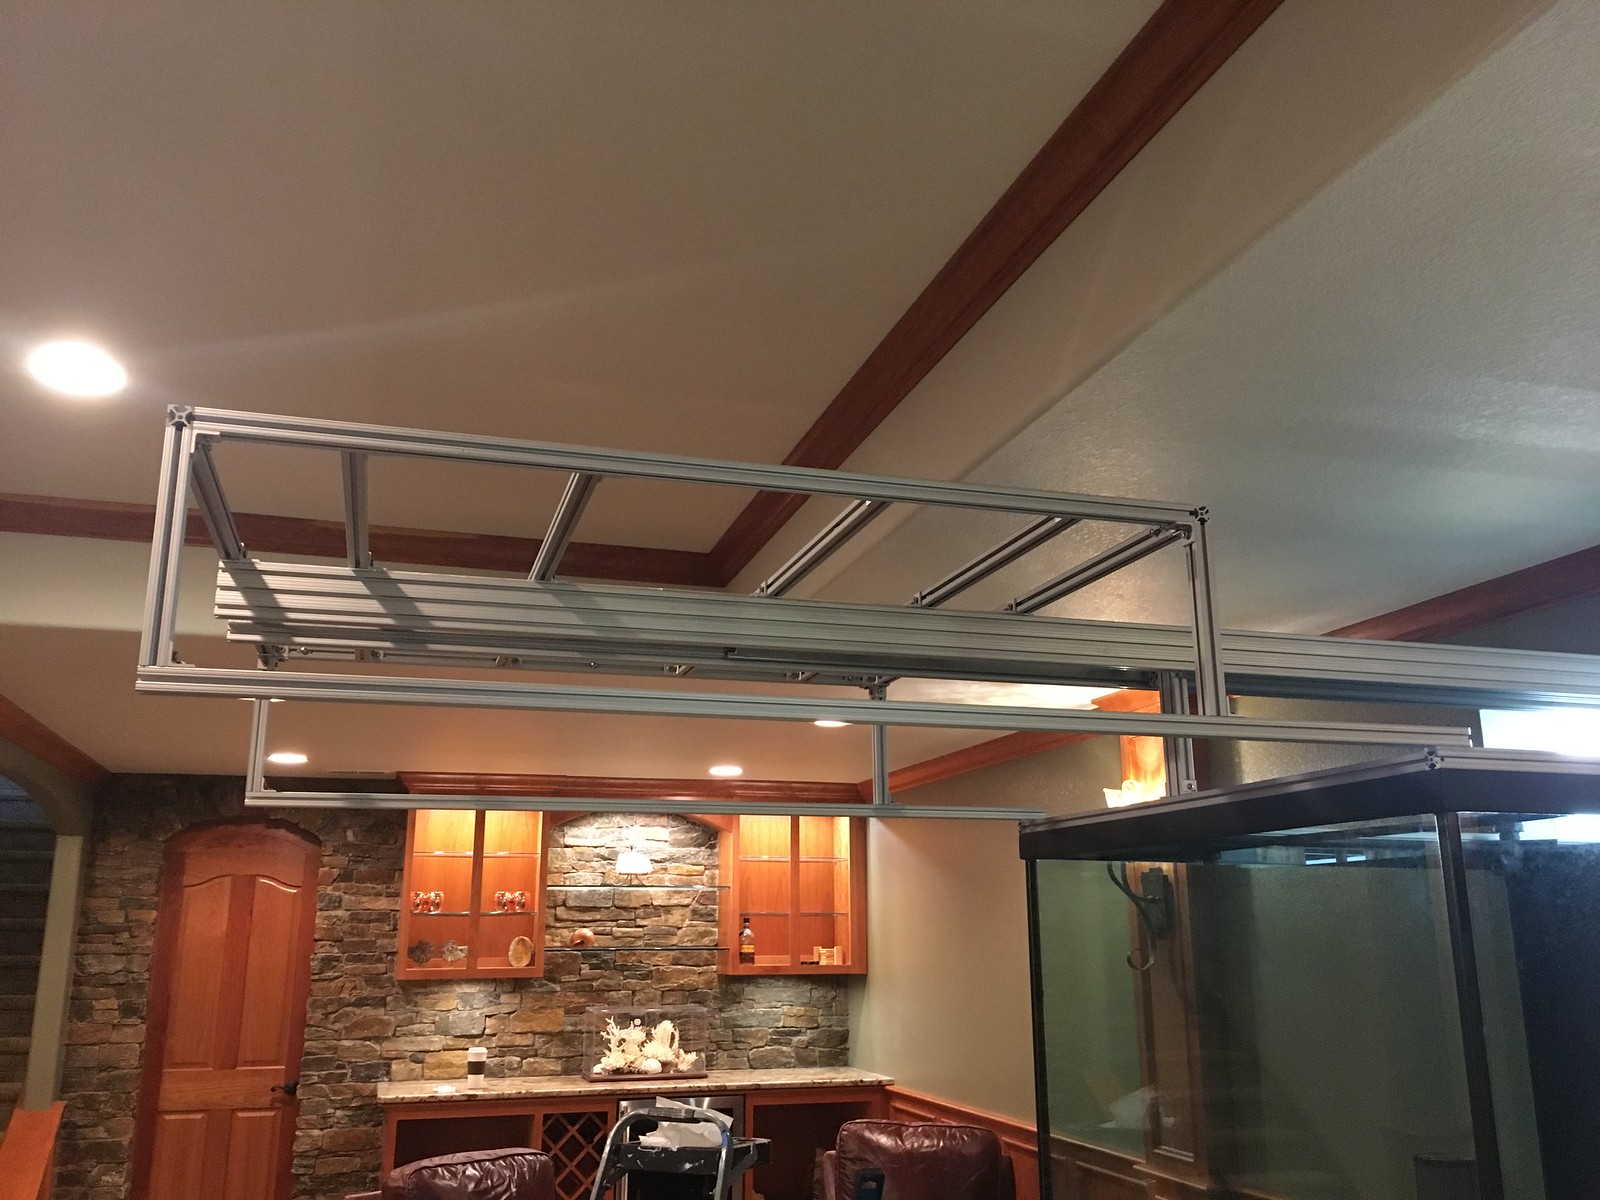
This month, I'm focused on prototyping and building the electronics that will control the hood movement. I'm using a stepper motor to maintain precise control of the rotation of the lead screw which also guarantees precise control of the hood's position at all times.
I'm prototyping everything on the bench first so that I can build out the software to integrate all of the switches and indicator LED's with the motor's movement. I will have physical buttons under the hood and a few other locations around the filtration room to open, close, pause, and emergency stop movement of the hood.
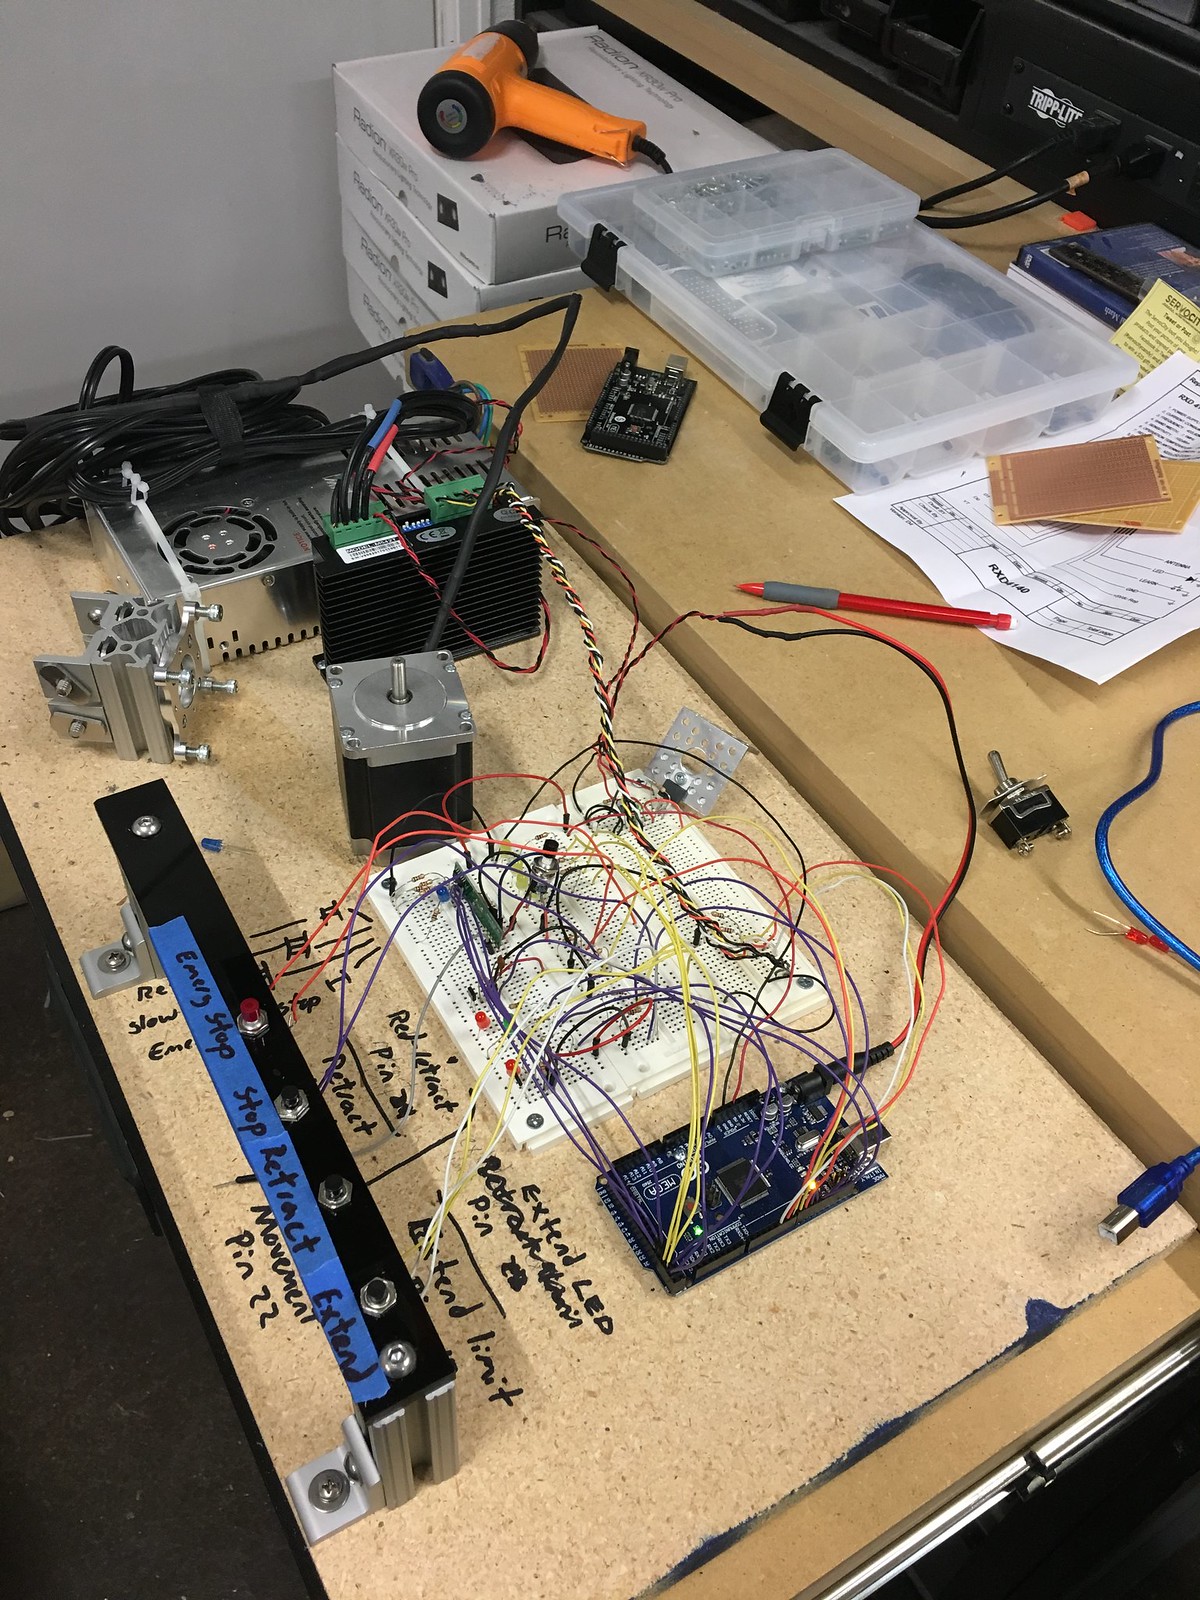
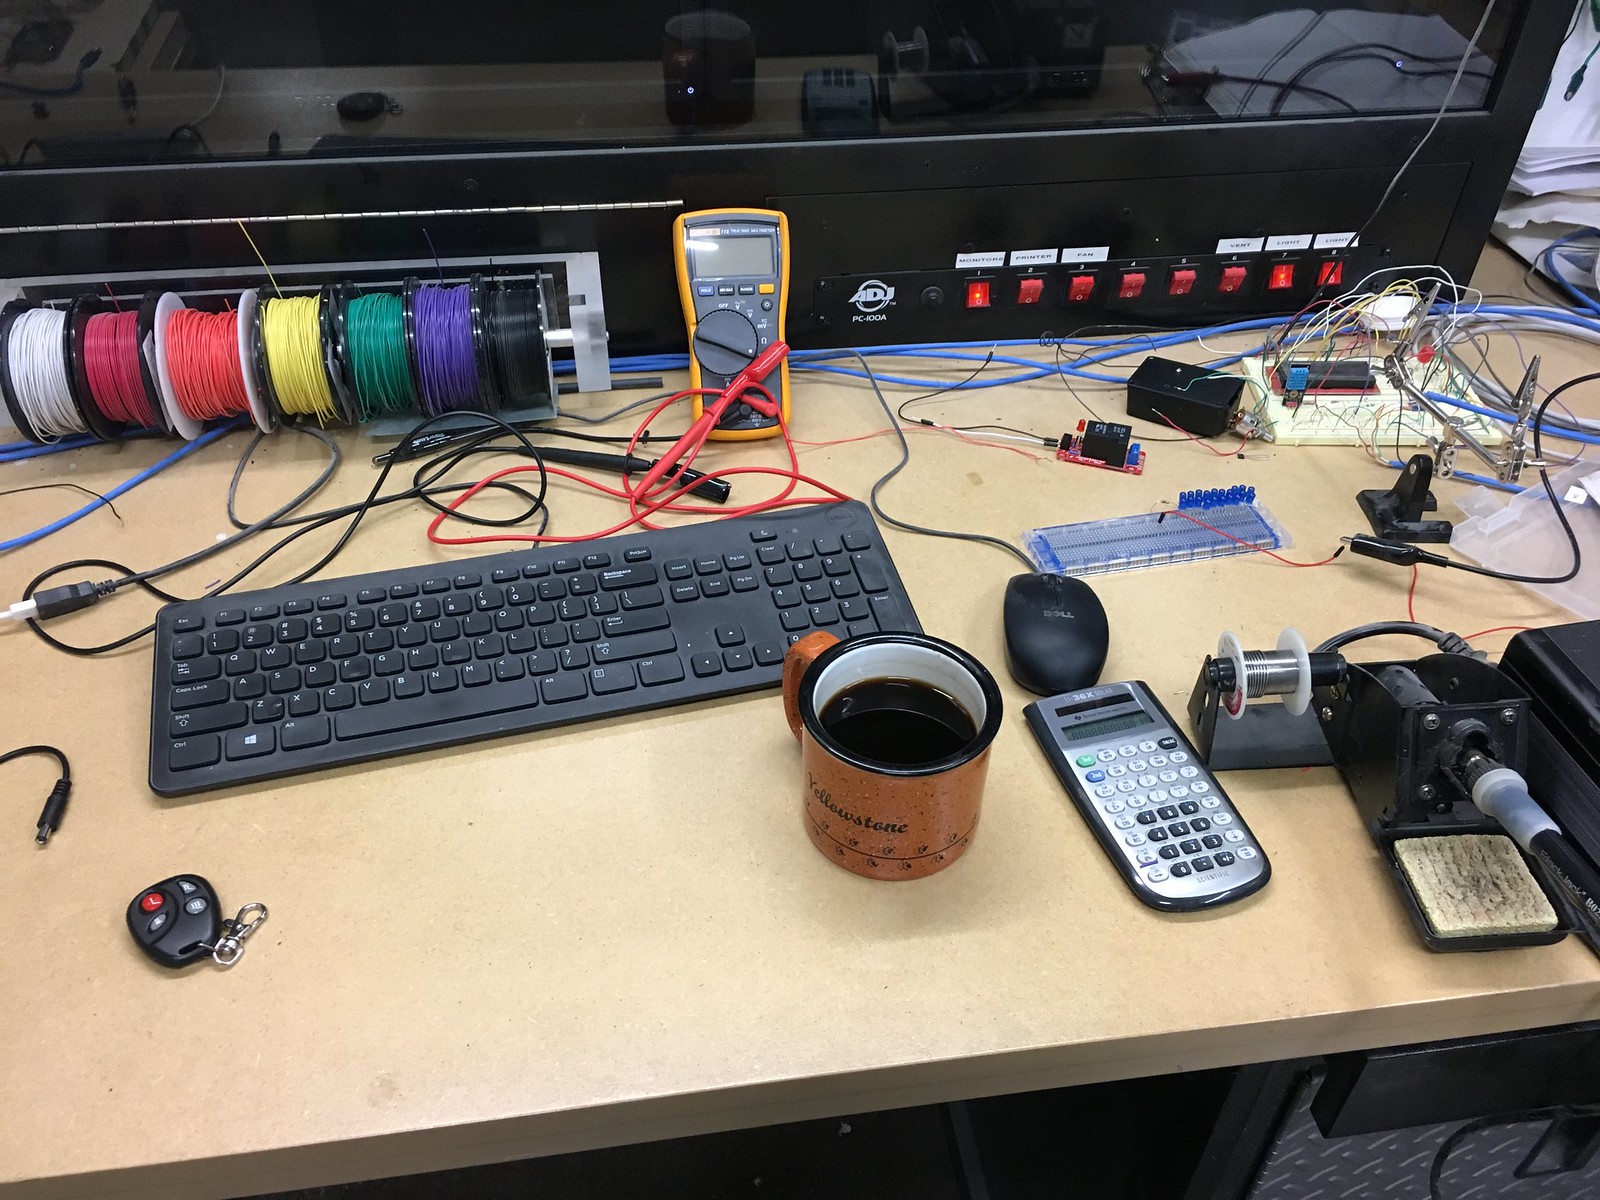
I'm also adding this remote control key fob that also duplicates the functionality of the physical buttons.


The next step is to mount everything on PCB's and install in the acrylic project box I built.
I'm prototyping everything on the bench first so that I can build out the software to integrate all of the switches and indicator LED's with the motor's movement. I will have physical buttons under the hood and a few other locations around the filtration room to open, close, pause, and emergency stop movement of the hood.


I'm also adding this remote control key fob that also duplicates the functionality of the physical buttons.


The next step is to mount everything on PCB's and install in the acrylic project box I built.
The hood automation system is finally in place. I'll be using the remote control 99% of the time to open and close the hood. There are buttons on the main control unit but it's located near the ceiling. I added additional terminals on that unit so that some time in the future, I can run wires to buttons on the main "control station" if you could call it that. There will be a dedicated panel there as an interface for the hood movement. For now, I'll use the remote. Here are two vides:
I am so stupidly busy either finishing up one project, starting another, or cleaning up after myself with this build. The videos aren't that good. I did take better video but I don't have the time to edit them together, remove a bunch of background noise, and make it professional.
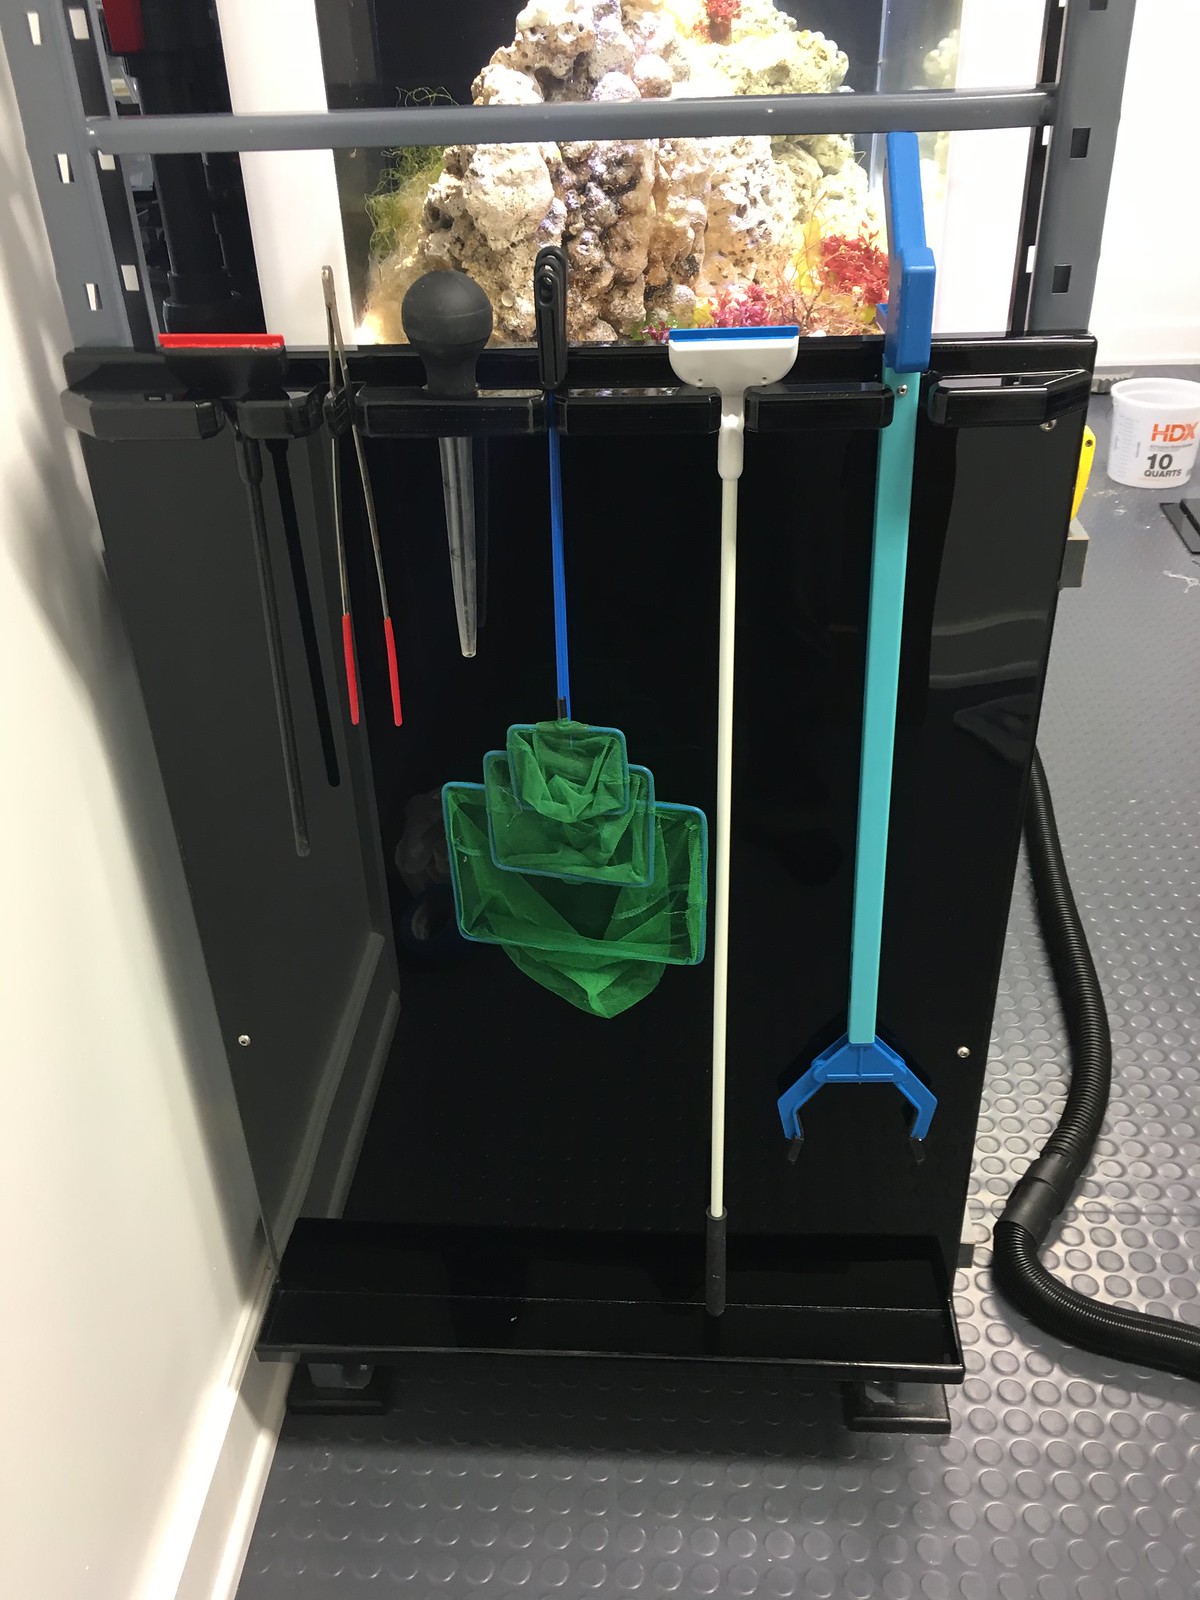
If anyone has any questions, let me know. For now, I'm finishing up a small acrylic project to hold all of my extra long reefing tools for the extra deep tank. Maybe next weekend I can start on the woodwork for the hood. What you see in the videos is 1/8" acrylic with the paper backing still on. I'm lining the inside of the hood with those as a moisture barrier.
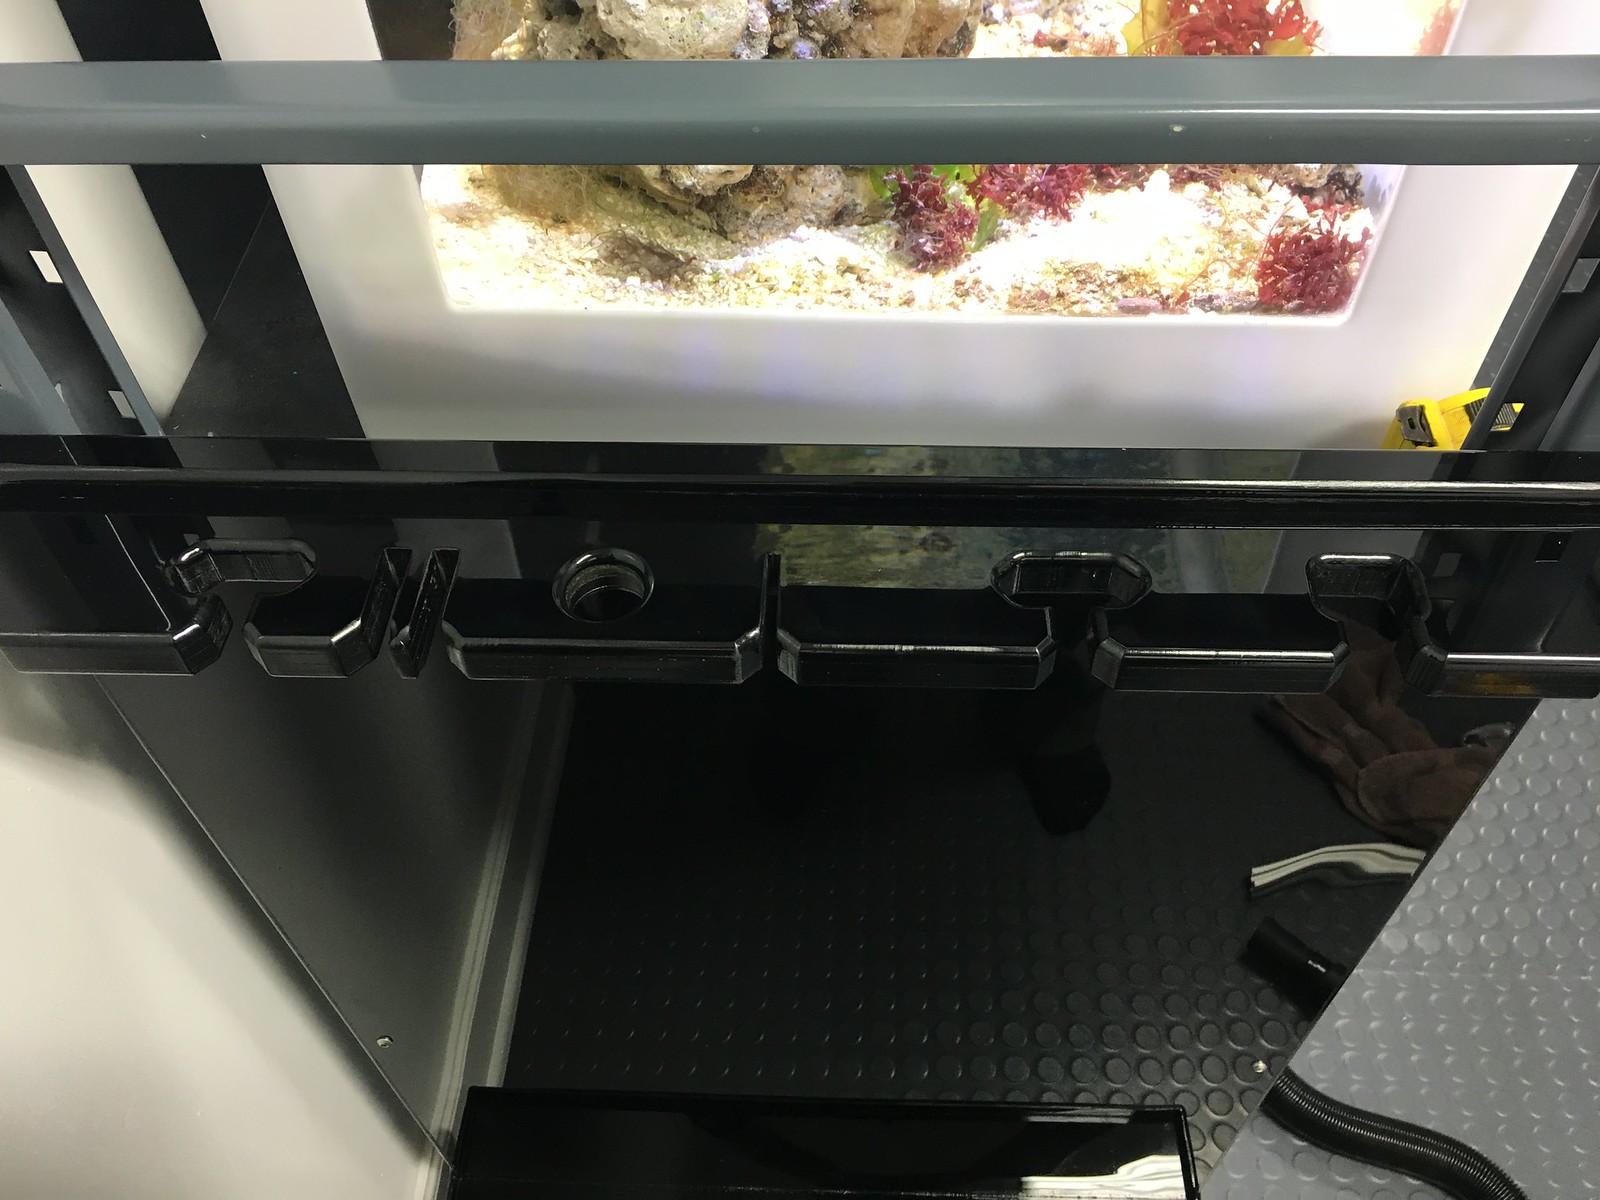
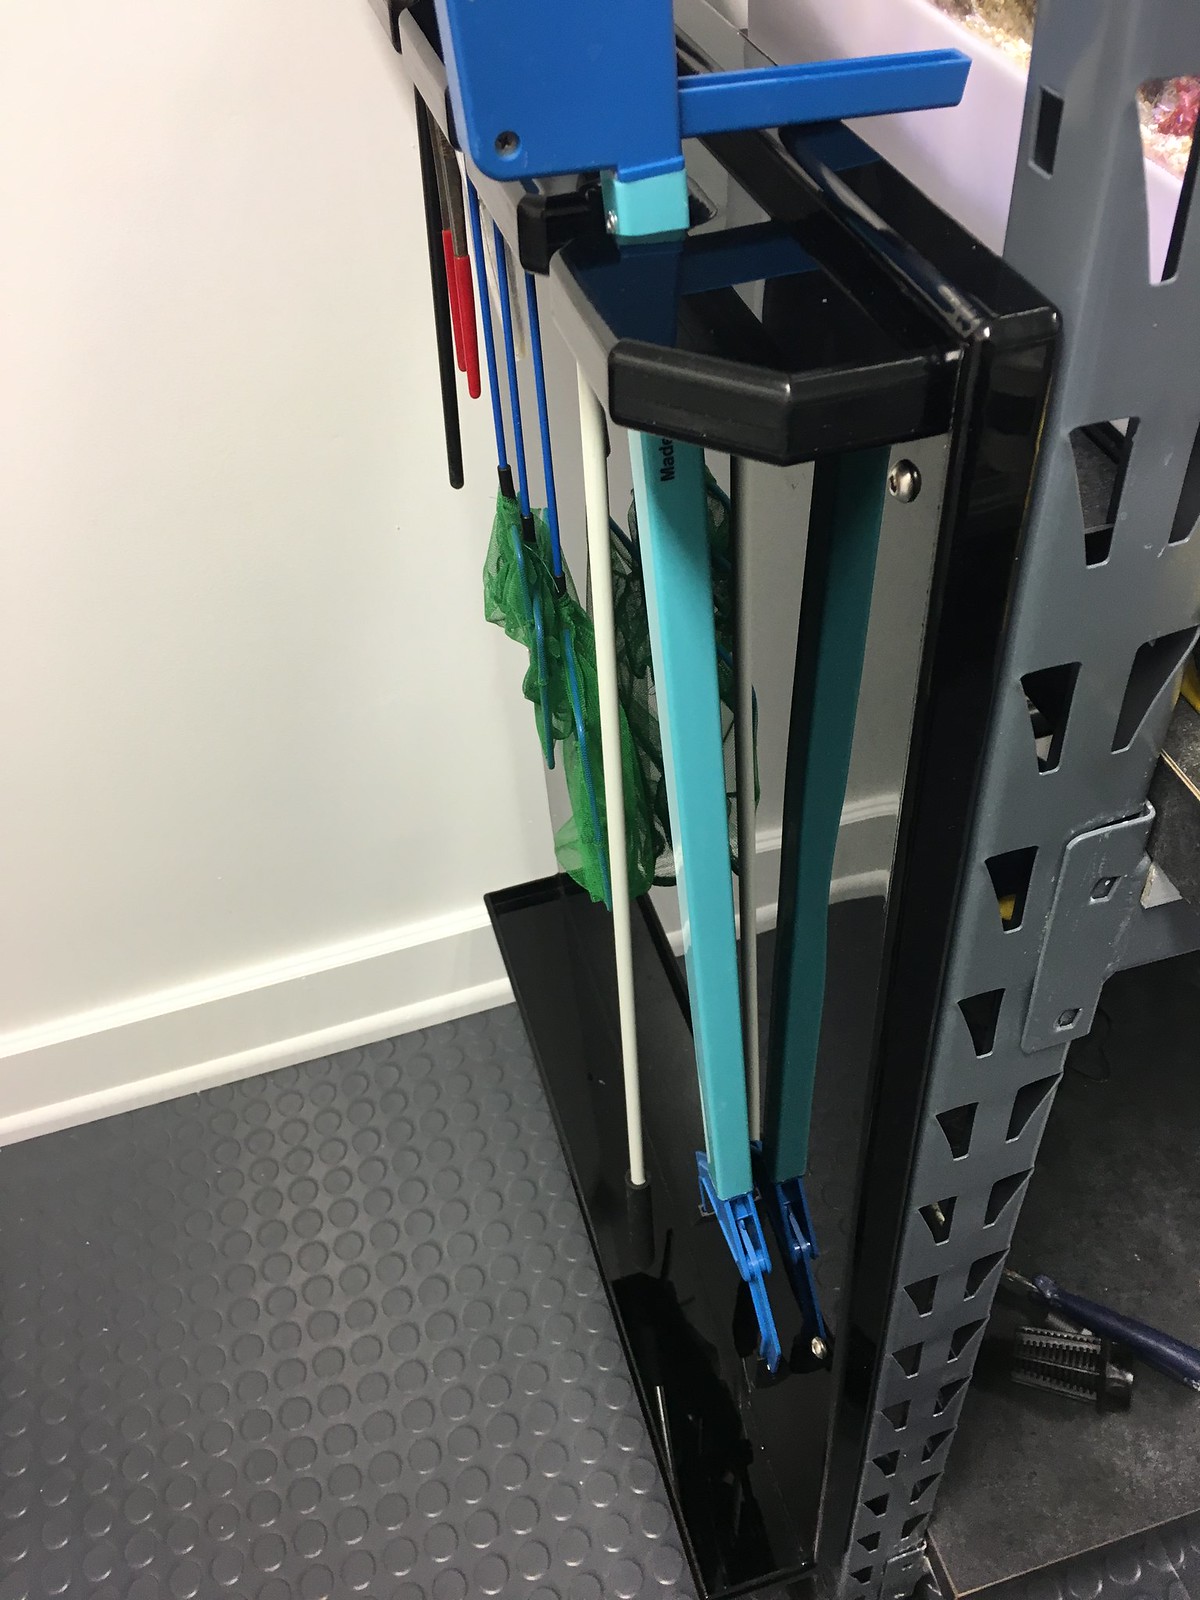
One last small project for the holiday weekend. I built a holder for some tools with a little drip tray at the bottom. Now, I'm cleaning up the filtration room from the latest round and another major cleaning of my shop to prep for the hood.
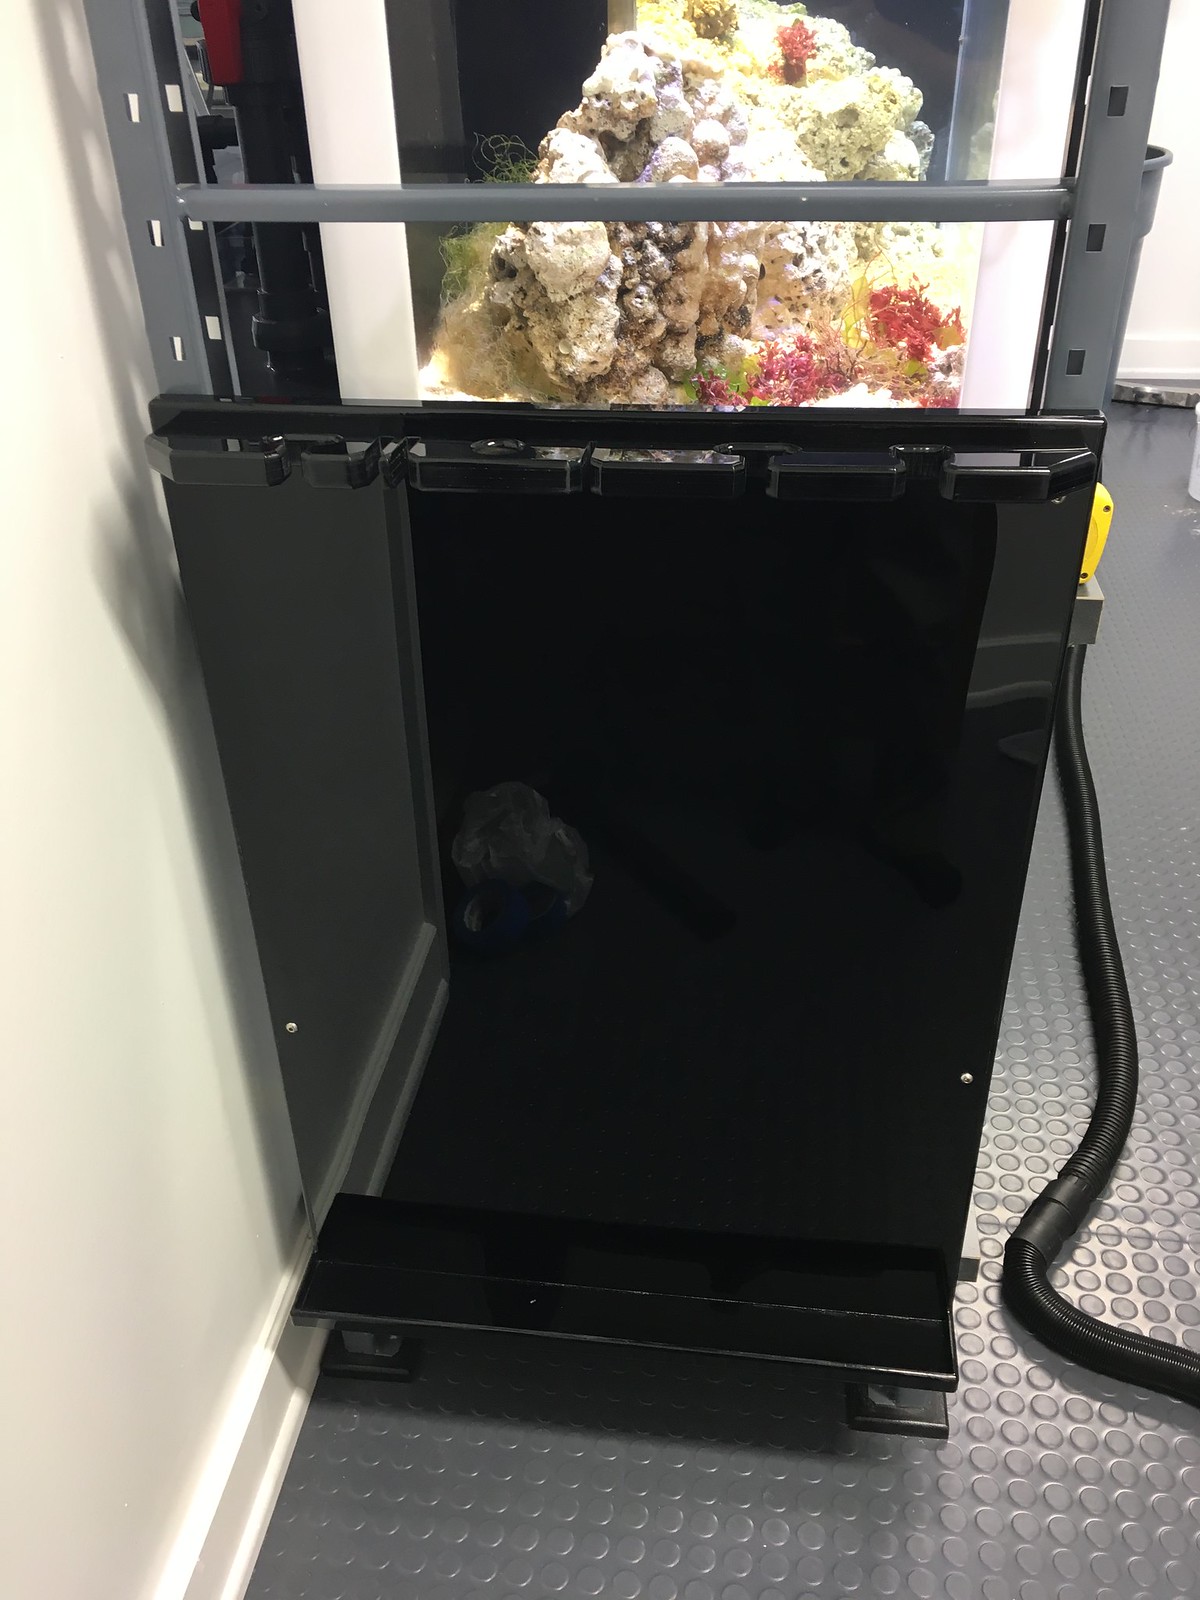


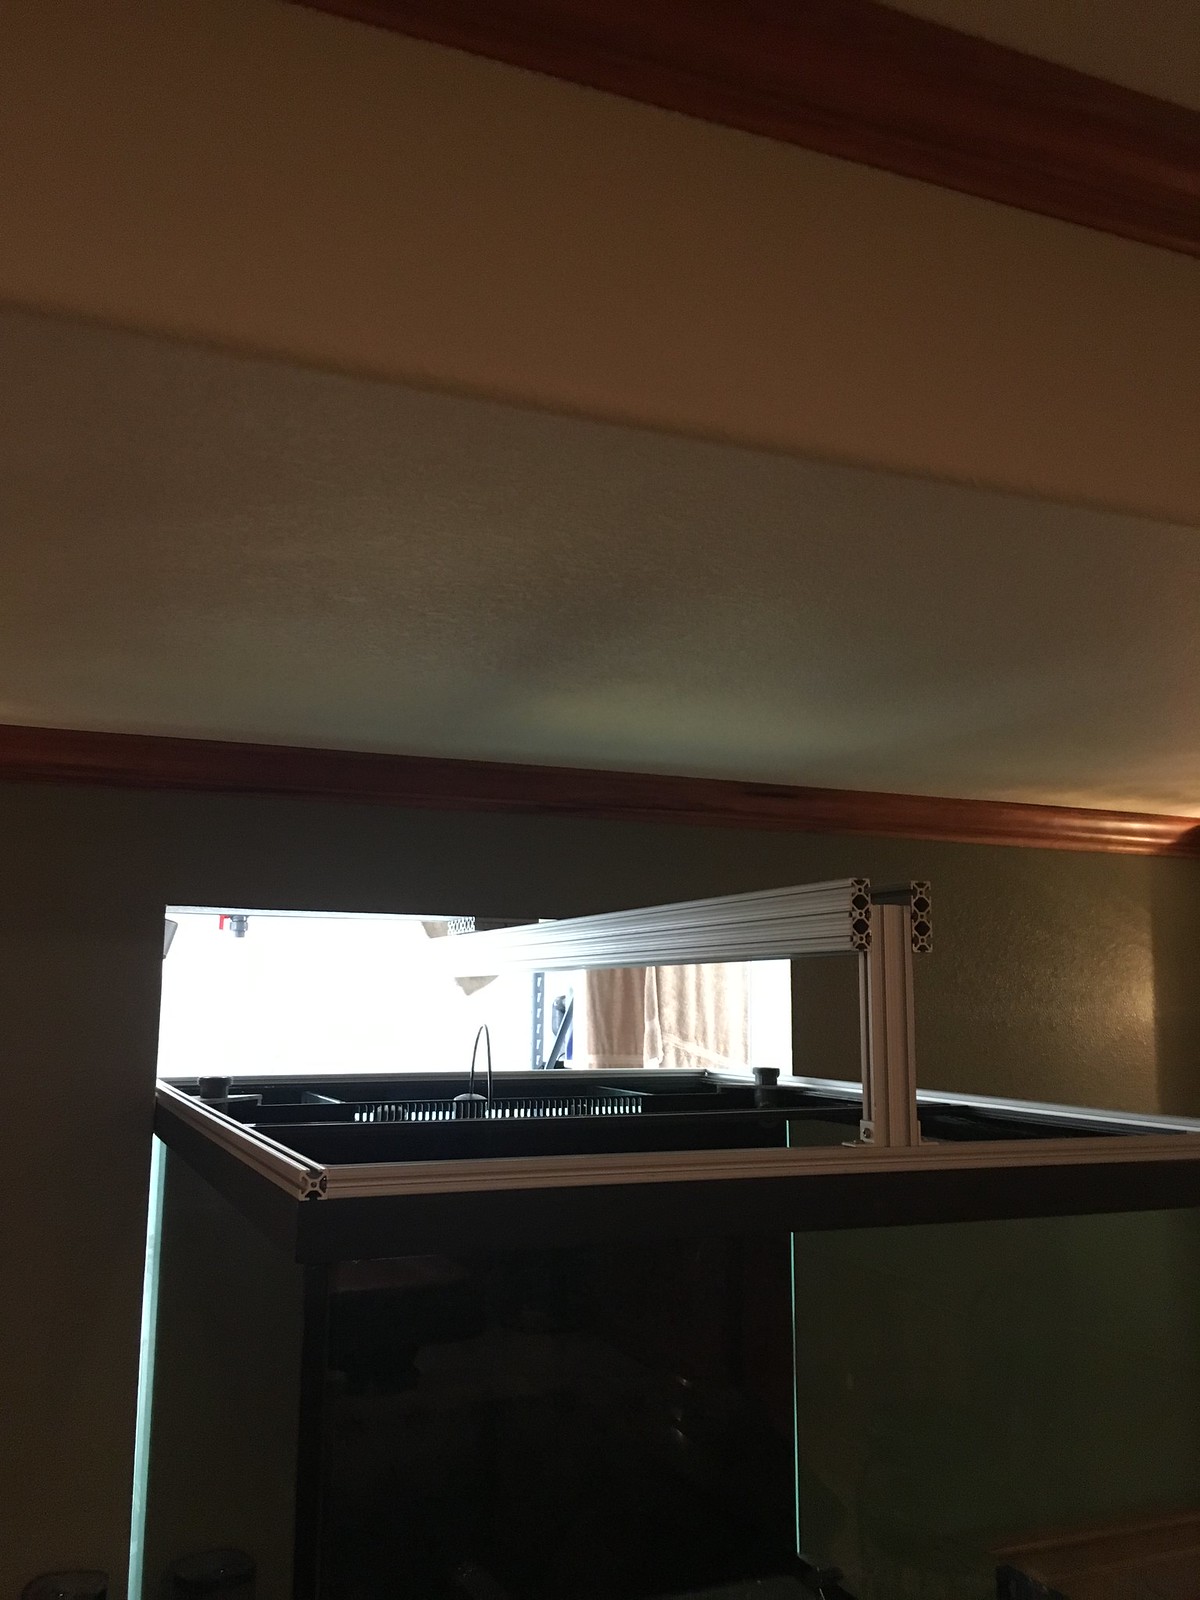
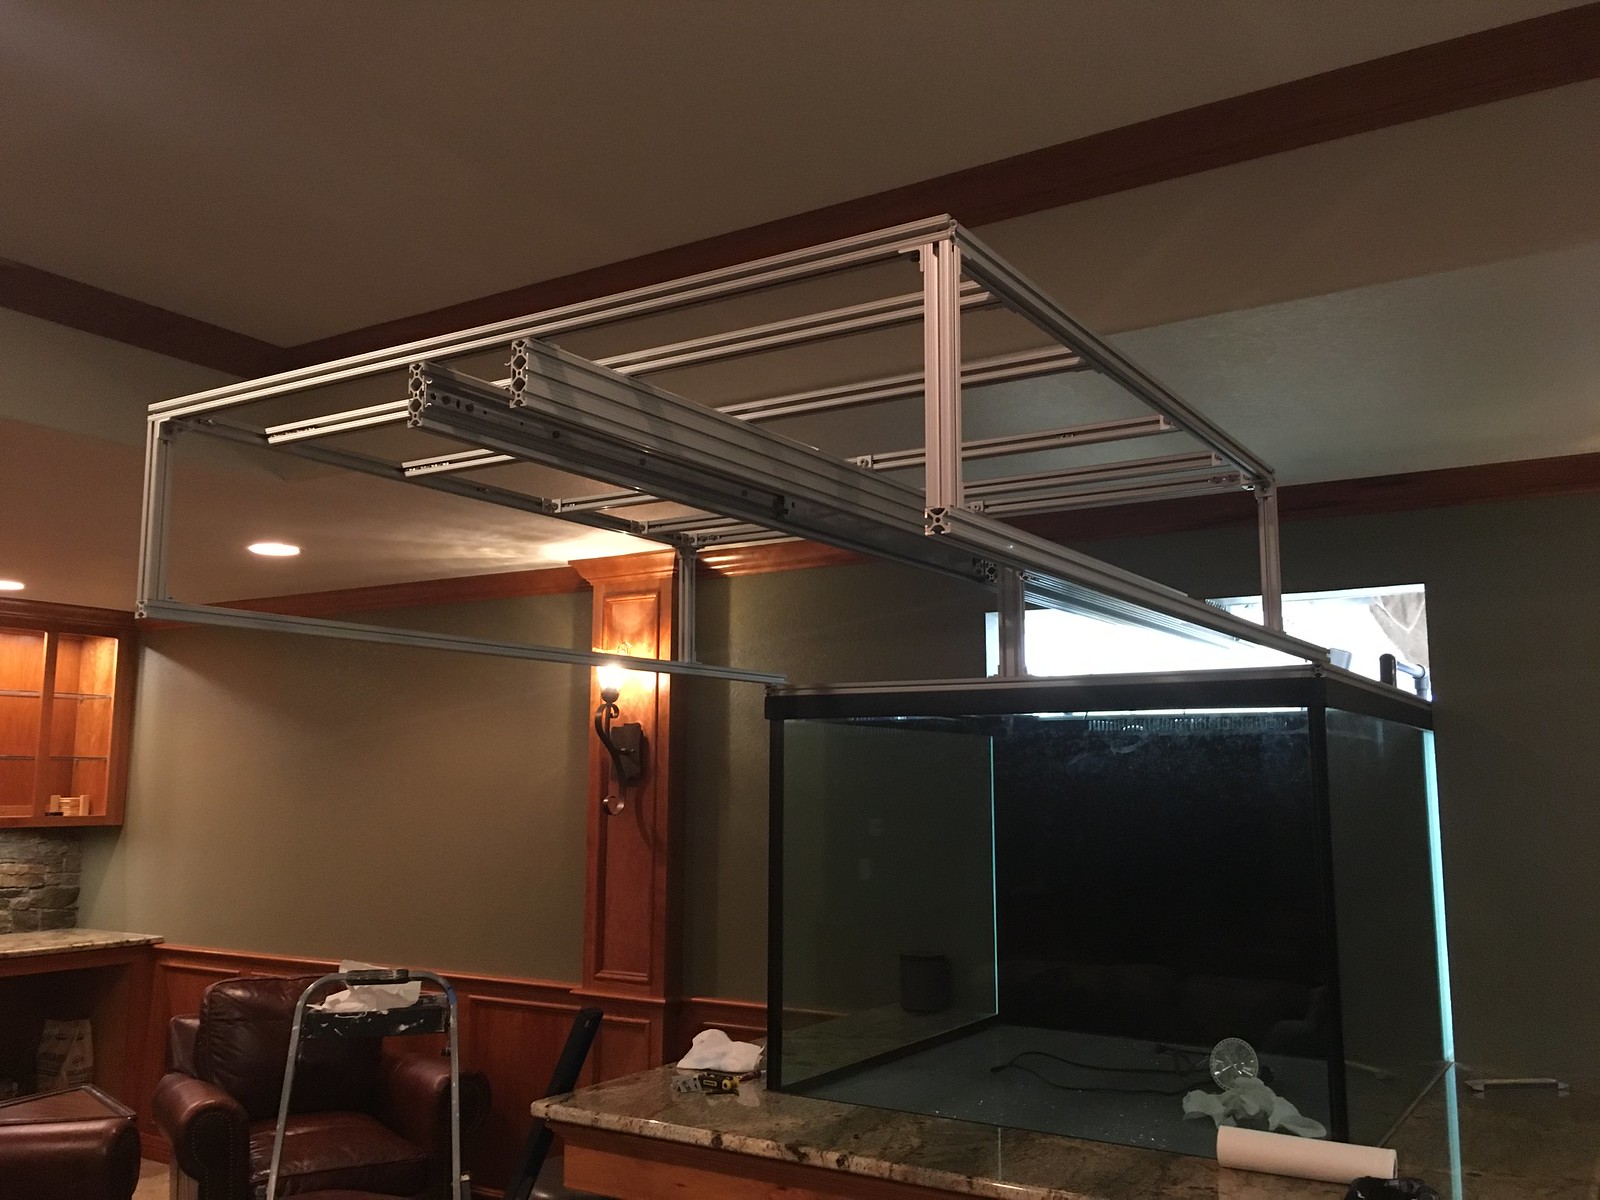
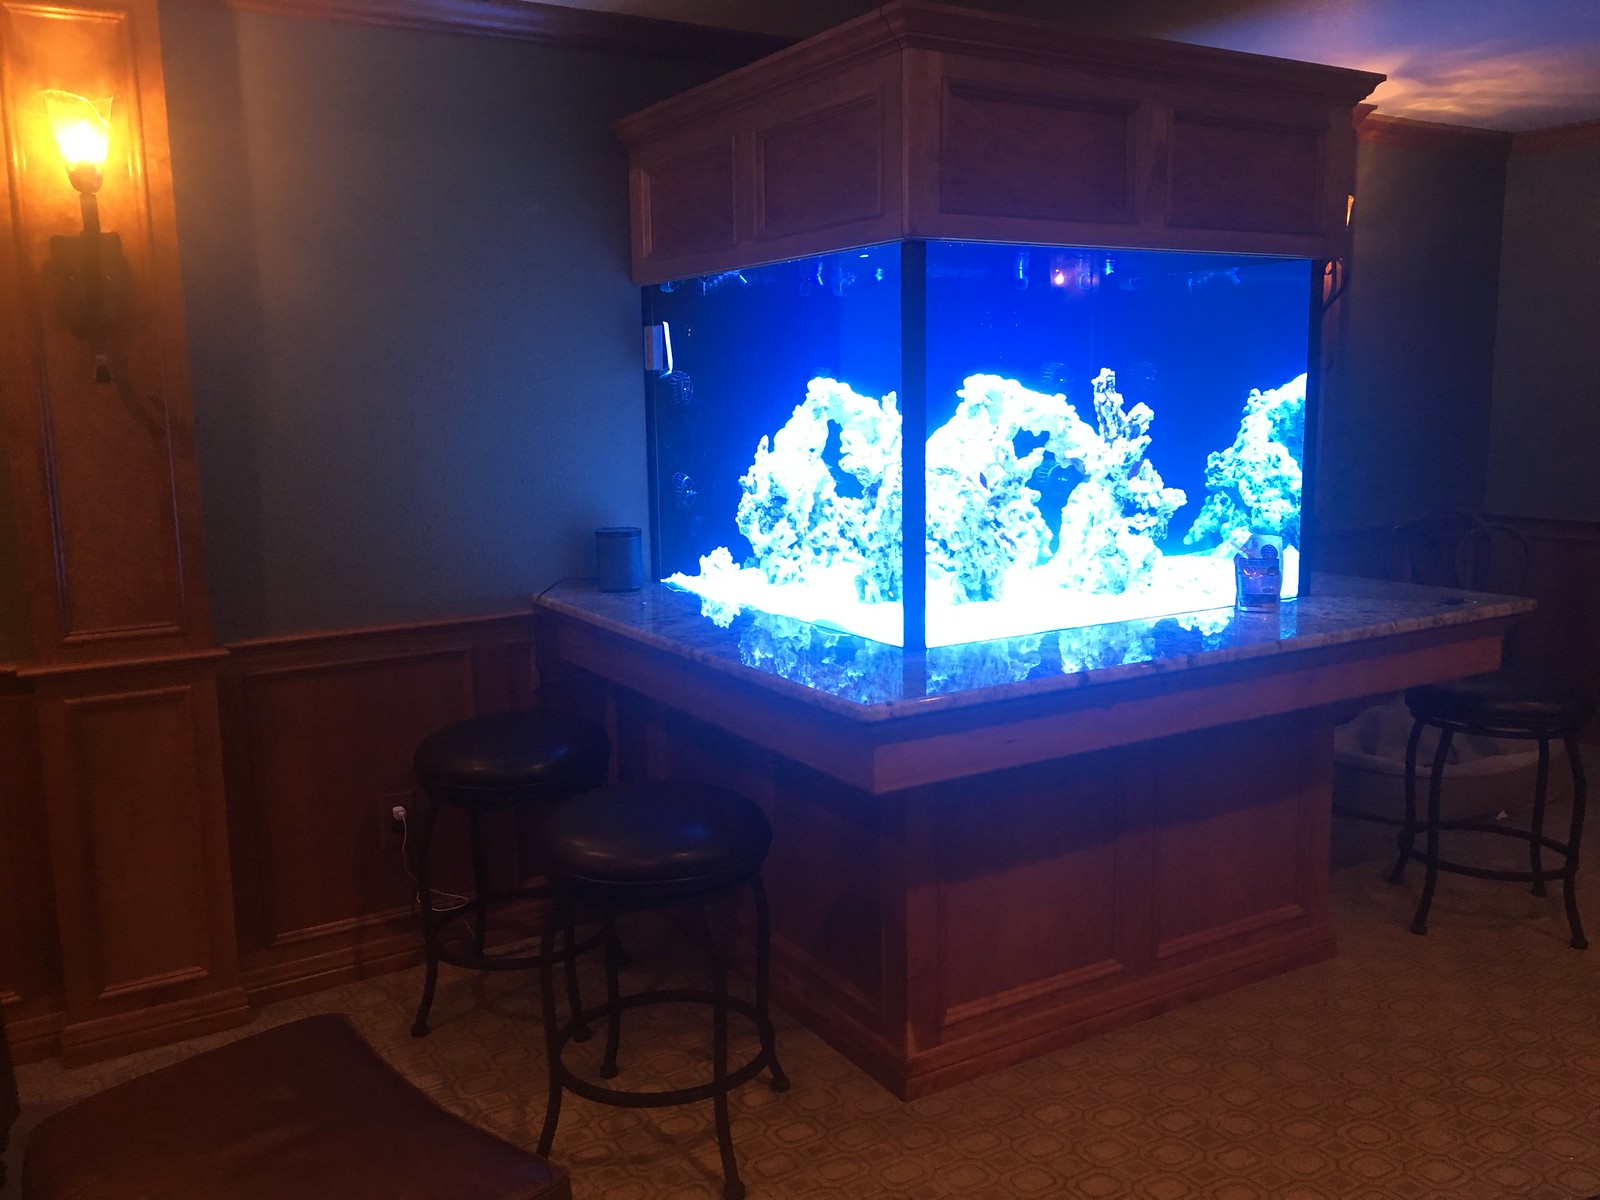
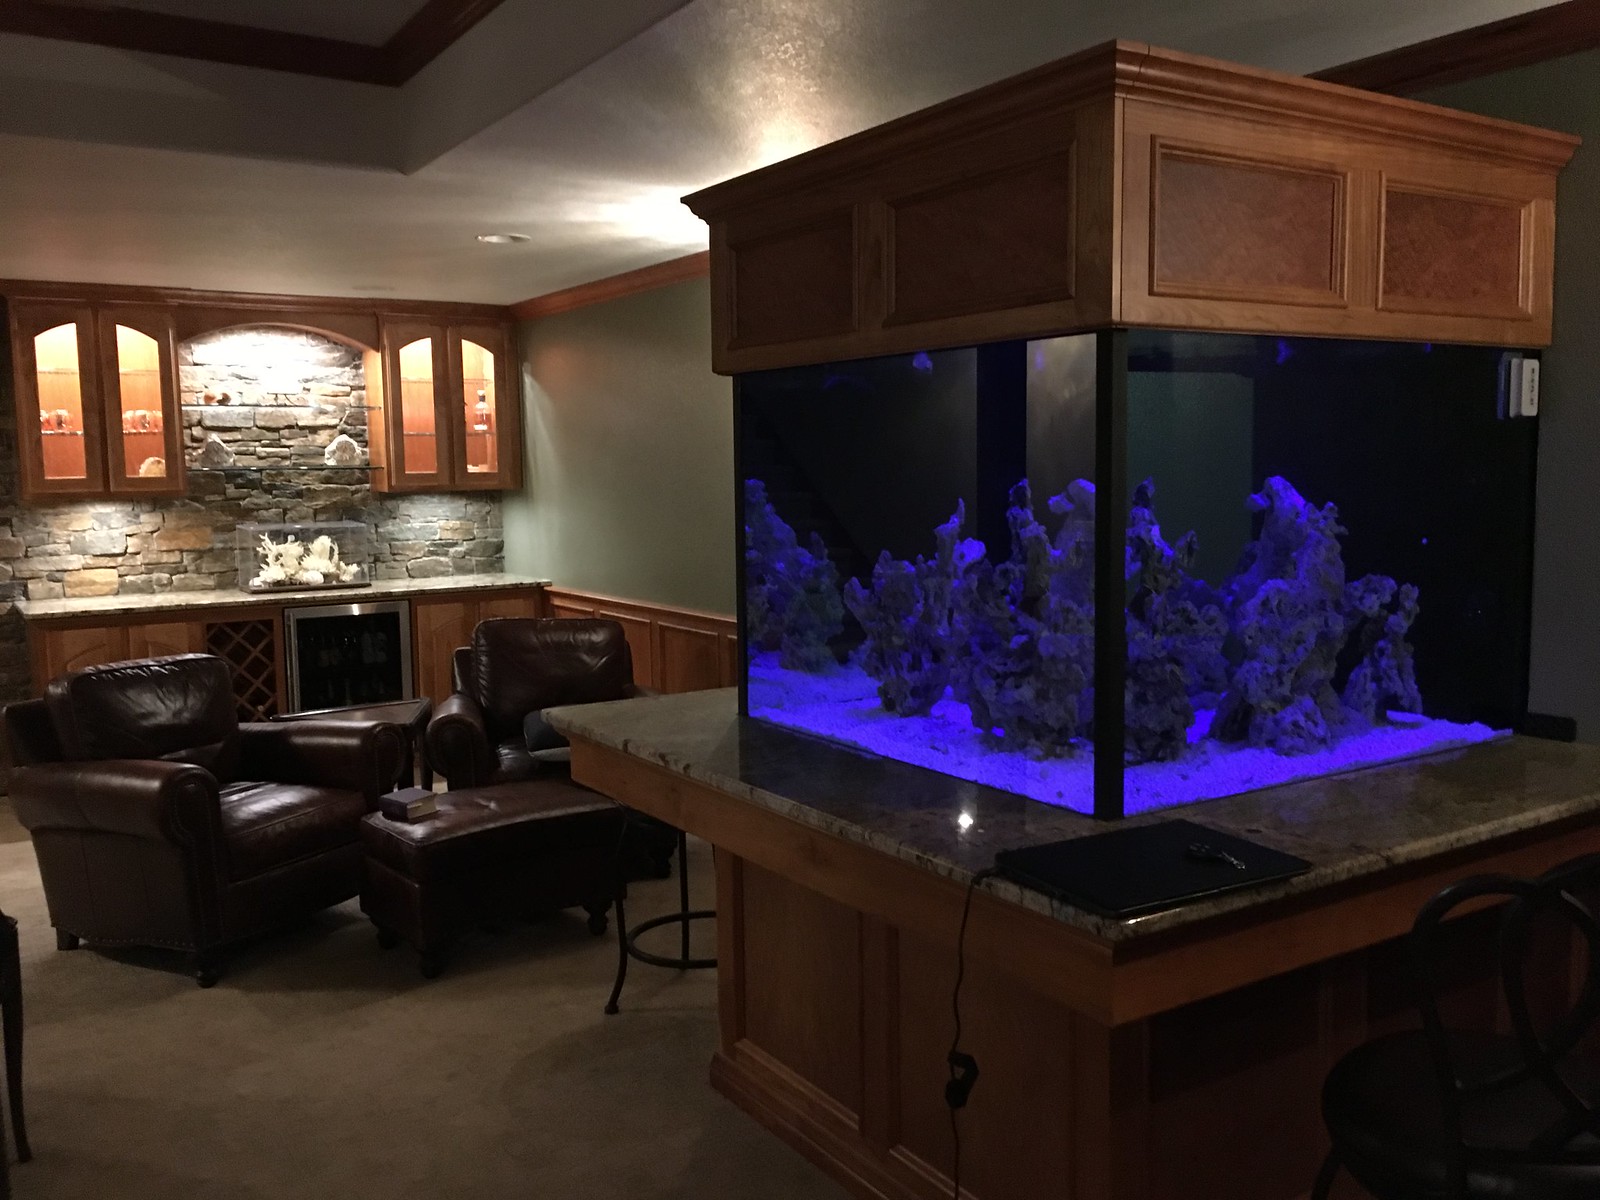
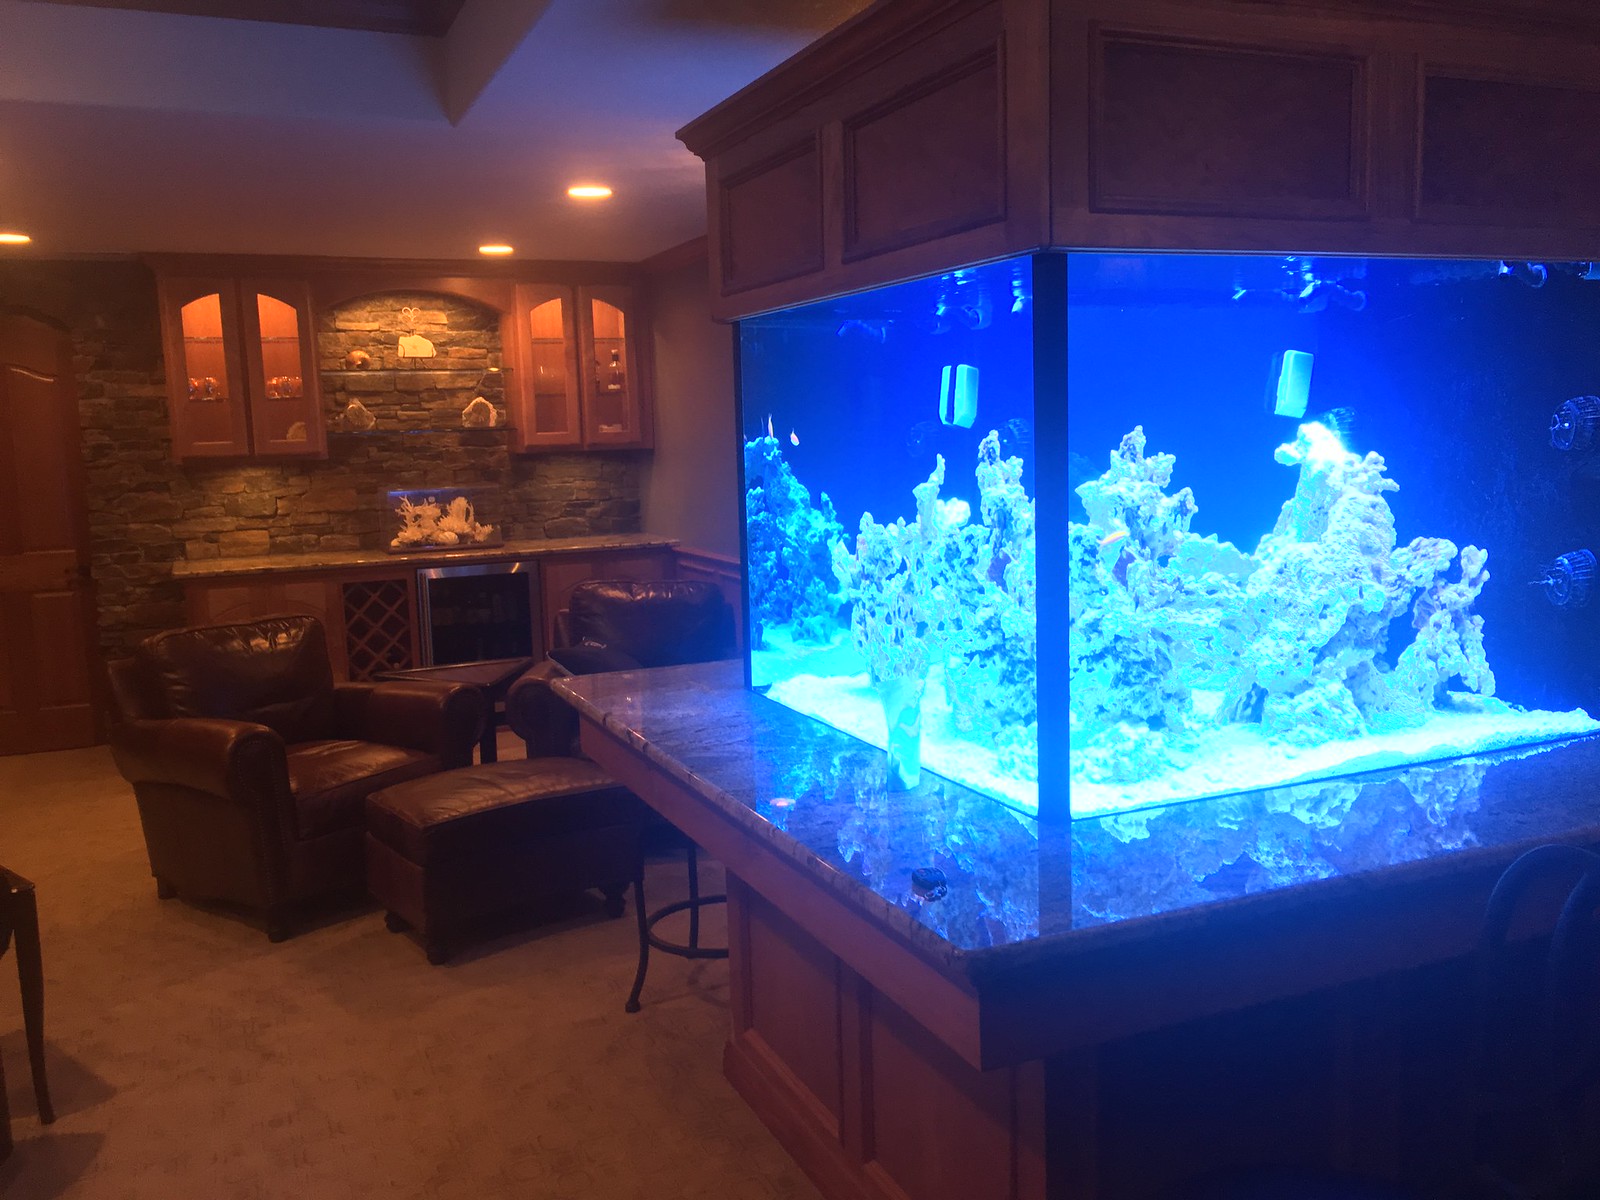
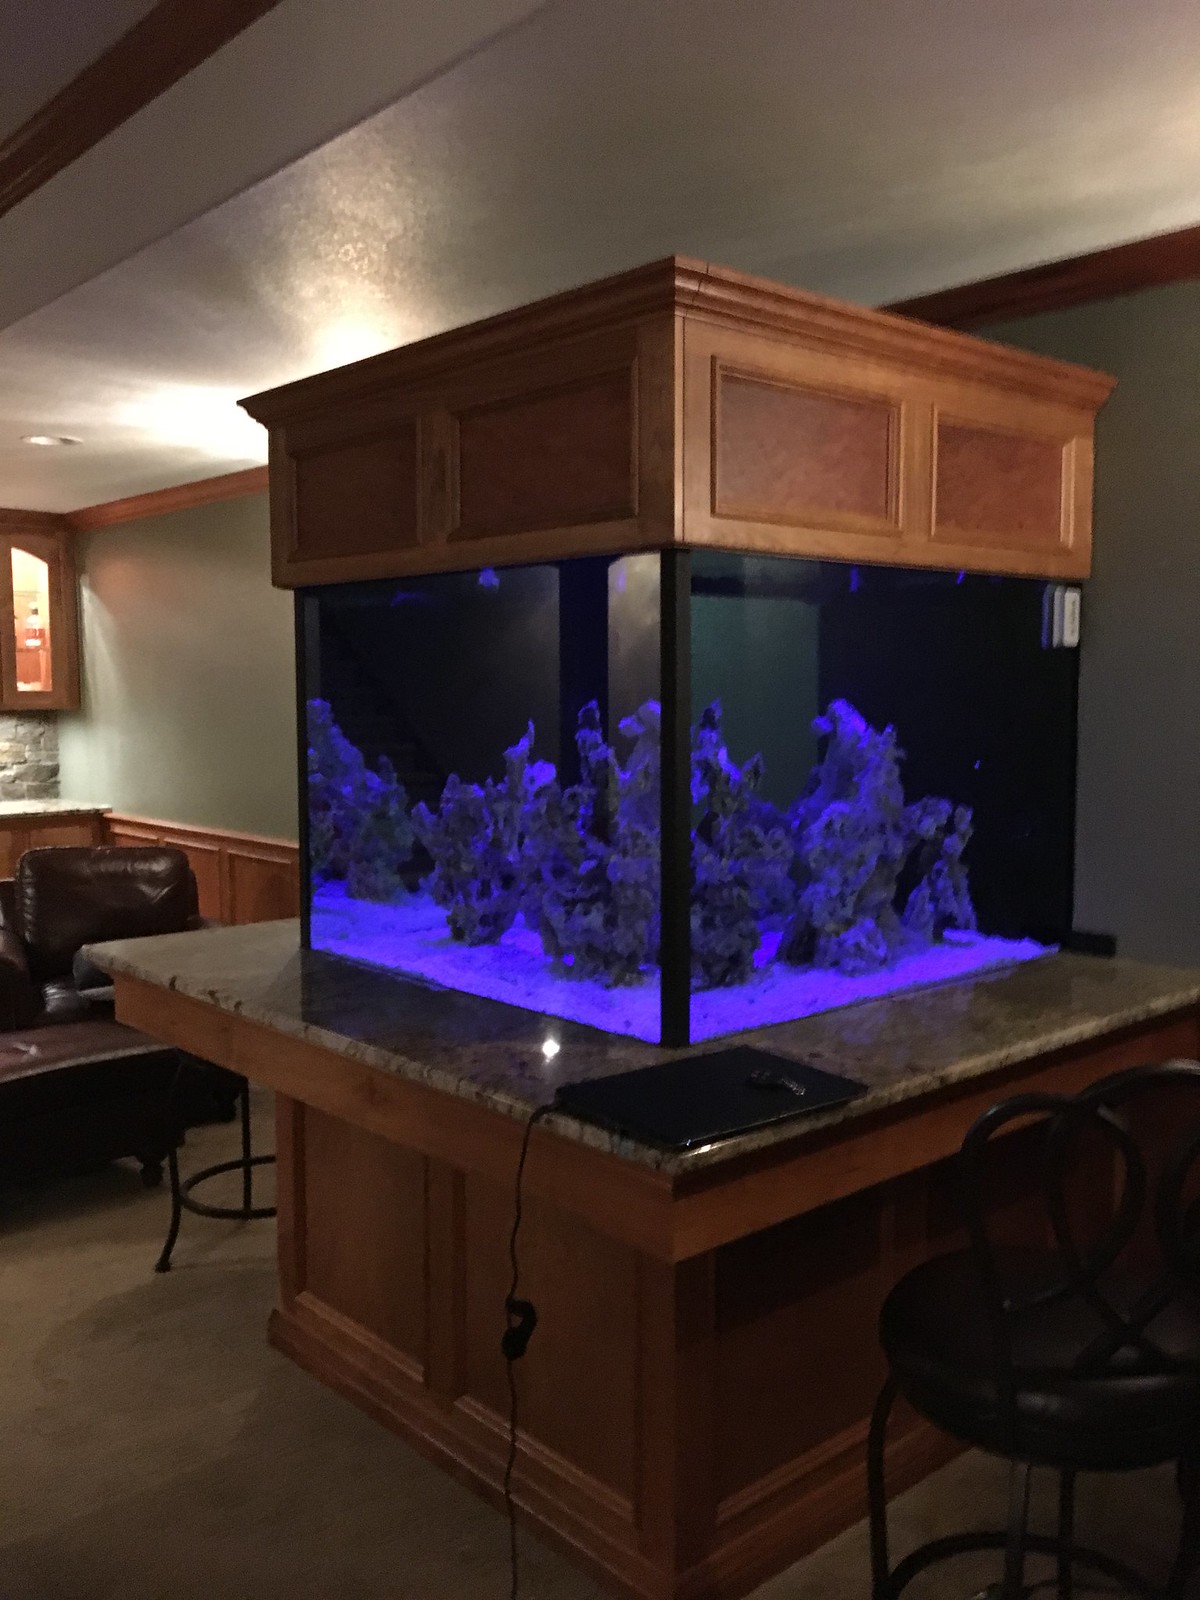
Here are some pictures of the finished cabinetry on top of the aquarium


Similar threads
- Replies
- 22
- Views
- 9K
